9 Heavy-Duty Steps to Prepare a Sturdy DIY Plant Stand
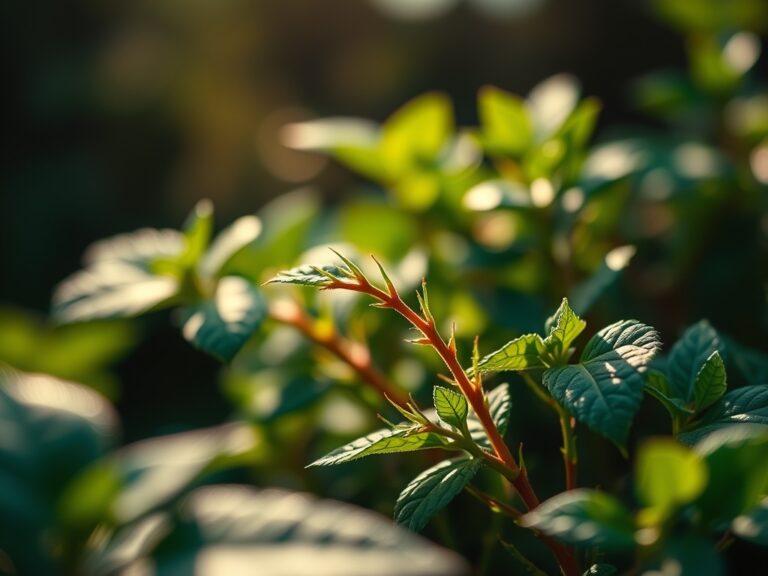
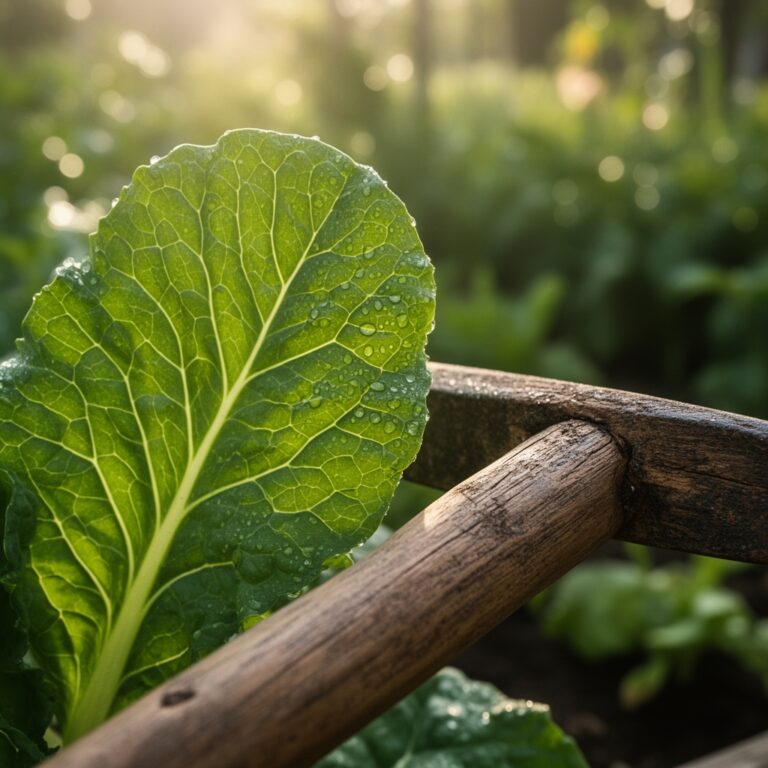
The smell of damp earth and the crisp snap of a leaf with high turgor pressure define the success of a controlled growing environment. When you learn how to prepare a DIY plant stand, you are not merely building furniture; you are engineering a structural support system for a living laboratory. A flimsy stand leads to poor air circulation and uneven light distribution. A heavy duty stand ensures that your containers remain stable, allowing the rhizosphere to develop without mechanical stress. Stability is the foundation of plant health.
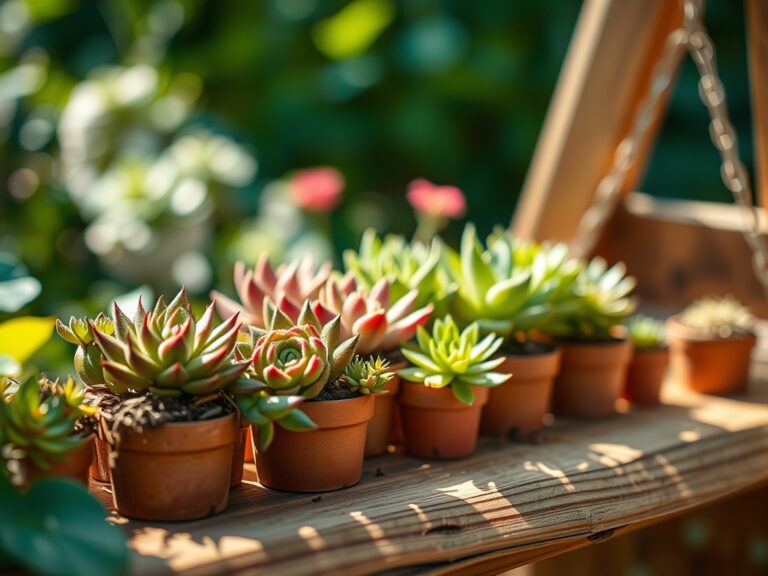
Building this structure requires an understanding of the weight loads associated with saturated soil. A ten inch terracotta pot filled with wet, friable loam can weigh over fifteen pounds. If you intend to house multiple specimens, your stand must withstand a static load of at least two hundred pounds without bowing. This guide focuses on the technical intersection of carpentry and horticultural science to ensure your botanical collection thrives in a structurally sound environment.
Materials:
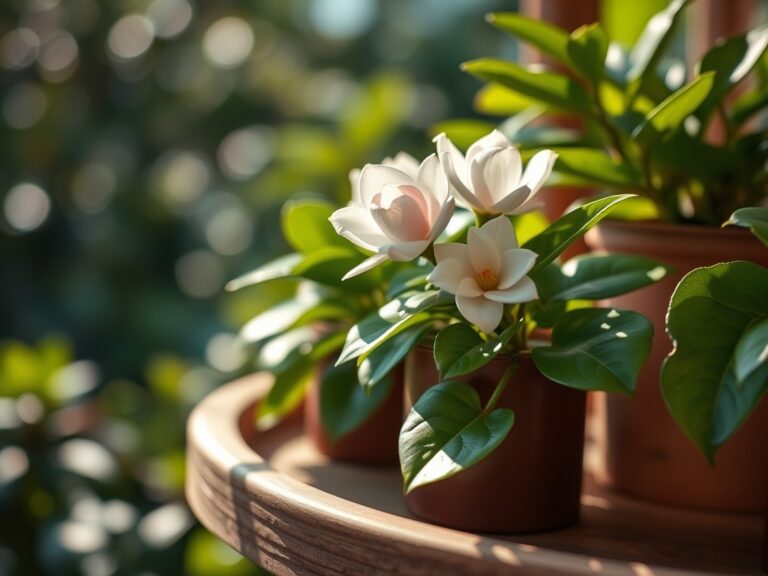
The materials you select for your stand must be compatible with the high moisture levels required for plant maintenance. Use pressure treated lumber or cedar to resist rot. Beyond the wood, the success of your plants depends on the substrate you place upon the stand. For most indoor and patio specimens, aim for a soil pH between 6.0 and 7.0.
The ideal substrate is a friable loam with high porosity. Use a mix that incorporates perlite or vermiculite to ensure a high Cation Exchange Capacity (CEC). This allows the soil to hold onto essential nutrients like ammonium, calcium, and magnesium. Your nutrient regimen should be specific. For vegetative growth, use an NPK ratio of 10-5-5. For flowering species, transition to a 5-10-10 ratio to support phosphorus demands. Ensure all fasteners are stainless steel or galvanized to prevent oxidation from runoff water.
Timing:
Timing your build and your planting is dependent on your local USDA Hardiness Zone. In Zones 7 through 9, the window for moving plants onto an outdoor DIY stand typically begins after the last frost date in late March or April. You must monitor the biological clock of your specimens. The transition from the vegetative stage to the reproductive stage is triggered by the photoperiod.
For short day plants, ensure your stand is positioned where it can be shielded from artificial light pollution at night. This prevents the disruption of phytochrome signaling. If you are starting seeds indoors on your stand, initiate the process 6 to 8 weeks before the projected last frost. This ensures that the root systems are robust enough to handle the transition to the outdoor environment without suffering from transplant shock.
Phases:

Sowing and Germination
Begin by placing your seed trays on the highest tier of the stand to maximize light exposure. Maintain a consistent soil temperature of 65 to 75 degrees Fahrenheit. Use a heat mat if necessary to accelerate metabolic activity within the seed coat.
Pro-Tip: Proper spacing during sowing prevents premature auxin suppression. When seedlings are crowded, they compete for light, causing elongated, weak stems through a process called etiolation.
Transplanting
Once the first set of true leaves appears, move the seedlings into larger vessels. This prevents the plants from becoming root bound, which limits their ability to absorb water and nutrients. Ensure the stand is level to prevent uneven water distribution within the pots.
Pro-Tip: Inoculate the root zone with mycorrhizal fungi during this phase. This symbiotic relationship extends the reach of the root system, significantly increasing the uptake of phosphorus and micronutrients.
Establishing and Hardening Off
Gradually expose your plants to the outdoor elements by moving the stand to a transitional area. Start with 2 hours of indirect sunlight and increase by 1 hour daily. This strengthens the cuticle layer of the leaves, preventing desiccation.
Pro-Tip: Monitor for phototropism. Rotate your pots 90 degrees every three days. This ensures even distribution of auxins, the hormones responsible for cell elongation, resulting in a balanced and upright plant structure.
The Clinic:
Physiological disorders often manifest as visual cues on the foliage. Identifying these early is critical for the survival of your collection.
Symptom: Interveinal chlorosis on young leaves.
Solution: This typically indicates an Iron (Fe) deficiency, often caused by a pH level that is too high. Lower the pH to 6.0 using elemental sulfur or chelated iron drench.
Symptom: Necrosis on the margins of older leaves.
Solution: This is a classic sign of Potassium (K) deficiency. Potassium is mobile within the plant, so the specimen redirects it to new growth. Apply a high K fertilizer immediately.
Symptom: Blossom end rot on fruit.
Solution: This is caused by a localized Calcium (Ca) deficiency. It is often a result of inconsistent watering rather than a lack of calcium in the soil. Maintain steady moisture levels to ensure calcium transport via the xylem.
Fix-It for Nitrogen Chlorosis: If the entire plant appears pale green or yellow, it lacks Nitrogen. Apply a liquid fertilizer with a high N value, such as 20-0-0, to quickly restore chlorophyll production and photosynthetic efficiency.
Maintenance:
Precision is the hallmark of a master gardener. Do not guess when it comes to hydration. Use a soil moisture meter to verify that the top 2 inches of soil are dry before re-watering. Most established plants require 1.5 inches of water per week delivered directly at the drip line. This encourages deep root penetration rather than shallow growth.
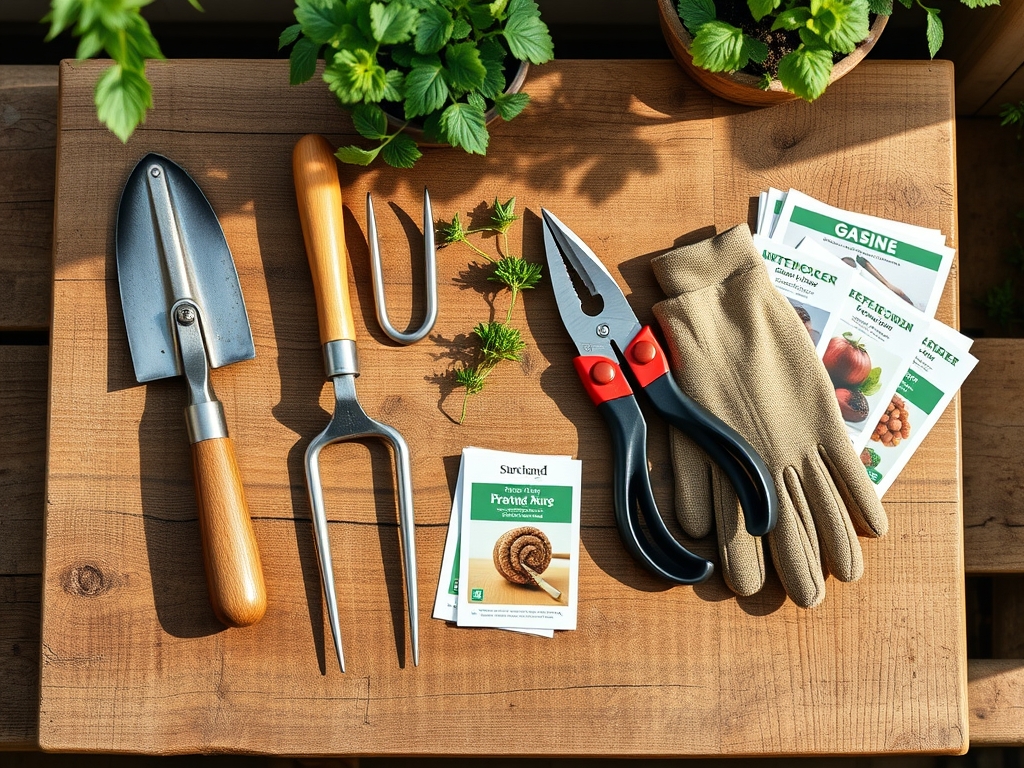
Use bypass pruners for clean cuts on soft tissue; this prevents crushing the vascular bundles. For root pruning or dividing perennials, a hori-hori knife is the superior tool for precision. Regularly inspect the stand for structural integrity. Check for wood rot or loose screws every six months. If the stand is located in a high wind area, anchor the base to prevent the entire structure from toppling and causing mechanical damage to your plants.
The Yield:
When harvesting from your DIY stand, timing is everything. For leafy greens, harvest in the early morning when turgor pressure is at its peak. This ensures the leaves are crisp and have the highest nutrient density. Use sharp shears to avoid tearing the stem, which can invite pathogens into the vascular system.
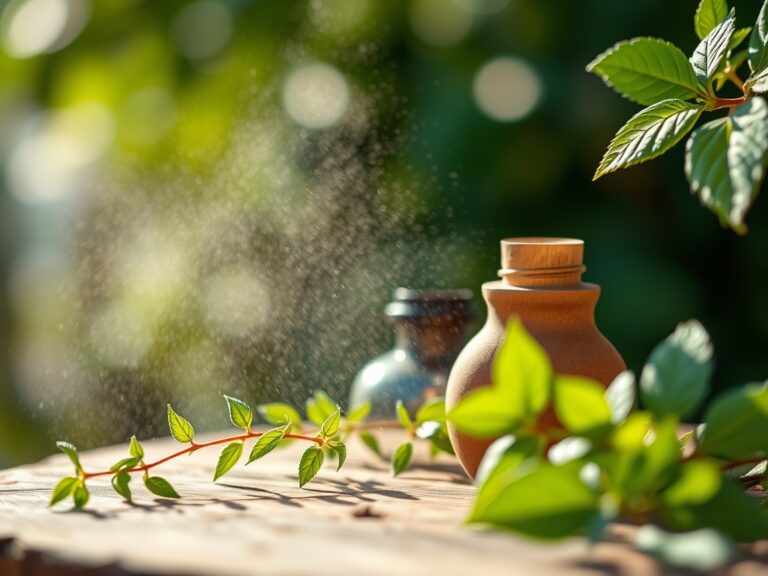
Post harvest handling is vital for day one freshness. Immediately submerge harvested greens in cold water to remove field heat and slow down the rate of respiration. For flowers, cut at a 45 degree angle and place them directly into a bucket of water with a pH of 3.5 to 4.5 to facilitate rapid uptake. This prevents air bubbles from forming in the xylem, which would otherwise lead to premature wilting.
FAQ:
How do I prevent my DIY plant stand from rotting?
Use rot resistant wood like cedar or redwood. Apply a food safe, water resistant sealant every two years. Ensure all drainage holes in pots are not blocked to prevent standing water on the wood surfaces.
What is the best weight capacity for a plant stand?
Design your stand to support 20 pounds per square foot. This accounts for the combined weight of the container, saturated soil, and the mature weight of the plant species. Use heavy duty galvanized hardware for all joints.
How does a plant stand improve plant health?
Elevating plants improves air circulation around the foliage, reducing the risk of fungal infections. It also allows for better light penetration and makes it easier to inspect for physiological disorders or nutrient deficiencies at eye level.
Should I add wheels to my DIY plant stand?
Adding heavy duty locking casters allows you to follow the sun as the seasons change. This is especially useful for managing the photoperiod of sensitive species or moving heavy arrangements indoors during extreme frost events.