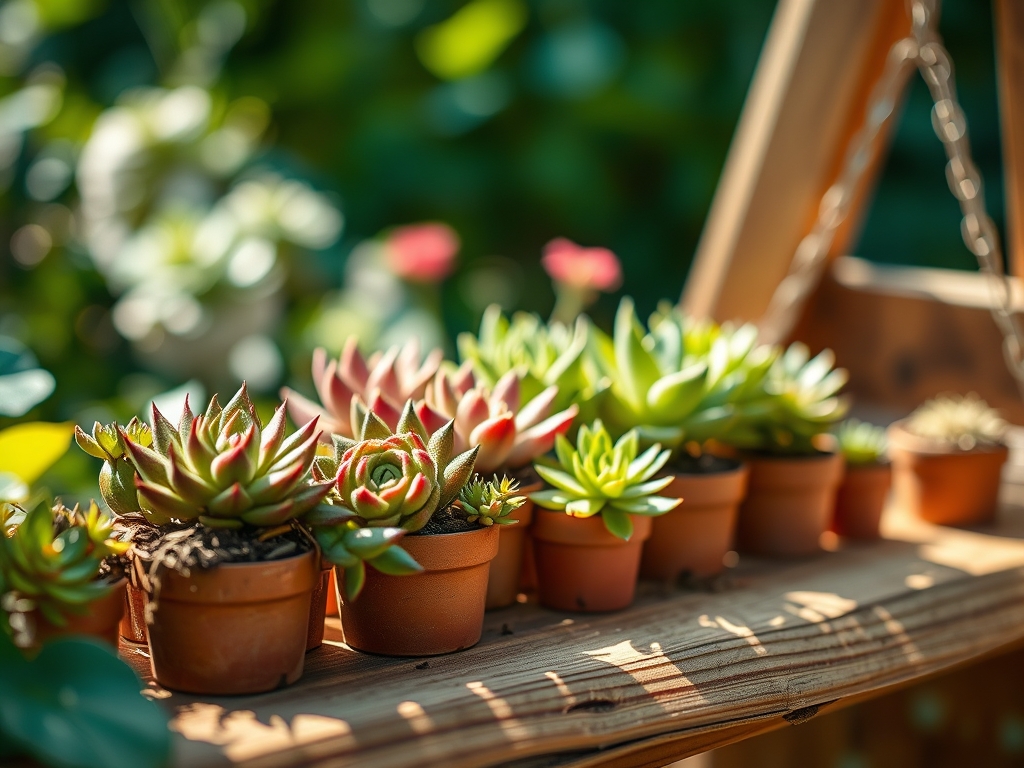
7 Variety Steps to Prepare a Multi-Variety Succulent Shelf
Crushing a dried leaf of Crassula ovata between your fingers reveals the moisture reserves held within its cellular structure. This internal turgor pressure defines the health of a desert specimen. Success in high density indoor gardening depends on managing the microclimate of your vertical space. Understanding how to prepare a plant shelf for succulents requires more than aesthetic placement; it demands an engineering mindset focused on light intensity and drainage efficiency. You must calculate the weight load of saturated substrate and the specific heat capacity of your shelving material. Metal shelves conduct heat rapidly; wood absorbs ambient humidity. Every square inch of the shelf represents a unique niche where airflow and light levels dictate the metabolic rate of the plant. By calibrating the rhizosphere and controlling the photoperiod, you transform a simple furniture piece into a precision growing environment. This guide provides the technical framework to manage multiple genera within a single, unified system.
Materials:
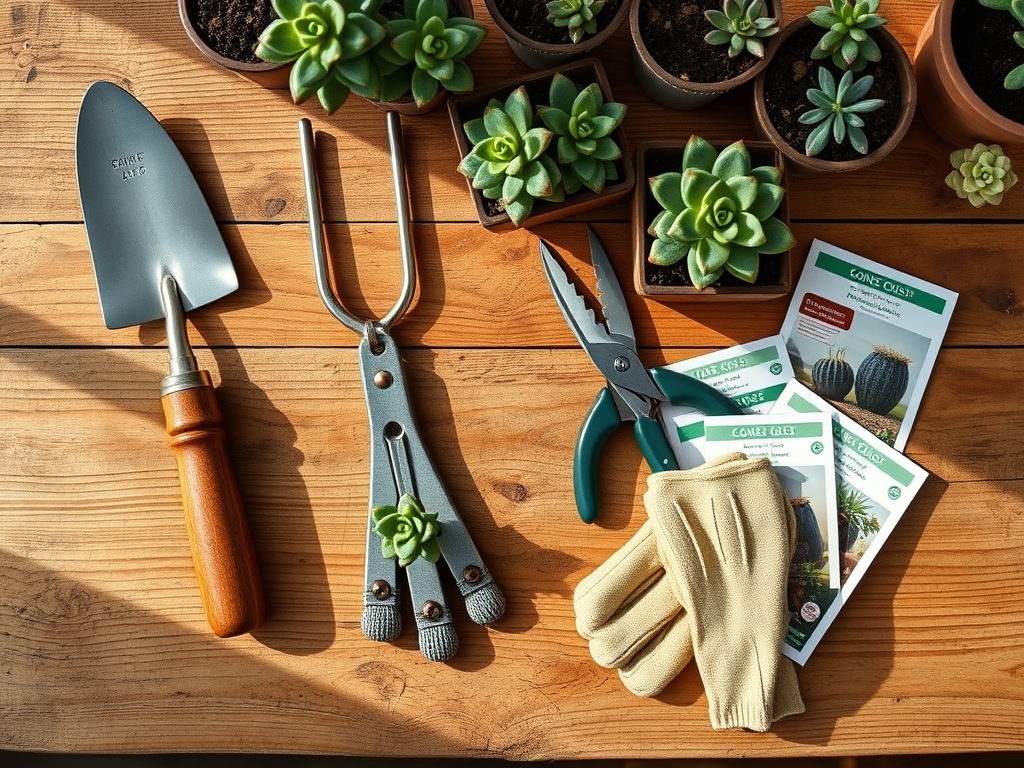
The foundation of a multi-variety shelf is the substrate. Succulents require a **pH range of 5.5 to 6.5** to ensure nutrient availability. Use a **friable loam** base mixed with 50 percent inorganic aggregates such as pumice or perlite to facilitate rapid drainage. For the nutrient profile, look for a low-nitrogen fertilizer with an **NPK ratio of 5-10-10 or 2-7-7**. High nitrogen levels cause weak, etiolated growth and thin cell walls.
The Cation Exchange Capacity (CEC) of your mix determines how well the soil retains essential ions like potassium and magnesium. A mix with high organic matter has a higher CEC but retains too much water. Balance this by using calcined clay, which provides high CEC without compromising the macropore space required for oxygen exchange. Your shelving unit must be rated for at least 50 pounds per square foot to account for the weight of terracotta pots and saturated gravel.
Timing:
Most succulents follow a distinct biological clock governed by the photoperiod. In Hardiness Zones 9 through 11, these plants can remain outdoors year round, but shelf preparation usually occurs in early spring (March) or late autumn (October). This timing aligns with the transition from the dormant state to the active vegetative stage.
Monitor the frost date windows in your specific region. If moving plants from outdoors to a shelf, do so when night temperatures remain consistently above 50 degrees Fahrenheit. The biological clock of winter growers, such as many Aloe and Haworthia species, triggers a reproductive stage during shorter days. Ensure your shelf lighting setup can simulate these shifts to encourage flowering and prevent premature senescence.
Phases:
Sowing and Propagation
Start seeds or leaf cuttings in a shallow tray with a fine-grade mineral substrate. Maintain a constant temperature of 72 degrees Fahrenheit for optimal germination. For leaf cuttings, allow the wound to callous for 72 hours before placing it on the soil surface. This prevents fungal pathogens from entering the vascular tissue.
Pro-Tip: Utilize auxin suppression by placing cuttings horizontally. This encourages the development of adventitious roots from the leaf base rather than vertical stem growth, a biological response to gravity and hormone distribution.
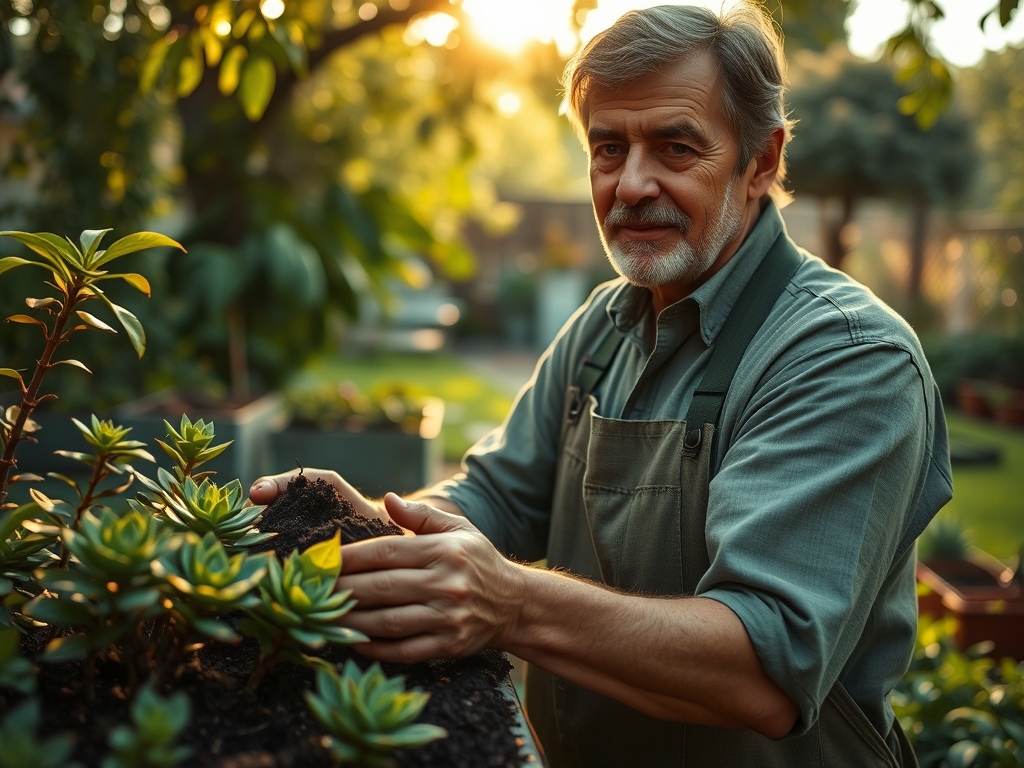
Transplanting
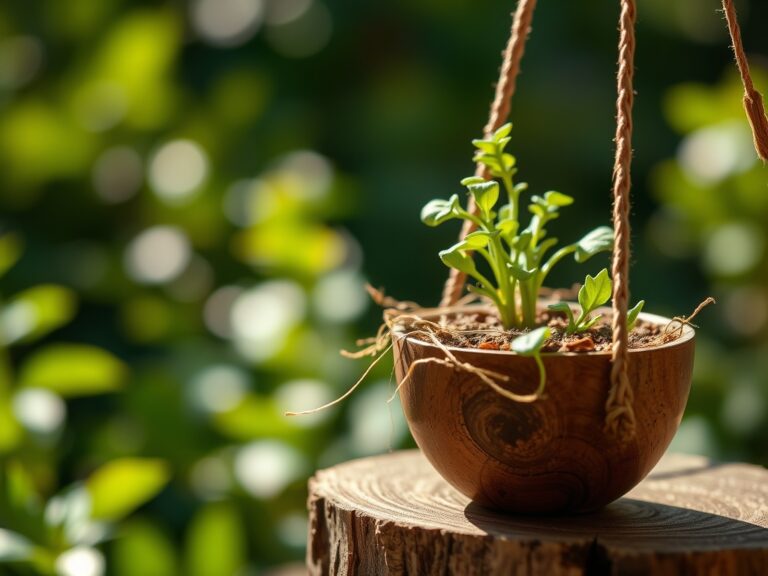
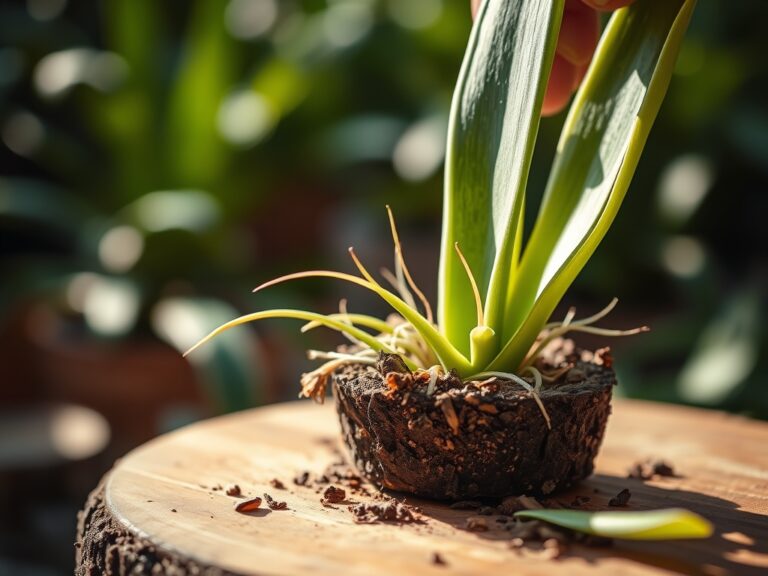
When moving specimens to the shelf, inspect the root architecture. Use a hori-hori knife to tease out any circling roots. Ensure the crown of the plant sits exactly at the soil line. Deep planting leads to stem rot; shallow planting causes desiccation of the upper root zone.
Pro-Tip: Introduce a commercial mycorrhizal inoculant during transplanting. This establishes a symbiotic relationship where fungi extend the root reach, increasing the uptake of phosphorus and micronutrients through the rhizosphere.
Establishing
Once positioned, do not water for five to seven days. This allows any micro-fractures in the roots to heal. Gradually increase light exposure over a 14 day period to prevent photo-inhibition or scorching of the epidermis.
Pro-Tip: Pay attention to phototropism. Rotate pots 90 degrees every week to ensure even distribution of light. This prevents the plant from leaning and maintains a symmetrical rosette structure by balancing auxin concentrations on all sides of the stem.
The Clinic:
Physiological disorders often manifest as physical deformities. Identifying these early is critical for shelf health.
- Etiolation: This occurs when light levels fall below 1,000 foot-candles. The plant stretches, increasing internodal spacing. Solution: Increase light intensity or duration to 12 hours per day.
- Edema: This appears as corky blisters on the leaves. It results from high humidity and overwatering when the plant absorbs water faster than it can transpire. Solution: Improve airflow with a small circulation fan and reduce watering frequency.
- Nitrogen Chlorosis: Yellowing of older leaves while veins remain green. Fix-It: Apply a chelated micronutrient solution and a balanced 5-5-5 fertilizer to restore chlorophyll production.
- Potassium Deficiency: Necrosis at the leaf margins and weak stems. Fix-It: Increase potassium levels using sulfate of potash to improve cellular turgor and stress resistance.
Maintenance:
Precision maintenance prevents systemic failure. Use a soil moisture meter to verify that the substrate is dry at least two inches below the surface before adding water. For most 4-inch pots, apply approximately 0.5 cups of water directly to the soil, avoiding the foliage. This equates to roughly 1.5 inches of water per week if the plants were in a garden bed.
Maintain sharp bypass pruners to remove dead or senescing leaves. This reduces the risk of saprophytic fungi colonizing the shelf. Clean the shelving surfaces with a 10 percent bleach solution every six months to eliminate dormant spores. If you detect any localized pests, treat them from a botanical perspective by applying a 70 percent isopropyl alcohol solution directly to the affected area with a cotton swab to dehydrate the insect cuticle without damaging the plant's waxy epicuticular soot.
The Yield:
While most succulents are grown for foliage, some varieties like Aloe vera or edible Opuntia provide a physical harvest. For Aloe, harvest the outermost leaves first, as these are the most mature. Use a sterile blade to cut at the base of the leaf. To maintain "day-one" freshness, stand the leaf upright in a container for 15 minutes to allow the yellow aloin sap to drain before refrigerating the leaf in a sealed bag. For flowering varieties, deadhead spent blooms to redirect energy back into the root system and vegetative growth.
FAQ:
How much light do shelf succulents need?
Most varieties require 10,000 to 20,000 lux for at least 12 hours daily. Use a light meter to verify intensity. Insufficient light leads to etiolation, while excessive light causes anthocyanin buildup, turning leaves red or purple.
What is the best way to water a multi-variety shelf?
Use the "soak and dry" method. Apply water until it exits the drainage holes, then wait for the substrate to dry completely. A soil moisture meter helps determine when the root zone is devoid of excess moisture.
Can I mix different succulent types in one pot?
Only if they share identical dormancy cycles and water requirements. Mixing a summer-dormant Conophytum with a summer-growing Echeveria will result in the death of one species due to mismatched irrigation needs within the shared rhizosphere.
How do I prevent my shelf from collapsing?
Calculate the total weight of pots, soil, and water. A gallon of water weighs 8.34 pounds. Ensure your shelving unit is anchored to wall studs and rated for the maximum potential load to prevent structural failure.