7 Steps to Prepare a Level Garden Shed Foundation
The scent of damp, disturbed earth signals the beginning of a structural intervention in the landscape. When the soil reaches a state of friable tilth, it is time to address the mechanical stability of your terrain. Learning how to prepare a site for a garden shed requires an understanding of the relationship between soil compaction and structural longevity. A poorly prepared site leads to uneven settling; this stresses the wooden frame of the shed and causes doors to bind as the wood loses its geometric integrity. You must respect the soil profile before introducing a heavy load. This process begins with assessing the drainage capacity of the rhizosphere and ensuring the underlying substrate can support a static load without shifting. Proper site preparation prevents moisture from wicking into the floor joists, which would otherwise trigger fungal decay and structural senescence. By stabilizing the earth first, you ensure the garden shed remains a functional asset rather than a sinking liability.
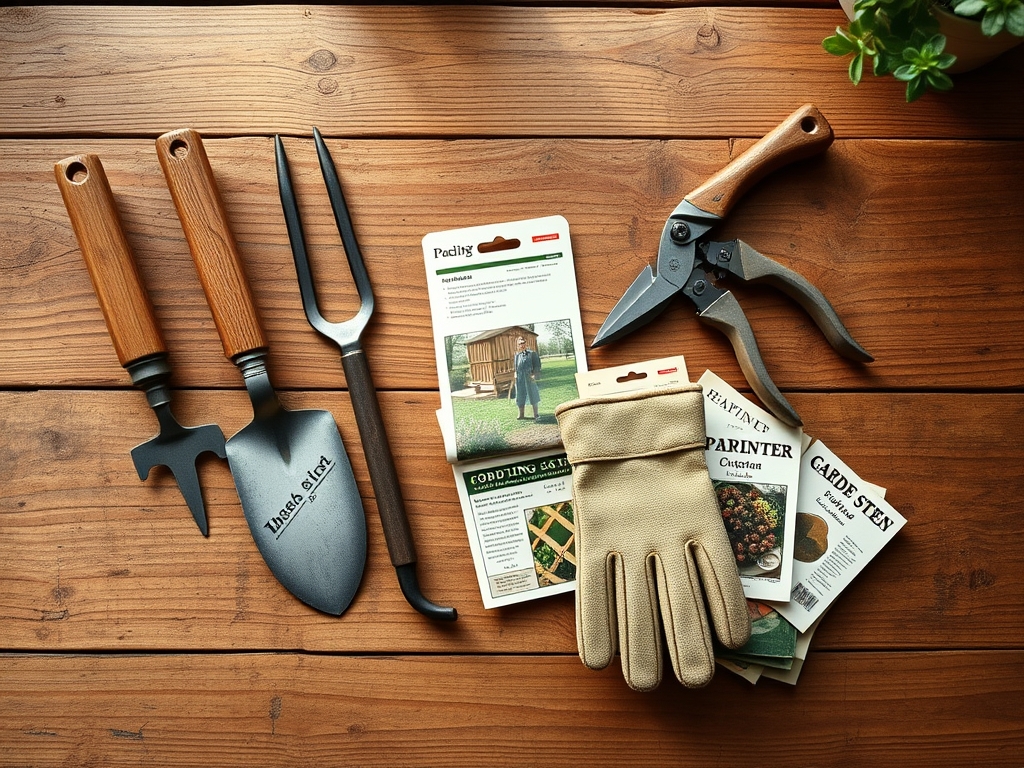
Materials:
The success of your foundation depends on the chemical and physical properties of the substrate. For areas surrounding the shed where you intend to integrate ornamental or functional plantings, aim for a **pH range of 6.2 to 6.8**. This range optimizes the **Cation Exchange Capacity (CEC)**, allowing the soil to hold and release essential nutrients like calcium and magnesium.
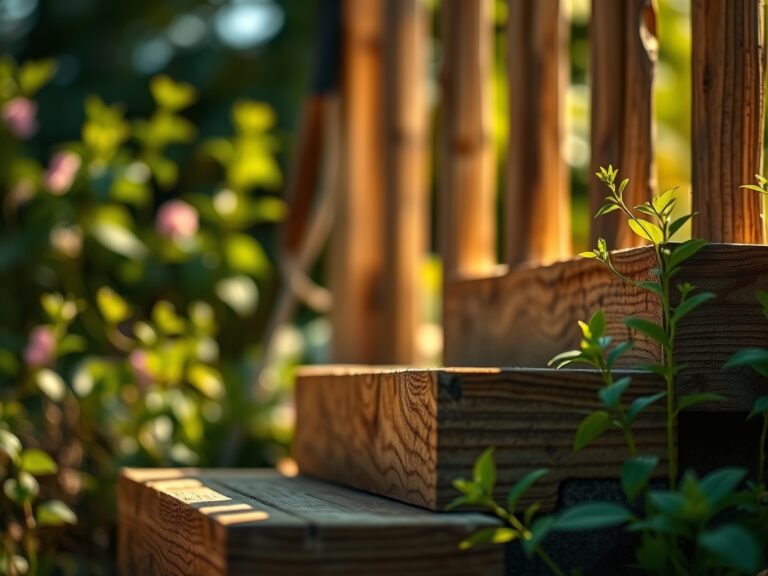
Your primary material for the foundation base should be 3/4-inch crushed angular stone. Unlike rounded river rock, angular stone locks together under pressure to create a stable, non-shifting surface. If you are planting around the perimeter, ensure your soil is a friable loam consisting of 40 percent sand, 40 percent silt, and 20 percent clay. For initial establishment of perimeter flora, use a balanced NPK ratio of 10-10-10 to provide immediate bioavailability of nitrogen for foliage, phosphorus for root development, and potassium for cellular turgor. Avoid heavy clay soils with poor drainage, as they will retain water against the foundation and lead to anaerobic conditions that rot both roots and wood.
Timing:
In Hardiness Zones 3 through 7, the window for site preparation is dictated by the frost line. You must wait until the soil has thawed completely and the moisture content has dropped enough that the soil does not form a solid ribbon when squeezed. Excavating frozen or waterlogged soil destroys the soil structure and leads to permanent compaction.
The "Biological Clock" of your landscape must be considered if you are relocating plants to clear the site. Move perennial species during their dormant phase, typically in late winter or early spring before the transition from vegetative to reproductive stages. This timing minimizes transplant shock because the plant is not yet diverting energy toward foliar expansion or flowering. Aim for a soil temperature of at least 50 degrees Fahrenheit before pouring any concrete or setting heavy stone; this ensures the ground has finished its seasonal heaving.
Phases:

Sowing the Perimeter
Once the site is leveled, you may choose to sow low-growth grasses or groundcovers to prevent erosion around the new structure. Ensure the seed-to-soil contact is maximized by raking the top 0.5 inches of soil. Use a seed mix appropriate for your light levels, keeping in mind the shed will create a permanent shadow on its northern side.
Pro-Tip: Monitor the photoperiod of the site. Plants on the north side of the shed will experience reduced light, which can lead to "leggy" growth due to phototropism, where the plant elongates cells on the shaded side of the stem to lean toward the sun.
Transplanting and Clearing
When removing existing vegetation to prepare the site, use a hori-hori knife to cut through stubborn root mats. Dig a radius at least twice the width of the root ball for any plants you wish to save. Keep the roots moist and covered with burlap to prevent the fine root hairs from desiccation.
Pro-Tip: When replanting, inoculate the roots with mycorrhizal fungi. This creates a mycorrhizal symbiosis that effectively extends the root system, increasing the plant's ability to uptake phosphorus and water in the disturbed soil.
Establishing the Base
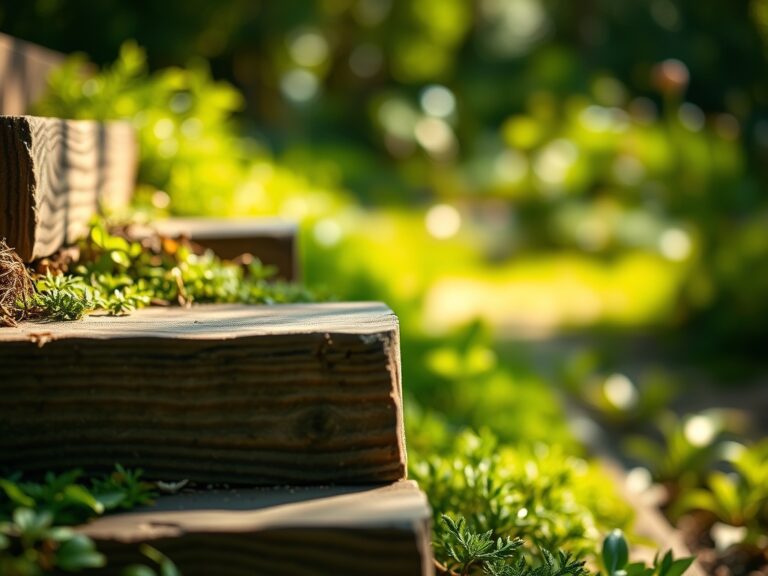
Excavate the area to a depth of 6 inches. Install a landscape fabric barrier to prevent the upward migration of soil into your stone base. Fill with 4 inches of crushed stone and compact it using a plate compactor until the surface is level within 1/8 inch across the span.
Pro-Tip: Ensure the site has a slight grade of 2 percent sloping away from the shed. This utilizes gravity to prevent water accumulation, which avoids auxin suppression in nearby plants caused by waterlogged, anaerobic roots.
The Clinic:
Physiological disorders often arise when the soil environment is altered by construction. Monitor nearby plants for these symptoms:
- Symptom: Interveinal Chlorosis. The leaves turn yellow while the veins remain green.
- Solution: This is often a sign of Iron or Manganese deficiency caused by high pH. Test the soil; if the pH is above 7.0, apply elemental sulfur to acidify the rhizosphere.
- Symptom: Leaf Scorch. Edges of the leaves appear burnt or brown.
- Solution: This indicates a lack of potassium or excessive salt buildup. Flush the area with 2 inches of water to leach salts and apply a high-potassium fertilizer (0-0-50).
- Symptom: Stunted Growth and Purple Foliage.
- Solution: This is a classic Phosphorus deficiency, common in cold, wet soils. Increase the soil temperature if possible or apply a water-soluble high-phosphorus "starter" fertilizer.
Maintenance:
A stable site requires ongoing moisture management. Use a soil moisture meter to ensure the perimeter remains at a consistent hydration level. Most established landscape plants require 1.5 inches of water per week delivered at the drip line. Use bypass pruners to keep vegetation at least 12 inches away from the shed walls; this allows for airflow and prevents the microclimate against the shed from becoming too humid, which encourages powdery mildew. Inspect the stone base annually for settling. If the shed begins to tilt, use a jack to level the frame and add additional crushed stone to the low points.
The Yield:
If your shed site includes a "potting station" with nearby herb or flower beds, harvesting at the peak of physiological maturity is vital. For woody herbs like rosemary or lavender, harvest in the morning after the dew has evaporated but before the sun is at its zenith. This preserves the essential oils within the glandular trichomes. Cut stems at a 45-degree angle using a sharp blade to maintain turgor pressure. Place harvested material immediately into a cool, shaded area to slow the rate of senescence and respiration, ensuring "day-one" freshness for culinary or decorative use.
FAQ:
How deep should I dig for a gravel shed pad?
Excavate to a depth of 6 inches. Remove all organic matter and topsoil. Fill with 4 inches of compacted angular stone and 2 inches of leveling screenings to ensure a stable, well-drained foundation for the structure.
Can I build a shed on a slope?
Yes, but you must create a level "cut and fill" or use a post-and-beam foundation. Ensure the uphill side has a French drain to redirect runoff away from the shed base and prevent soil erosion.
What is the best base for a garden shed?
A crushed stone pad is superior to concrete for most garden sheds. It provides excellent drainage, is easier to level, and prevents the wood floor joists from rotting by allowing moisture to escape the sub-floor area.
Do I need a weed barrier under my shed?
Always install a heavy-duty geotextile fabric between the soil and the gravel. This prevents weeds from emerging through the stone and keeps the gravel from sinking into the native soil over time, maintaining structural integrity.