9 Steps to Prepare an Outdoor Tool Care Blog Station
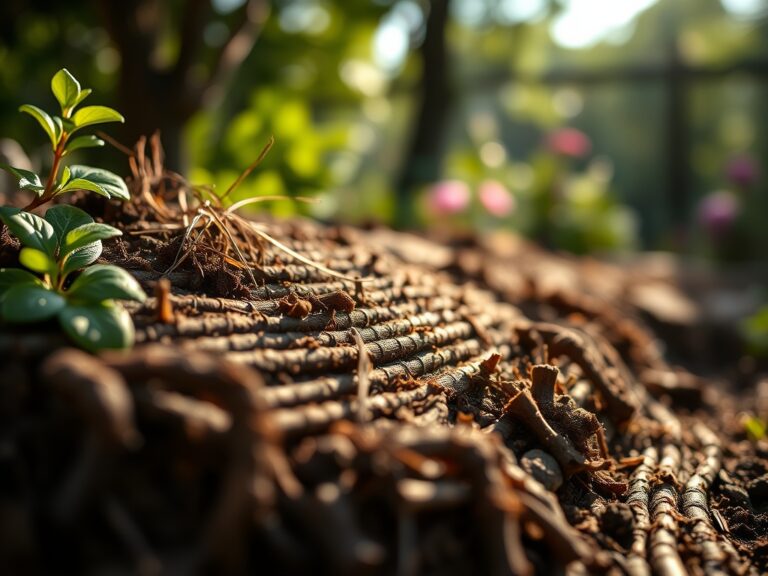
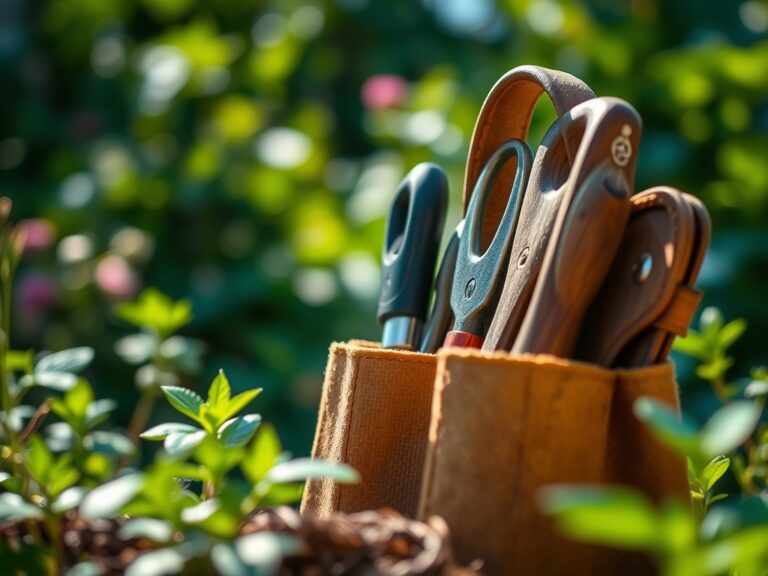
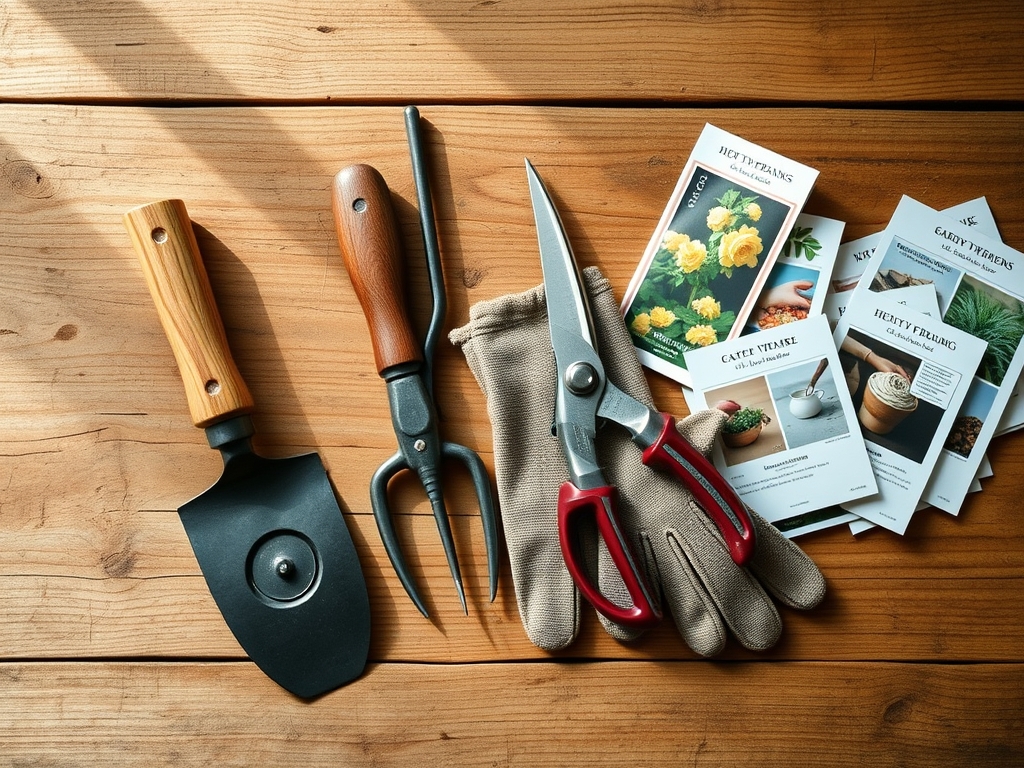
The scent of damp earth and decaying organic matter signals the transition into a new growing season. A healthy leaf maintains high turgor pressure; its cells are fully hydrated and rigid against the wind. Success in the field requires more than just seeds and water. It demands a structured environment where photography and maintenance intersect. Learning how to prepare a garden for a tool care blog requires a meticulous approach to soil chemistry and spatial organization. Every spade and shear must be showcased against a backdrop of thriving botanical life. This guide provides the technical framework to build a functional and educational outdoor workspace.
Materials:
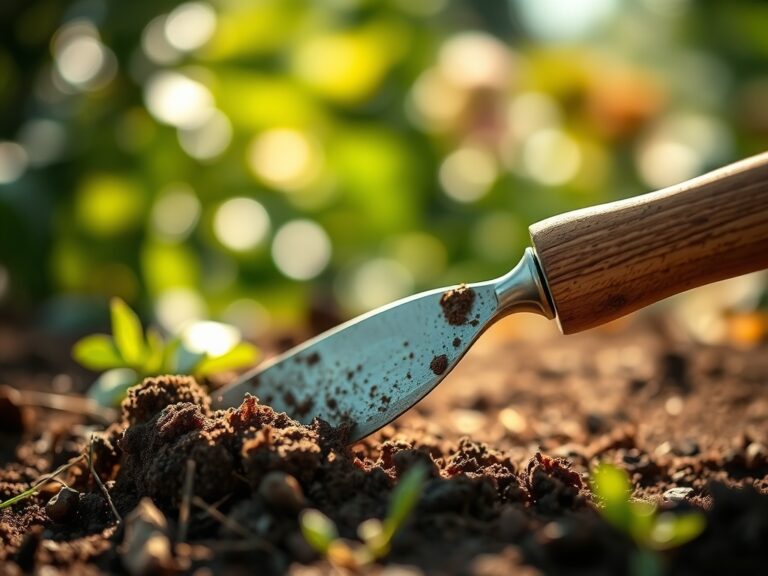
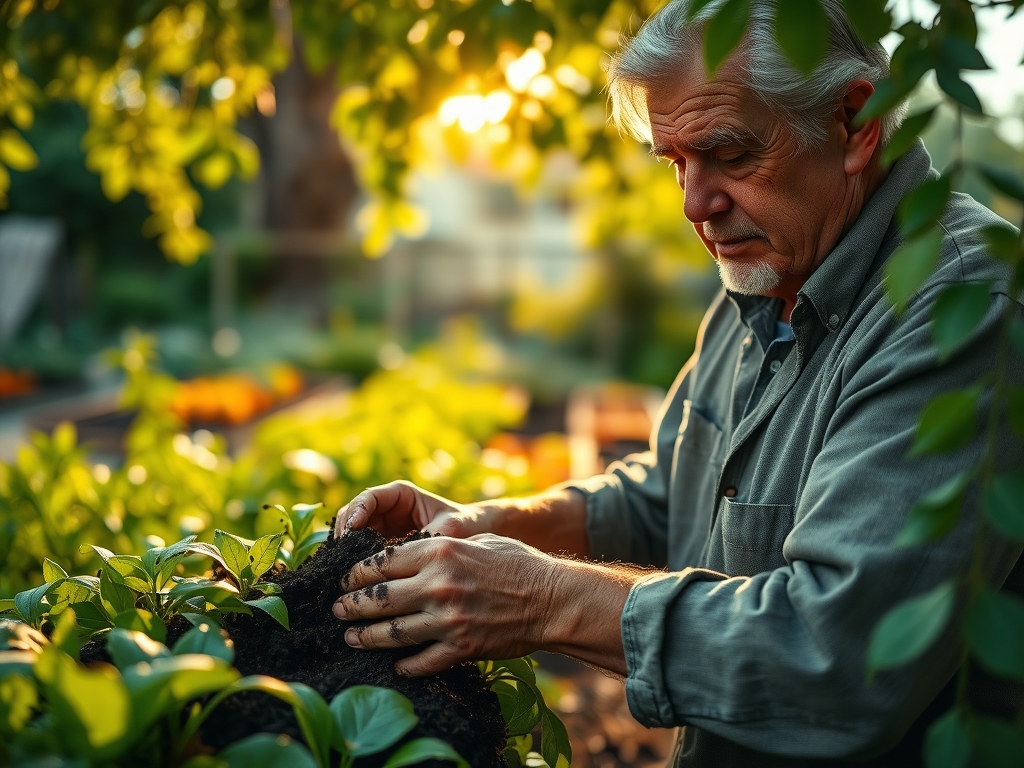
The foundation of a productive garden station is the substrate. You require a friable loam consisting of roughly 40% sand, 40% silt, and 20% clay. This texture ensures adequate pore space for oxygen exchange within the rhizosphere. The soil pH must be calibrated between 6.2 and 6.8 to optimize nutrient bioavailability.
For the vegetative phase, utilize a fertilizer with an NPK ratio of 10-5-5. Nitrogen is the primary driver of chlorophyll production and leaf expansion. If the goal is flowering or root development, pivot to a 5-10-10 ratio. High phosphorus levels support ATP production and energy transfer within the plant. Ensure the soil has a high Cation Exchange Capacity (CEC) by incorporating well-rotted organic matter; this allows the soil to hold onto essential cations like calcium (Ca2+), magnesium (Mg2+), and potassium (K+).
Timing:
Timing is dictated by the USDA Hardiness Zones and the local frost-free window. In Zones 5 through 7, the primary preparation window begins in late March or early April when soil temperatures consistently reach 50 degrees Fahrenheit. Use a soil thermometer to verify this; planting in cold, anaerobic soil leads to root rot and fungal pathogens.
The Biological Clock of the garden is governed by the photoperiod. As daylight increases, plants transition from the vegetative stage to the reproductive stage. For a tool care blog, you must sync your maintenance schedule with these cycles. Pruning tools are best showcased during late dormancy (February) to prevent sap loss, while weeding tools are most relevant during the rapid growth phase of May and June.
Phases:
Sowing
Direct sow seeds at a depth approximately three times the diameter of the seed. Maintain a soil moisture level of 70% field capacity to trigger germination. Avoid over-compacting the soil, as this prevents the radicle from penetrating the substrate.
Pro-Tip: Proper seed-to-soil contact is essential because of imbibition. The seed must rapidly absorb water to activate metabolic enzymes that break down stored starches into energy for the emerging embryo.
Transplanting
When moving seedlings from a greenhouse to the outdoor station, ensure they have at least two sets of true leaves. Dig a hole twice as wide as the root ball to encourage lateral root expansion. Water immediately with a diluted seaweed extract to reduce transplant shock.
Pro-Tip: Minimize light exposure to the roots during this process to prevent photo-oxidation. Maintaining the integrity of the mycorrhizal symbiosis between fungal hyphae and root hairs increases the plant's surface area for water absorption by up to 100 times.
Establishing
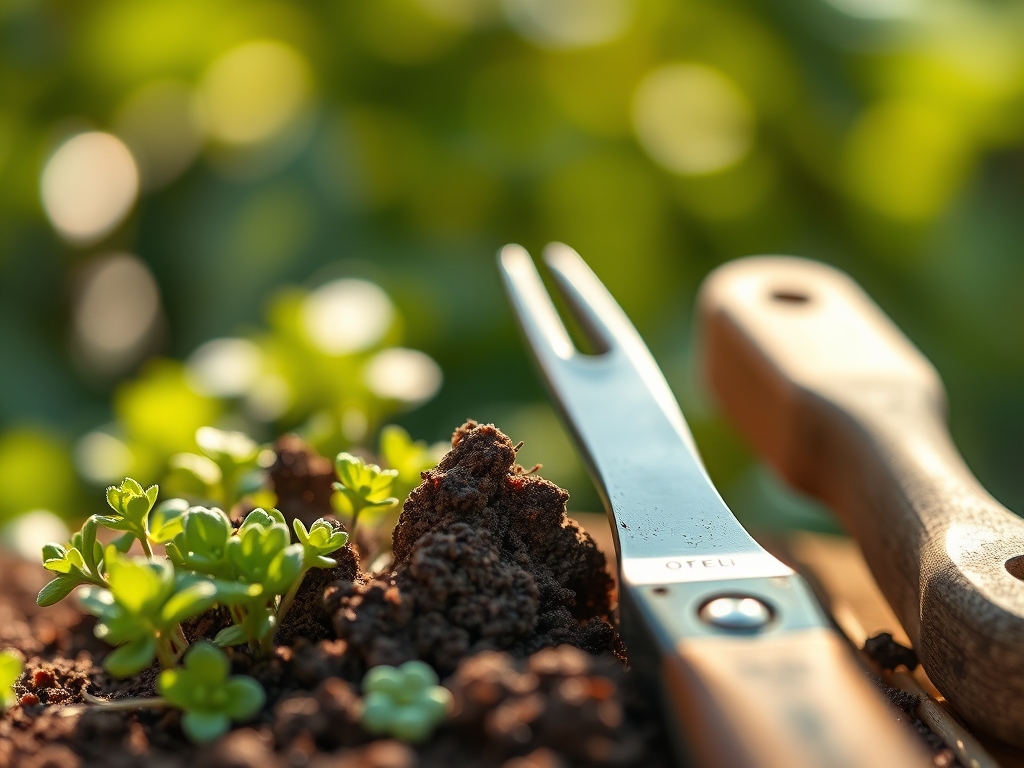
Once the plants reach a height of 6 to 10 inches, apply a 2-inch layer of organic mulch. This regulates soil temperature and prevents the "crusting" of the soil surface. This stage is where you demonstrate the use of hand tools for cultivation and aeration.
Pro-Tip: Use a hori-hori knife to remove deep-taproot weeds. This prevents auxin suppression; when the primary growing tip of a weed is removed, the plant often redirects energy to lateral buds, making the problem worse if the entire root system is not extracted.
The Clinic:
Physiological disorders often mimic infectious diseases but are caused by environmental stress or nutrient imbalances.
Symptom: Interveinal Chlorosis
- Cause: Iron or Manganese deficiency, often triggered by a soil pH above 7.0.
- Solution: Apply chelated iron or lower the pH using elemental sulfur.
Symptom: Blossom End Rot
- Cause: Calcium deficiency within the fruit, usually due to inconsistent moisture levels.
- Solution: Maintain steady irrigation to ensure the transpiration stream consistently carries calcium to the distal end of the fruit.
Symptom: Leaf Curl
- Cause: Extreme heat or low humidity causing excessive transpiration.
- Solution: Increase irrigation to 2 inches per week and provide 30% shade cloth during peak solar radiation (12:00 PM to 3:00 PM).
The Fix-It: Nitrogen Deficiency
If lower leaves turn a uniform pale yellow (senescence), the plant is scavenging nitrogen from old growth to support new growth. Apply a high-nitrogen liquid drench (e.g., fish emulsion) for immediate uptake through the roots and foliage.
Maintenance:
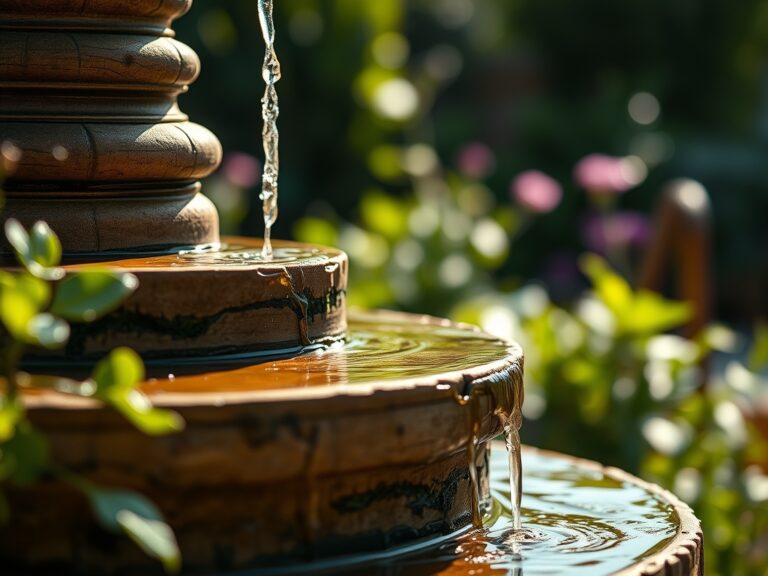
A blog-ready garden requires precision. Provide 1.5 inches of water per week delivered at the drip line. Avoid overhead irrigation to prevent the spread of foliar pathogens like powdery mildew. Use a soil moisture meter to verify that the moisture has penetrated at least 6 inches deep.
Keep your bypass pruners sharp and sterilized with 70% isopropyl alcohol between every cut. When pruning, make a 45-degree cut 0.25 inches above a lateral bud. This encourages healing through the formation of callus tissue. For soil aeration, use a hori-hori knife to gently break the surface tension without disturbing the primary root mass.
The Yield:
Harvesting for a blog requires visual perfection. Harvest leafy greens in the early morning when turgor pressure is at its peak. This prevents wilting. Use sharp bypass pruners to make clean cuts; jagged edges increase the rate of senescence and ethylene production, which leads to rapid spoilage.
For flowers or fruiting bodies, harvest just before the peak of maturity. Place the stems immediately into room temperature water (68-72 degrees Fahrenheit). This maintains the hydraulic column within the xylem, ensuring the plant remains "day-one" fresh for photography and demonstration.
FAQ:
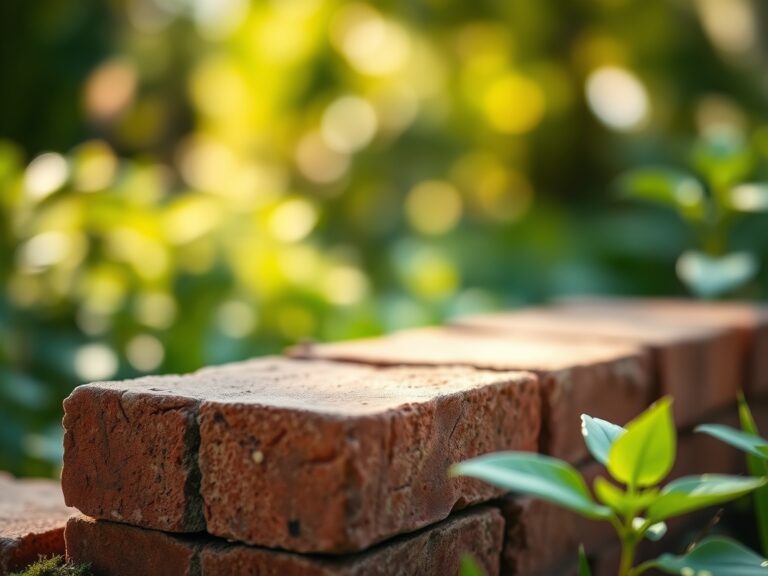
How do I fix compacted soil?
Incorporate organic matter like compost or aged manure to a depth of 8 inches. This improves soil structure and increases the macropore space, allowing for better oxygen diffusion to the root zone and improved drainage.
What is the best time to prune?
Prune most woody perennials during late dormancy, just before the buds swell. This minimizes the risk of pathogen entry and ensures that the plant's stored carbohydrates are directed toward new, vigorous growth in the spring.
Why are my plant leaves turning purple?
Purple coloration on the underside of leaves often indicates a phosphorus deficiency. This occurs most frequently in cold soils (below 55 degrees Fahrenheit), which limits the plant's ability to metabolize and transport phosphorus through the vascular system.
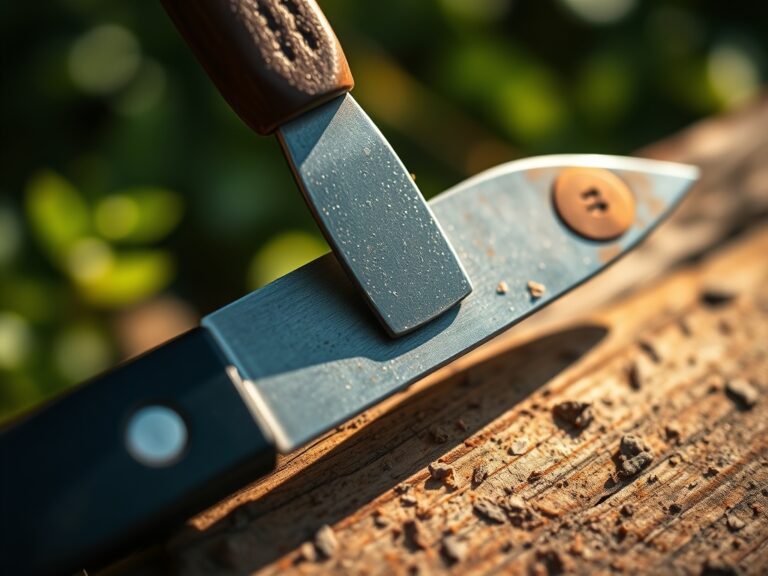
How often should I sharpen my tools?
Sharpen blades after every 10 hours of use or at the end of each season. A dull blade crushes plant tissue rather than slicing it, which creates a larger wound and increases the plant's vulnerability to fungal infections.