8 Steps to Prepare a Garage for a Tool Storage Blog
Crushed basalt crunching under a heavy boot and the smell of geosmin rising from disturbed earth signal the start of a serious growing season. Healthy plant development depends entirely on the turgor pressure within cellular walls; if the xylem cannot transport water efficiently, the entire biological system fails. Successful cultivators understand that technical precision outweighs aesthetic preference. Learning how to prepare a garden for a tool storage blog requires a rigorous assessment of the land before any documentation begins. You must analyze the mineral composition and drainage capacity of your site to ensure that the backdrop of your content reflects peak horticultural health. A garden that serves as a visual or instructional standard must exhibit perfect specimen vigor, free from the cellular stress of nutrient lockout or poor drainage.
Materials:
The foundation of any high-performing garden is a **friable loam** with a Cation Exchange Capacity (CEC) above 15. This texture allows for optimal gas exchange in the rhizosphere while retaining sufficient moisture. Your substrate must be balanced according to the specific needs of your botanical subjects. For general vegetative growth, aim for a soil pH between **6.2 and 6.8** to ensure maximum bioavailability of micronutrients.
Required inputs include:
- Nitrogen (N): Use a high-purity blood meal or urea (46-0-0) to drive chlorophyll production.
- Phosphorus (P): Apply bone meal or triple superphosphate (0-45-0) to support robust ATP transfer and root development.
- Potassium (K): Integrate sulfate of potash (0-0-50) to regulate stomatal opening and protein synthesis.
- Organic Matter: Incorporate composted stable manure to improve soil structure and increase the population of beneficial microbes.
Timing:
Timing is governed by the Hardiness Zone and the specific photoperiod requirements of your cultivars. In Zones 5 through 7, the window for spring preparation typically opens when soil temperatures consistently reach 55 degrees Fahrenheit. This temperature threshold is critical because it triggers the metabolic activation of soil microorganisms that convert organic nitrogen into plant-available nitrates.
Understanding the "Biological Clock" is essential for a tool storage blog. You must document tools during the transition from the vegetative stage (high auxin production) to the reproductive stage (increased gibberellin activity). For most temperate perennials, the ideal window for soil preparation is 4 to 6 weeks before the last predicted frost. This allows the soil profile to settle and the microbial colonies to stabilize before the primary root mass is introduced.
Phases:

Sowing
Direct seeding requires a finely tilth seedbed where the particle size does not exceed 0.25 inches. Ensure seed-to-soil contact by firming the surface to eliminate air pockets that cause radical desiccation.
Pro-Tip: Monitor the red to far-red light ratio. Some seeds are photoblastic and require specific wavelengths to break dormancy; covering them too deeply prevents the phytochrome receptors from triggering germination.
Transplanting
When moving starts from a nursery tray to the field, minimize root exposure to prevent "transplant shock." Dig a hole twice the width of the root ball to encourage lateral expansion into the native soil.
Pro-Tip: Inoculate the root zone with mycorrhizal fungi. This symbiotic relationship extends the effective surface area of the root system by 100 to 1,000 times, significantly increasing the uptake of immobile phosphorus.
Establishing
The first 14 days post-transplant are the establishment phase. Maintain consistent moisture levels to support high turgor pressure while the plant develops new fine-root hairs.
Pro-Tip: Use a liquid seaweed extract containing cytokinins. These hormones promote cell division and lateral bud development, which overrides apical dominance and results in a bushier, more resilient plant structure.
The Clinic:
Physiological disorders often mimic pathogen attacks but are frequently rooted in abiotic stress or mineral imbalances.
-
Symptom: Interveinal chlorosis on new growth.
-
Solution: This indicates an Iron (Fe) deficiency. Check soil pH immediately; if pH is above 7.0, iron becomes insoluble. Lower the pH using elemental sulfur or apply chelated iron foliar spray.
-
Symptom: Necrosis at the leaf margins of older foliage.
-
Solution: This is a classic Potassium (K) deficiency. The plant is translocating mobile K from old leaves to support new growth. Top-dress with kelp meal or potassium sulfate.
-
Symptom: Blossom end rot in fruiting bodies.
-
Solution: This is caused by a Calcium (Ca) transport failure. While often a lack of soil calcium, it is frequently caused by inconsistent watering which disrupts the transpiration stream. Maintain steady soil moisture.
Fix-It for Nitrogen Chlorosis: If the entire plant turns pale green or yellow, apply a high-nitrogen liquid fertilizer (e.g., fish emulsion) for immediate uptake. Nitrogen is highly mobile; expect to see a reversal of symptoms within 5 to 7 days.
Maintenance:
Precision maintenance is the difference between a surviving garden and a thriving one. Deliver 1.5 inches of water per week directly at the drip line to ensure deep root penetration. Surface sprinkling encourages shallow roots that are susceptible to heat stress.
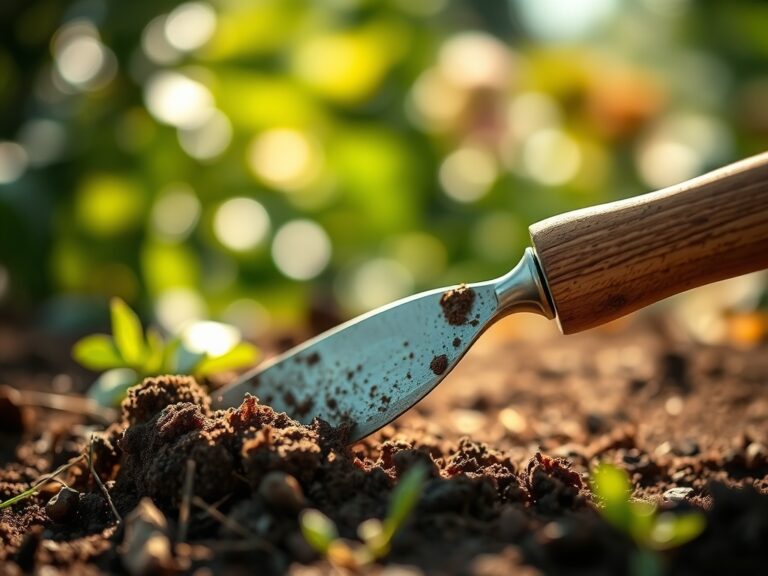
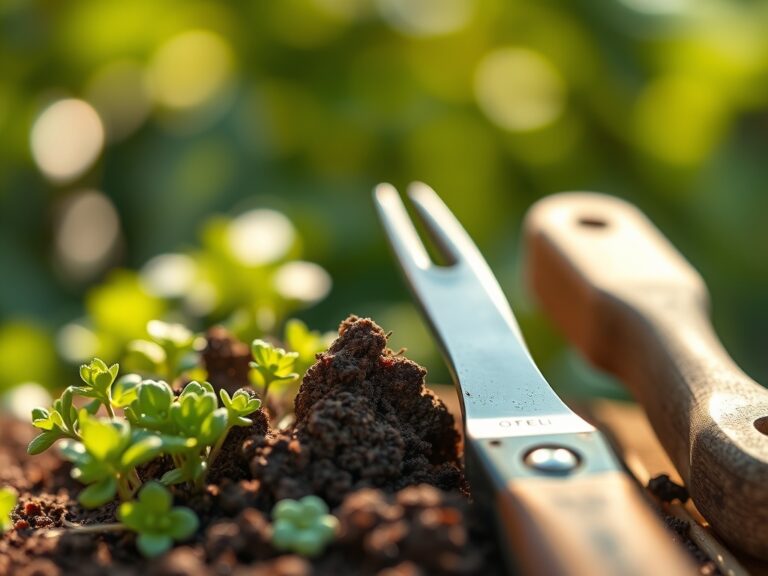
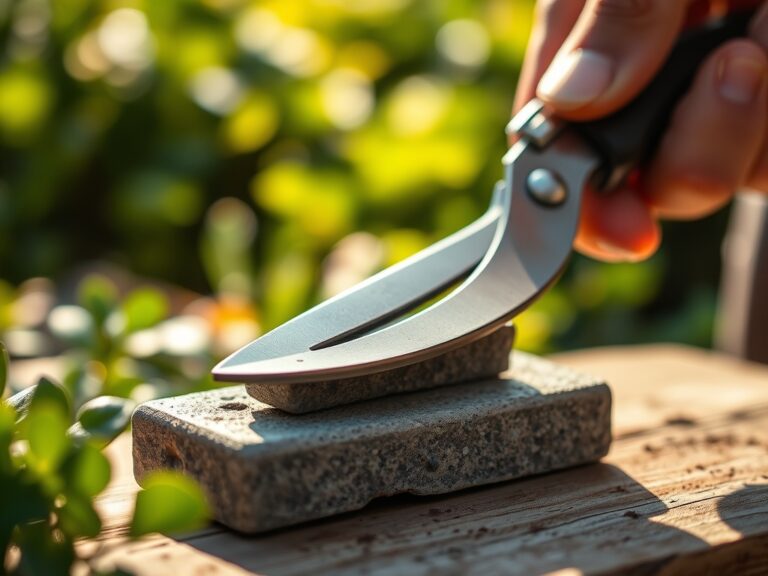
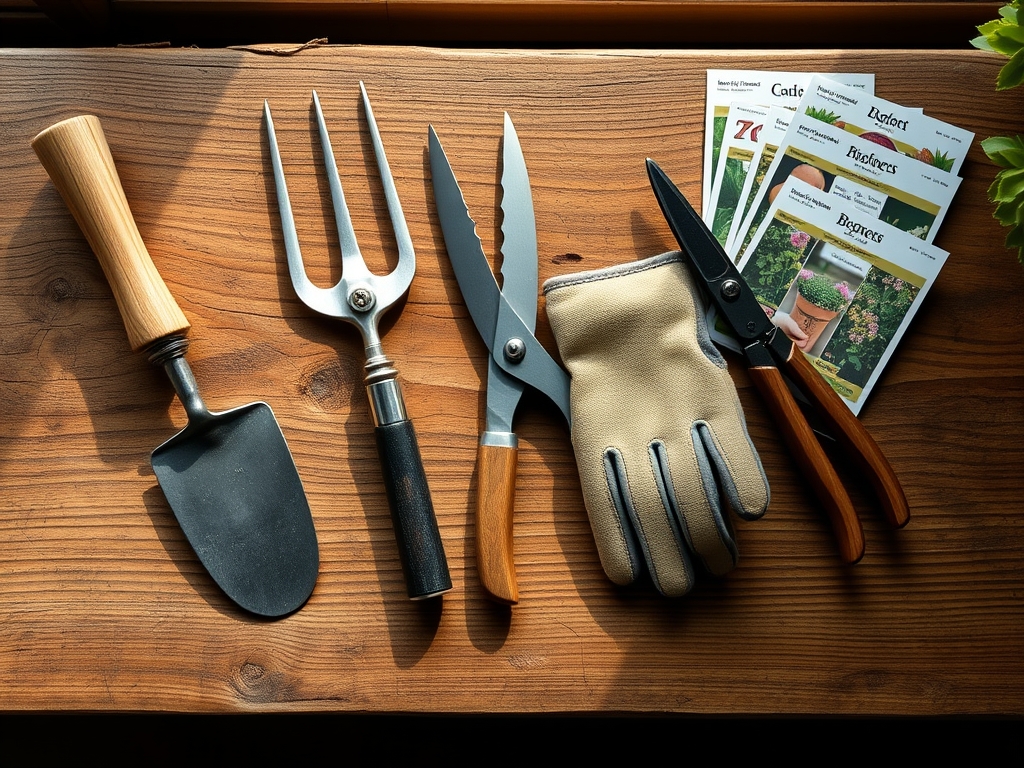
Utilize professional-grade equipment for all interventions. A hori-hori knife is the standard for weeding and precision planting; its serrated edge cuts through compacted root mats without destroying the surrounding soil structure. Use bypass pruners for all woody tissue removal to ensure a clean, scissor-like cut that heals faster than the crushing action of anvil pruners. Finally, never guess at hydration levels. Use a soil moisture meter calibrated to the specific density of your loam to determine exactly when the wilting point is approaching.
The Yield:
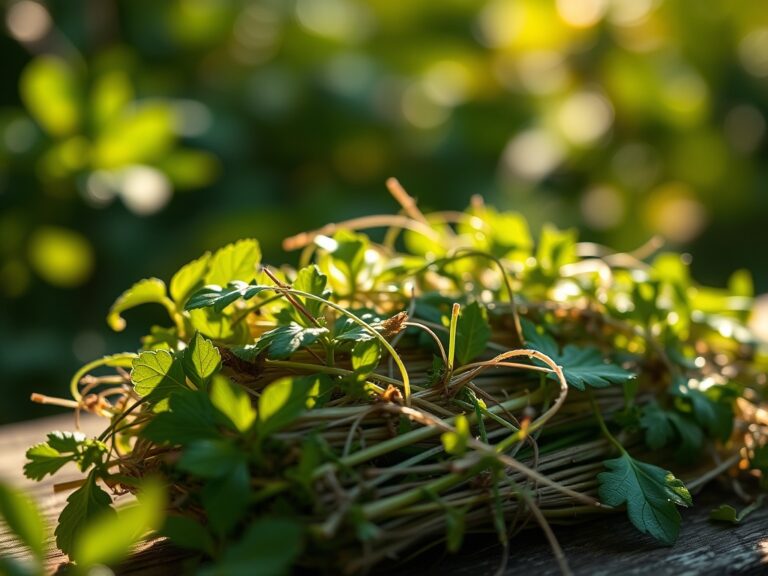
Harvesting is a race against senescence, the biological aging process. For maximum nutrient density and shelf life, harvest during the coolest part of the day, typically just before sunrise. This ensures the plant is at maximum turgidity.
When cutting flowers or harvesting leafy greens, use a sterilized blade to prevent the introduction of vascular pathogens. Immediately submerge the cut ends in 40-degree Fahrenheit water to remove field heat and slow the respiration rate. This "cold-chain" management preserves the sugars and volatile oils within the plant tissue, ensuring that the specimens photographed for your tool storage blog maintain their structural integrity and color for the duration of the shoot.
FAQ:
How do I fix compacted soil quickly?
Incorporate expanded shale or high-quality compost to a depth of 8 inches. Use a broadfork to aerate the subsoil without inverting the horizons. This preserves the existing microbial layers while improving oxygen diffusion to the rhizosphere.
What is the best way to prevent weeds?
Apply a 3-inch layer of arborist wood chips or straw. This creates a physical barrier that suppresses weed seed germination by blocking light and acts as a mulch to regulate soil temperature and moisture.
How often should I calibrate my pH meter?
Calibrate your digital pH meter once a month using a two-point buffer solution (pH 4.0 and 7.0). Accurate readings are essential because a deviation of 1.0 pH represents a tenfold change in acidity or alkalinity.
When is the best time to prune perennials?
Prune most perennials during their dormancy phase, typically in late winter or early spring before the first flush of growth. This prevents sap loss and allows the plant to direct its initial energy burst into new, healthy tissue.