9 Steps to Clean a Metal Garden Rake After Seasonal Use
Damp earth releases a sharp, geosmin-rich scent as the autumn air tightens, signaling the onset of plant senescence. At this stage, the turgor pressure in perennial stems drops and the vascular system slows its transport of nutrients. Neglecting your tools during this transition invites pathogens into your soil. Following the proper steps for cleaning a garden rake after use ensures that metal tines remain free of oxidative stress and fungal spores. Residual soil clinging to steel contains moisture and organic acids that trigger corrosion, which eventually compromises the structural integrity of the tool. A clean rake is a sterile vector, preventing the cross-contamination of your rhizosphere during the next planting cycle.
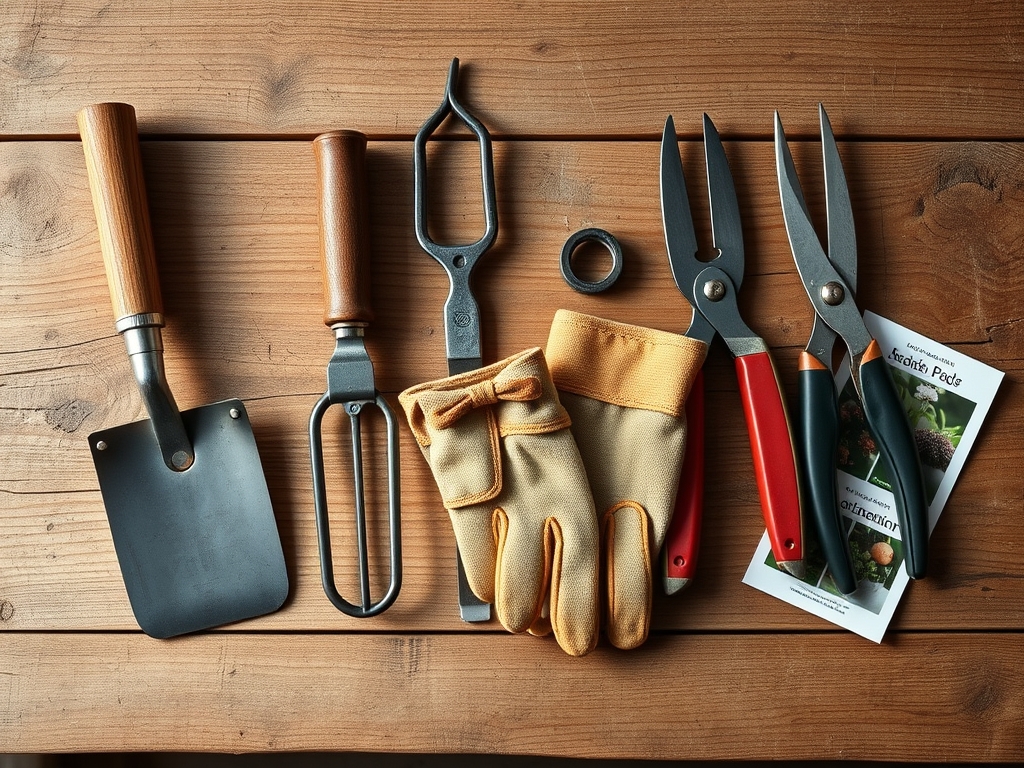
Materials:
Effective tool maintenance requires an understanding of the substrate being cleared. A **friable loam** with a **pH of 6.5 to 7.0** is the gold standard for most garden beds. This soil texture, composed of roughly 40 percent sand, 40 percent silt, and 20 percent clay, has a high **Cation Exchange Capacity (CEC)**. High CEC soils hold onto essential nutrients like Potassium (K) and Magnesium (Mg), but they also cling tenaciously to metal tines.
To manage the cleaning process, you require a stiff-bristled wire brush, a bucket of coarse builder's sand, and a high-grade mineral oil. For the subsequent growing season, you will need fertilizers with specific NPK ratios. A 10-10-10 balanced fertilizer is standard for general maintenance, while a 5-10-15 ratio supports root development in high-phosphorus environments. Ensure you have a supply of isopropyl alcohol (70 percent concentration) to neutralize any lingering soil-borne pathogens.
Timing:
Maintenance must align with the hardiness zones of your region. In Hardiness Zones 4 through 6, tool cleaning should be completed before the first hard frost, typically between October 15 and November 15. In Zones 7 through 9, the window extends into December. This timing coincides with the biological clock of the garden, specifically the transition from the vegetative stage to the reproductive and dormant stages. As plants enter dormancy, the metabolic rate drops. Cleaning your tools at this juncture prevents the overwintering of pests and fungi that could interfere with the spring surge of auxins and the breaking of bud dormancy.
Phases:

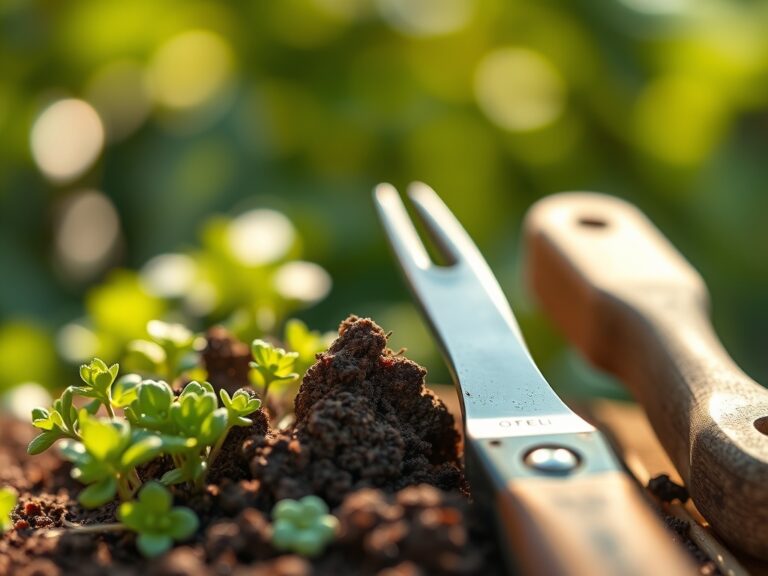
Sowing the Foundation: Mechanical Removal
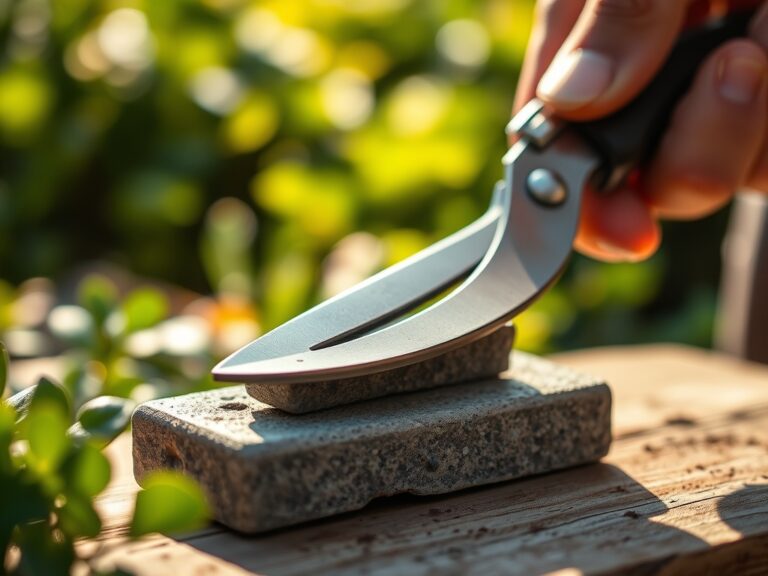
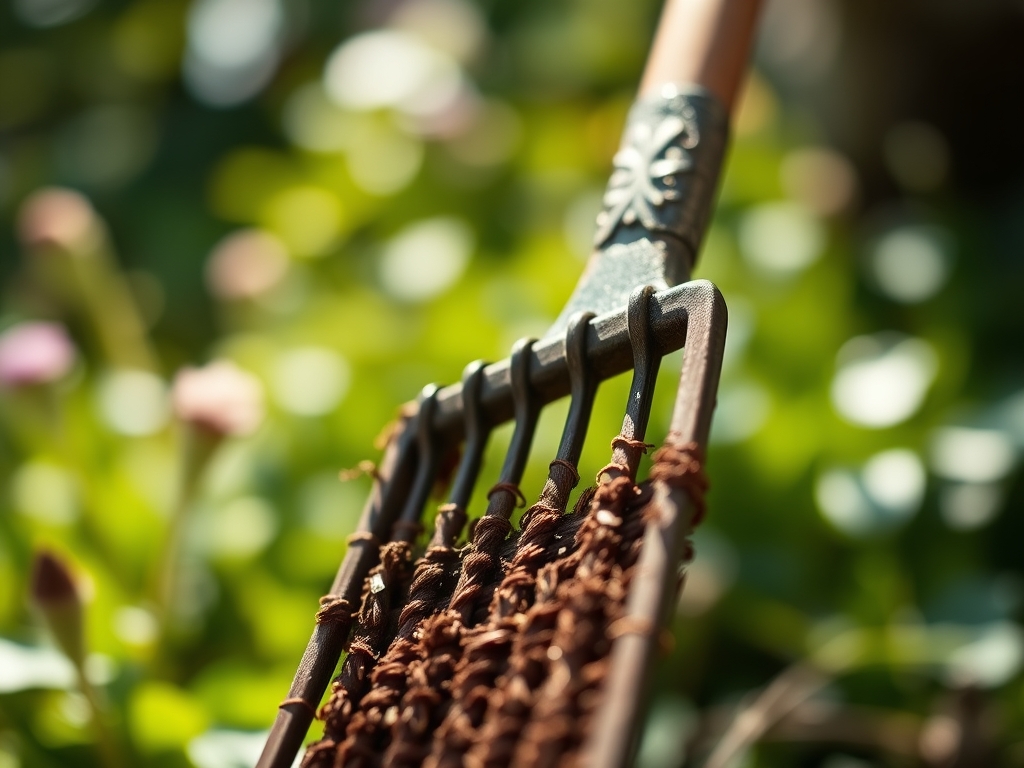
The first step involves the physical removal of bulk debris. Use a high-pressure hose to blast away clods of clay and silt. For stubborn, desiccated organic matter, use a hori-hori knife to scrape between the tines. This prevents the formation of anaerobic pockets where bacteria can thrive.
Pro-Tip: Removing organic matter prevents the localized acidification of the metal surface. This is vital because high acidity accelerates the ion exchange that leads to rust, mimicking the way roots alter the pH of the rhizosphere to uptake nutrients.
Transplanting to the Cleaning Station: Disinfection
Submerge the rake head in a solution of water and mild detergent, followed by a wipe-down with isopropyl alcohol. This step is non-negotiable if you have dealt with diseased foliage or blighted stems.
Pro-Tip: Disinfection interrupts the lifecycle of fungal spores. By eliminating these pathogens, you protect the mycorrhizal symbiosis in your soil for the following year, ensuring that beneficial fungi can colonize root systems without competition from harmful pathogens.
Establishing Protection: Oil and Sand
Fill a five-gallon bucket with sand and mix in one quart of motor oil or specialized tool oil. Plunge the rake head into the sand repeatedly. The abrasive nature of the sand polishes the metal, while the oil creates a hydrophobic barrier against atmospheric moisture.
Pro-Tip: The oil barrier prevents oxidation, which is chemically similar to the process of senescence in plants where cells break down. By excluding oxygen and water, you maintain the "turgor" or structural strength of the steel.
The Clinic:
When tools or plants fail, physiological disorders are often the culprit. Use the following diagnostic guide to identify and rectify issues.
- Symptom: Reddish-brown scaling on rake tines.
- Solution: Oxidation (Rust). Use a steel wool pad or a wire brush to remove the scale until shiny metal is visible, then apply a protective oil coating.
- Symptom: Yellowing of older leaves on garden plants (Chlorosis).
- Solution: Nitrogen deficiency. Apply a high-nitrogen fertilizer (e.g., 21-0-0 Ammonium Sulfate) to restore chlorophyll production.
- Symptom: Purple tinting on the underside of leaves.
- Solution: Phosphorus deficiency. This often occurs in cold soils where nutrient uptake is limited. Incorporate bone meal or a 0-20-0 Superphosphate into the soil.
- Symptom: Sticky residue on tool handles or leaves.
- Solution: Pest exudate (Honeydew). Clean tools with soap and water; treat plants with horticultural oil to disrupt the respiratory systems of aphids or scale.
Maintenance:
Precision is the hallmark of a professional horticulturist. During the active growing season, ensure your plants receive exactly 1.5 inches of water per week, delivered directly at the drip line to maximize root absorption. Use a soil moisture meter to verify that the root zone at a 6-inch depth remains consistently moist but not saturated.
When pruning, use bypass pruners for clean cuts that heal quickly, rather than anvil pruners which can crush vascular tissue. Every time you finish a task, repeat the rapid version of the steps for cleaning a garden rake after use: wipe away dirt, dry the metal, and apply a light mist of oil. This habit prevents the buildup of sap and resin that can dull blades and seize joints.
The Yield:
For those cultivating edible crops or cut flowers, timing the harvest is a matter of botanical science. Harvest leafy greens in the early morning when turgor pressure is at its peak; this ensures the leaves are crisp and full of water. For root crops, wait until the soil temperature drops below 50 degrees Fahrenheit to allow starches to convert into sugars.
Post-harvest, handle all produce with care to avoid bruising, which triggers ethylene gas production and accelerates spoilage. Store your cleaned tools in a vertical rack in a low-humidity environment to ensure they are ready for the next cycle of soil preparation.
FAQ:
How often should I clean my garden rake?
You should perform a basic cleaning after every use to remove moisture-trapping soil. A deep clean, including oiling and disinfecting, should occur at the end of every growing season or after working with diseased plant material.
Can I use vegetable oil to coat my tools?
Vegetable oil is a temporary solution but can become rancid and sticky over time. For long-term storage, use mineral oil or a dedicated tool lubricant. These substances provide a more stable, hydrophobic barrier against oxidation and rust.
What is the best way to remove rust from an old rake?
Use a coarse wire brush or 80-grit sandpaper to remove heavy scale. For deep pitting, soak the metal head in white vinegar for 24 hours, scrub with steel wool, and neutralize the acid with a baking soda solution.
Why is disinfecting tools necessary for soil health?
Pathogens like Fusarium and Phytophthora can survive on metal surfaces in dormant states. Disinfecting prevents these organisms from entering the rhizosphere of healthy plants, where they could compromise the root system and reduce nutrient uptake efficiency.