8 Steps to Sharpen High-Carbon Shears with a Coarse Stone
Turgor pressure within a plant stem provides the structural resistance necessary for a clean, surgical cut. When a gardener approaches a woody perennial, the smell of damp earth and the tactile feedback of a healthy leaf indicate a system in peak metabolic activity. A dull blade does not cut; it crushes vascular bundles, leading to tissue necrosis and opportunistic fungal infections. Mastering the steps for sharpening a garden shears with a stone is a fundamental requirement for maintaining plant health and ensuring rapid wound occlusion. A coarse whetstone, typically ranging from 220 to 400 grit, provides the necessary abrasive power to reshape a rolled or nicked edge. By removing oxidized metal and restoring the factory bevel, the horticulturist ensures that the xylem and phloem remain intact during pruning. This precision prevents the jagged tears that invite pathogens into the rhizosphere. Effective tool maintenance is not merely about aesthetics; it is a clinical intervention that preserves the integrity of the plant's hydraulic system.
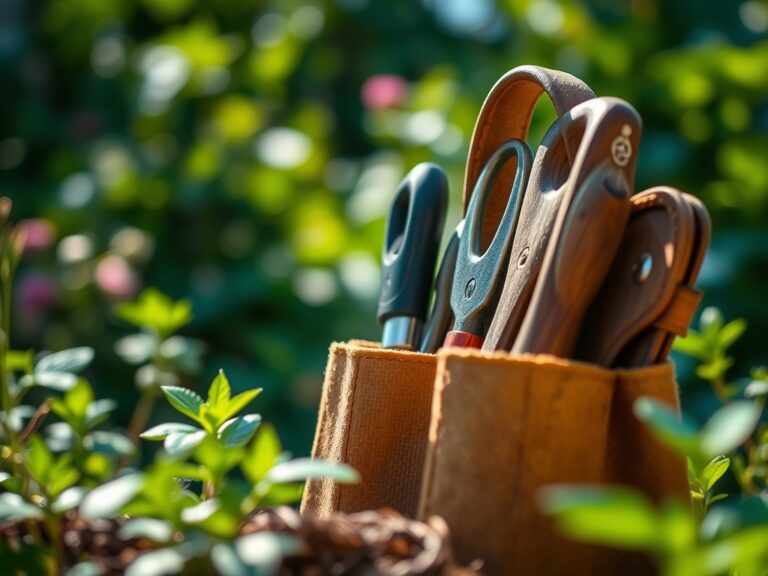
Materials:
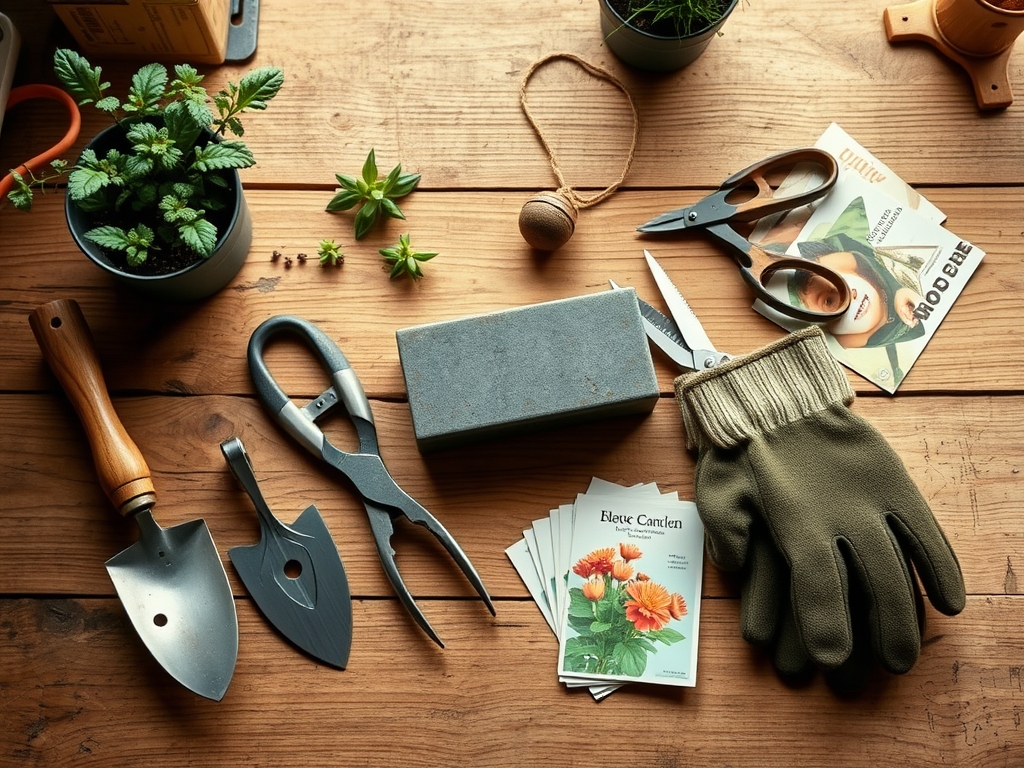
The workspace must be as controlled as a laboratory. While the shears require mechanical attention, the surrounding garden environment dictates the tool’s performance. Ideal pruning occurs in a **friable loam** substrate where soil pH is maintained between **6.0 and 7.0**. This acidity level optimizes the **Cation Exchange Capacity (CEC)**, allowing the plant to recover from pruning stress by efficiently absorbing Nitrogen, Phosphorus, and Potassium. Specifically, an **NPK ratio of 10-10-10** applied to the root zone post-pruning supports the metabolic demands of new growth. For the sharpening process, you require a **coarse silicon carbide stone**, a **honing lubricant** (either water or petroleum-based), **70 percent isopropyl alcohol** for sterilization, and a **microfiber cloth**. High-carbon steel is susceptible to oxidation; therefore, the sharpening environment should maintain low humidity to prevent flash rusting during the procedure.
Timing:
Maintenance schedules follow the biological clock of the garden. In Hardiness Zones 5 through 7, the primary window for heavy pruning and tool sharpening occurs during the dormant season, typically 4 to 6 weeks before the last frost date. This timing aligns with the transition from senescence to the early vegetative stage. Sharpening your tools during this window ensures they are ready when the plant's auxin levels begin to shift from the terminal buds to lateral shoots. For evergreen species, sharpening should occur before the spring flush to avoid damaging new tracheids. Monitoring the photoperiod is essential; as day length increases, the plant's metabolic rate rises, making it more sensitive to the ragged cuts produced by unmaintained equipment.
Phases:

Sowing the Edge
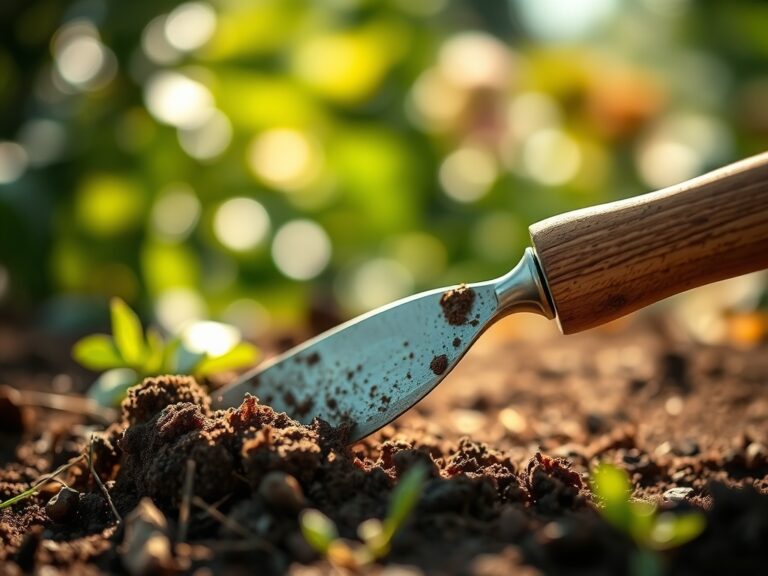
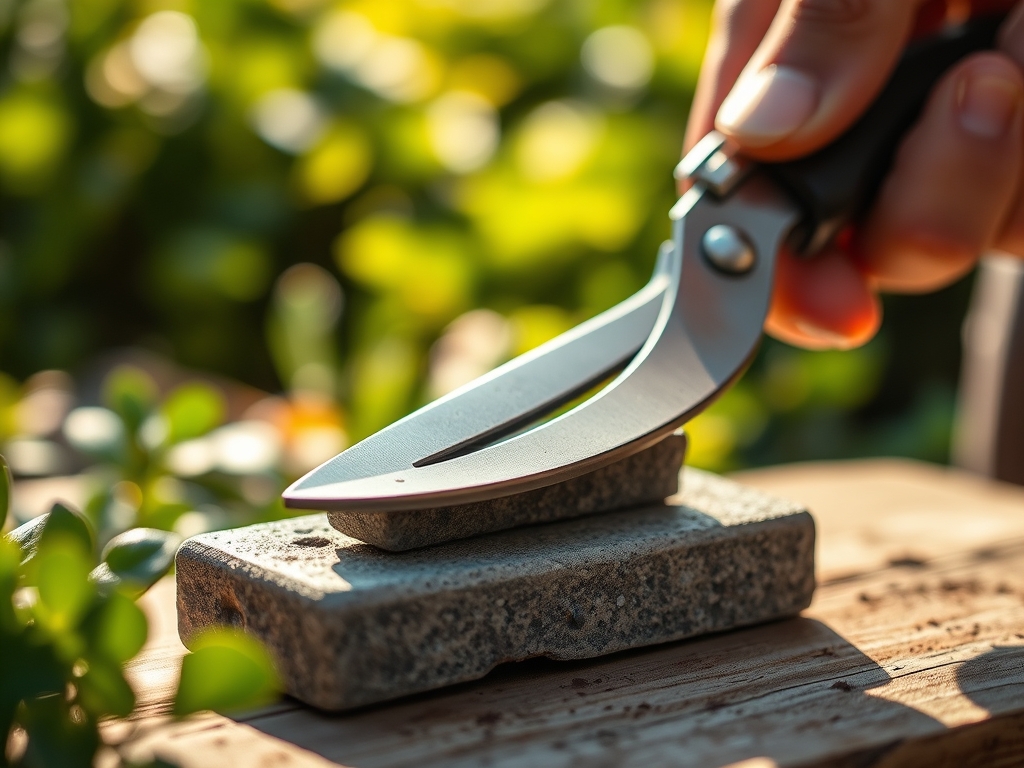
The first step involves cleaning the blade of all organic debris and sap. Use a wire brush to remove calcified mineral deposits and dried plant resins. Once clean, submerge the coarse stone in water for 10 minutes if using a whetstone. Hold the shears at a consistent 20-degree angle against the stone. Move the blade in a controlled, circular motion, ensuring the entire length of the cutting edge makes contact with the abrasive surface.
Pro-Tip: Maintaining a consistent angle is vital because it preserves the mechanical leverage of the bypass action. If the bevel is inconsistent, the shears will apply uneven pressure, causing "bark stripping," which disrupts the plant's ability to transport sugars via the phloem.
Transplanting the Burrs
After several passes on the coarse stone, a "burr" or wire edge will form on the flat side of the blade. This indicates that enough metal has been removed to reach the apex of the edge. Flip the shears and lightly draw the flat side across the stone to remove this burr. This ensures a flush fit between the cutting blade and the anvil or bypass hook.
Pro-Tip: Removing the burr prevents micro-lacerations on the plant tissue. Clean cuts allow the plant to utilize its natural compartmentalization of decay (CODIT) process, effectively sealing the wound against wood-boring insects and airborne spores.
Establishing the Finish
Once the edge is restored, apply a light coat of machine oil to the pivot point and the blade surfaces. Tighten the center bolt until the blades bypass each other with slight resistance but no lateral play. Test the sharpness by cutting a single sheet of paper; it should slice cleanly without snagging.
Pro-Tip: Proper tensioning prevents "scissoring," where the blades spread apart and crush the stem. This avoids auxin suppression in the lower nodes, allowing the plant to maintain its natural growth habit and apical dominance.
The Clinic:
Physiological disorders in plants often stem from poor pruning technique or nutrient imbalances.
- Symptom: Dieback at the pruning site. Solution: Sharpen shears to ensure a clean cut that does not hold moisture.
- Symptom: Yellowing of new leaves (Chlorosis). Solution: This indicates a Nitrogen deficiency. Apply a high-nitrogen fertilizer (e.g., 21-0-0) to the drip line.
- Symptom: Interveinal browning on older leaves. Solution: This suggests Magnesium deficiency. Supplement with Epsom salts to restore chlorophyll production.
- Symptom: Brittle stems and stunted terminal buds. Solution: Check for Calcium deficiency. Adjust soil pH to 6.5 to increase calcium availability and strengthen cell walls.
Maintenance:
Precision gardening requires consistent data monitoring. Use a soil moisture meter to ensure the root zone receives exactly 1.5 inches of water per week, delivered at the drip line to encourage lateral root expansion. When using a hori-hori knife for weeding or a bypass pruner for deadheading, always wipe the tool with alcohol between plants to prevent the spread of tobacco mosaic virus or fire blight. Store high-carbon shears in a bucket of dry sand mixed with 5 percent mineral oil to displace oxygen and prevent corrosion of the sharpened edge.
The Yield:
Harvesting is the culmination of proper tool maintenance. For edible crops, harvest during the "cool of the day," typically between 6:00 AM and 9:00 AM, when turgor pressure is at its maximum. Use your sharpened shears to make a clean 45-degree cut above a node. This technique maximizes the surface area for water uptake if the harvest is a cut flower. To maintain "day-one" freshness, immediately submerge the cut ends in 110-degree Fahrenheit water to remove air bubbles from the xylem, then transfer to a cool, dark environment to slow the rate of senescence.
FAQ:
How often should I sharpen my garden shears?
Sharpen shears every 10 to 15 hours of active use. If you notice the blade "pinching" the stems or requiring more force to close, the edge has likely rolled and needs immediate attention with a coarse stone.
Can I use a file instead of a stone?
A mill file is acceptable for large loppers, but for precision shears, a 400-grit stone is superior. It removes less metal while creating a smoother apex, which reduces the risk of tearing delicate plant vascular tissues.
Why does my blade rust after sharpening?
Sharpening exposes fresh, unoxidized high-carbon steel to atmospheric oxygen. Always apply a thin layer of silicon-based lubricant or mineral oil immediately after sharpening to create a hydrophobic barrier and prevent the formation of iron oxide.
What angle is best for garden shears?
Most bypass shears require a 20 to 23-degree bevel. Maintaining this specific geometry ensures the blade is thin enough to slice through cellulose but thick enough to resist chipping when encountering lignified wood or dense knots.