8 Tips to Use a Pointed Shovel for Heavy-Duty Renovation
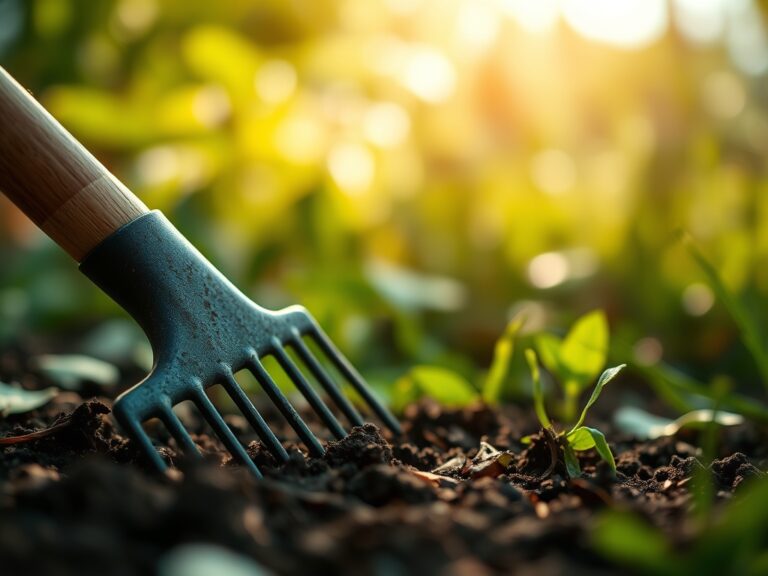
The scent of damp, disturbed earth signals the beginning of a structural overhaul. When the turgor pressure of overgrown perennials begins to decline or the soil profile becomes overly compacted, the physical labor of using a shovel for garden renovation becomes the primary driver of ecological success. A pointed shovel is not merely a digging tool; it is a high-leverage instrument designed to penetrate the rhizosphere and disrupt the mechanical bonds of clay-heavy substrates. In heavy-duty renovation, the goal is to reset the soil structure without destroying the delicate microbial networks that support plant life. Success depends on the angle of entry and the force applied to the step-plate. By utilizing the pointed tip to concentrate pressure, you can slice through dense root mats and lift large volumes of soil with minimal disruption to the surrounding landscape. This process requires a technical understanding of soil density and the physiological needs of the plants being relocated. Precision is the difference between a successful transplant and a total loss of specimen health.
Materials:

Heavy-duty renovation requires a substrate that facilitates rapid root re-establishment. The ideal medium is a **friable loam** with a **Cation Exchange Capacity (CEC) between 15 and 25 meq/100g**. This ensures the soil can hold and exchange essential nutrients like calcium and magnesium. For renovation projects involving heavy feeders, target a **soil pH between 6.2 and 6.8** to maximize nutrient bioavailability.
When amending the soil during the renovation process, incorporate organic matter to achieve specific NPK ratios. For general vegetative growth and root recovery, a balanced 10-10-10 fertilizer is standard; however, for establishing woody shrubs, a lower nitrogen ratio such as 5-10-10 prevents excessive soft growth that is susceptible to pathogens. Ensure the soil moisture is at field capacity before digging; bone-dry soil lacks the structural integrity to stay on the shovel blade, while saturated soil leads to anaerobic conditions and compaction.
Timing:
Renovation schedules must align with local frost dates and the Biological Clock of the target species. In Hardiness Zones 5 through 7, the primary window for heavy-duty digging opens in late autumn or early spring when plants are in a state of dormancy. During this period, the plant has transitioned from the reproductive stage to a low-metabolic state, minimizing the risk of transplant shock.
Wait for the soil temperature to reach at least 45 degrees Fahrenheit (7.2 Celsius) before attempting to move deciduous specimens. Digging during the transition from the vegetative to the reproductive stage is risky; the plant is diverting energy toward flowering or seed production, leaving fewer resources for root repair. Monitor the photoperiod; as days shorten in the fall, auxin levels shift to the roots, making it an ideal time for using a shovel for garden renovation to expand or relocate beds.
Phases:

Sowing and Soil Preparation
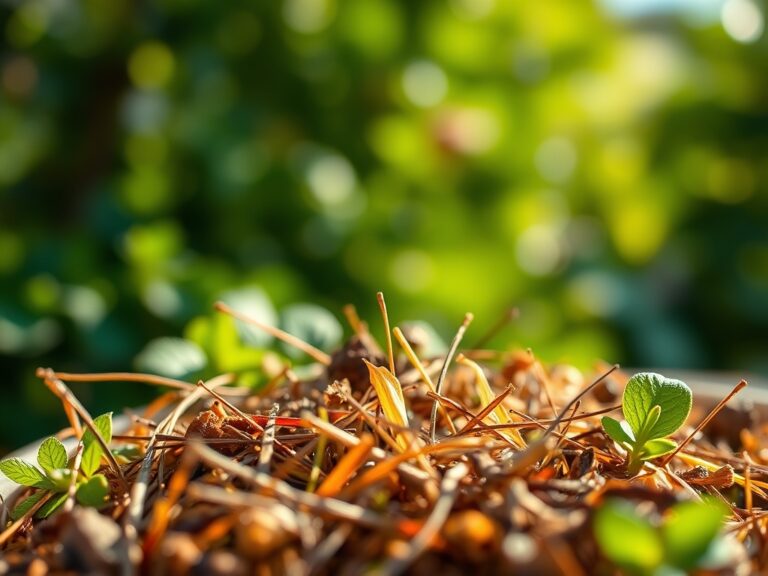
Before introducing new seeds or plants, use the pointed shovel to turn the soil to a depth of 12 to 18 inches. This mechanical aeration breaks up the "plow pan" layer that inhibits drainage. Incorporate compost at a rate of 3 inches of organic matter per 6 inches of soil depth.
Pro-Tip: Deep tilling facilitates mycorrhizal symbiosis. By breaking up compacted layers, you create macro-pores that allow fungal hyphae to expand, significantly increasing the root surface area for water absorption.
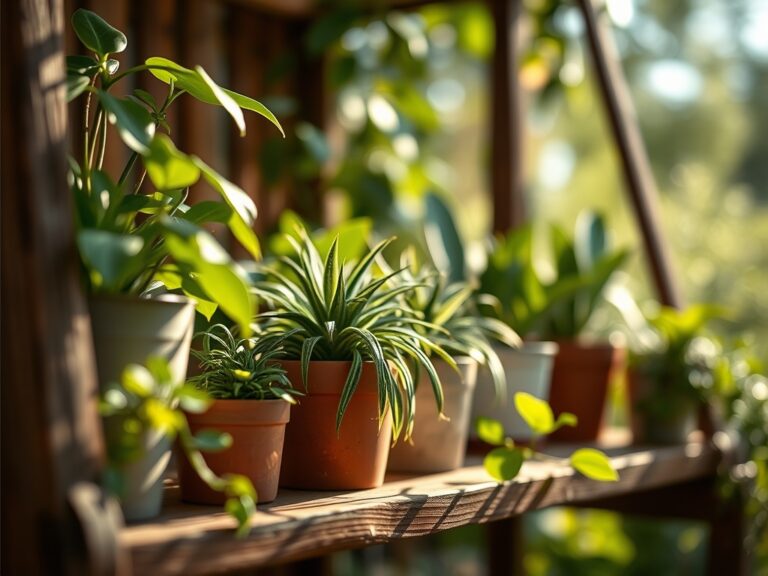
Transplanting Large Specimens
When moving established plants, use the shovel to cut a vertical trench around the drip line. The pointed tip allows for a surgical strike through lateral roots. Tilt the shovel handle backward to use the tool as a lever, lifting the root ball intact.
Pro-Tip: Maintain the original orientation of the plant relative to the sun to prevent phototropism stress. Rotating a plant 180 degrees during a move forces it to reorient its leaf canopy, wasting energy that should be used for root regeneration.
Establishing the New Bed
Once the renovation area is cleared, use the shovel to create "V" shaped trenches for drainage or planting rows. Ensure the bottom of the planting hole is firm, not loose, to prevent the plant from settling too deep and causing stem rot.
Pro-Tip: Avoid over-refining the soil. Leaving small clods of earth prevents surface crusting, which can block gas exchange between the atmosphere and the rhizosphere.
The Clinic:
Physiological disorders often manifest during the stress of renovation. Identifying these early is critical for plant survival.
Symptom: Interveinal chlorosis (yellowing leaves with green veins) on new growth.
Solution: This indicates Iron deficiency, often caused by high soil pH. Apply chelated iron and check if the shovel disturbed the root system's ability to uptake micronutrients.
Symptom: Marginal leaf burn or scorching.
Solution: This is frequently a sign of Potassium deficiency or salt accumulation. Flush the root zone with 2 inches of water and ensure the shovel did not sever more than 30 percent of the feeder roots.
Symptom: Stunted growth and purple-tinted foliage.
Solution: Phosphorus deficiency is common in cold, wet soils. Use a soil moisture meter to ensure the renovated area is not waterlogged, which prevents phosphorus mobility.
Fix-It for Nitrogen Chlorosis: If the entire leaf turns pale yellow, apply a high-nitrogen liquid fertilizer (e.g., 20-10-10) at half strength to provide an immediate boost to the chlorophyll synthesis process.
Maintenance:
Post-renovation care requires high precision. Provide exactly 1.5 inches of water per week delivered at the drip line to support the newly disturbed root system. Use a soil moisture meter to verify that the moisture has penetrated 8 inches deep.
Keep your tools in professional condition. Use a hori-hori knife for fine root pruning that the shovel cannot reach. If a branch is damaged during the renovation, use bypass pruners to make a clean cut at the branch collar to prevent disease. Monitor the soil surface for compaction; if the ground becomes hard, use the pointed shovel to gently "spike" the area, allowing oxygen to reach the roots without fully overturning the soil.
The Yield:
When renovating edible gardens, the timing of the harvest is dictated by sugar brix levels and fruit firmness. For root crops like carrots or parsnips, use the pointed shovel to loosen the soil 4 inches away from the plant before pulling. This prevents the taproot from snapping.
For "day-one" freshness, harvest during the cool hours of the early morning when turgor pressure is at its peak. Immediately move harvested produce to a shaded, cool environment to slow the rate of senescence and respiration. For floral renovations, cut stems at a 45-degree angle and submerge them in water immediately to maintain the hydraulic column within the xylem.
FAQ:
How deep should I dig when using a shovel for garden renovation?
For most renovations, a depth of 10 to 14 inches is required. This reaches the primary root zone of most perennials and breaks up surface compaction. Ensure you penetrate the "B" soil horizon to improve long-term drainage.
Can I use a pointed shovel in heavy clay soil?
Yes. The pointed tip reduces the surface area of the blade, allowing it to penetrate hard clay more easily than a square spade. Use a silicone spray on the blade to prevent clay from sticking during the renovation.
What is the best way to clean a shovel after use?
Remove all soil with a stiff brush. Rinse with water and dry thoroughly to prevent oxidation. Wipe the blade with a rag soaked in mineral oil to protect the steel and maintain a sharp edge for the next project.
When is it too late in the season to renovate?
Stop heavy digging once the ground freezes or when the plant enters the late reproductive stage (heavy fruiting). In most zones, avoid major soil disturbance within 4 weeks of the first hard frost to allow roots to settle.