9 Tips to Use a Garden Spade for Property Landscaping
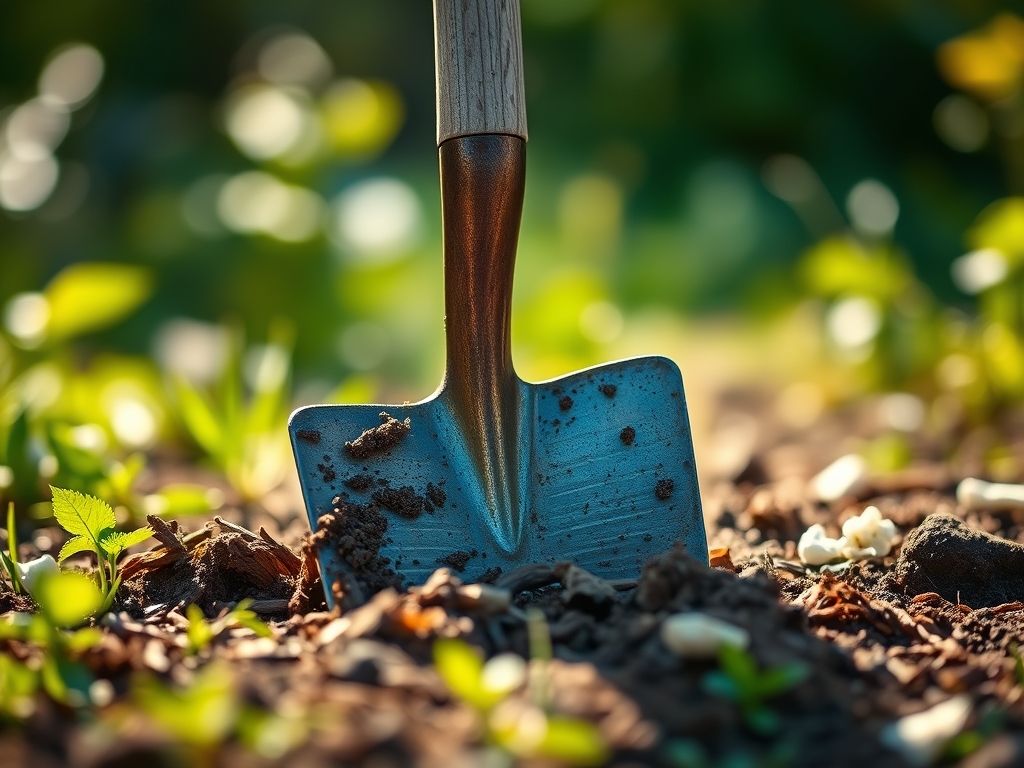
The scent of damp, anaerobic soil released during a deep cut signals a disruption of the rhizosphere that every serious land manager must master. When the spade blade slices through a dense mat of fibrous roots, the resistance felt is a direct measurement of soil compaction and bulk density. Using a spade for property landscaping is not merely about moving earth; it is a surgical intervention into the complex architecture of the soil profile. A sharp, forged steel blade provides the necessary mechanical advantage to penetrate heavy clays or rocky till while maintaining the structural integrity of the surrounding soil aggregates. Proper technique ensures that turgor pressure within the plant remains stable by minimizing root exposure to desiccating air. This guide provides the technical framework required to execute precise excavations and structural transitions across your acreage.
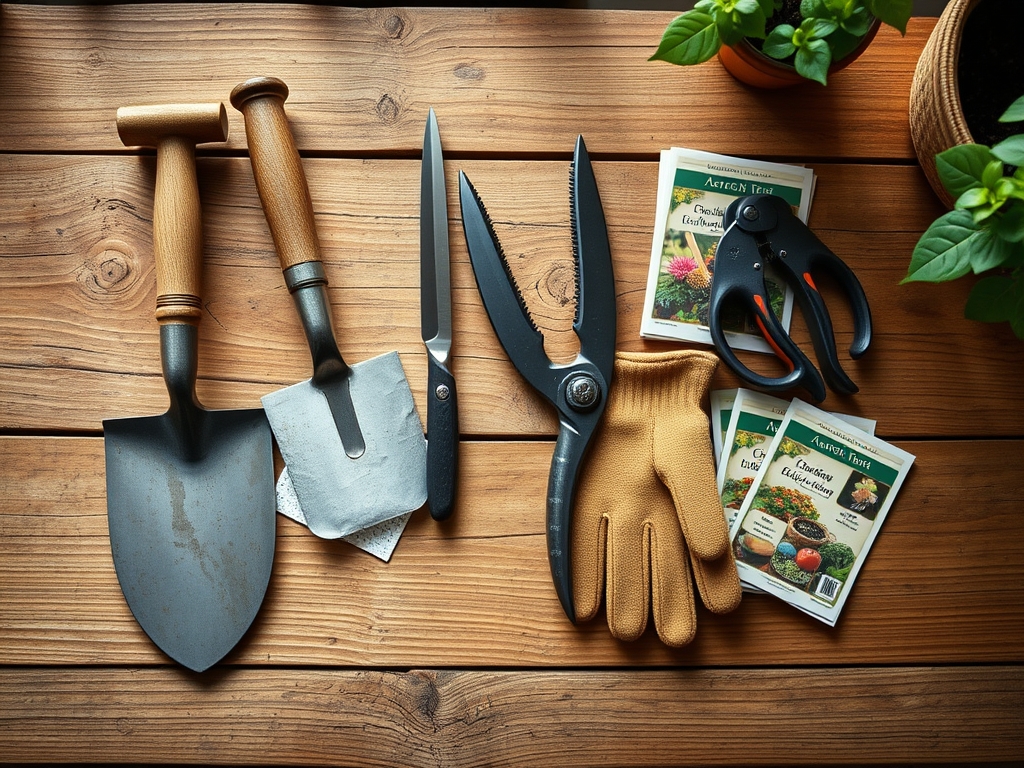
Materials:
The success of any landscaping project begins with the substrate. Ideal conditions consist of a **friable loam** with a balanced distribution of sand, silt, and clay. This texture allows for a high **Cation Exchange Capacity (CEC)**, typically ranging between **15 and 25 meq/100g**, ensuring nutrient availability. Soil pH should be maintained between **6.2 and 6.8** for most temperate landscape species to optimize phosphorus solubility.
When preparing a site, integrate organic matter to achieve specific nutrient targets. For vegetative growth, aim for an NPK ratio of 10-5-5. For woody perennials or flowering shrubs, shift to a 5-10-10 ratio to encourage root development and lignification. Ensure the soil moisture is at 50 percent field capacity before using a spade; saturated soil leads to puddled aggregates and destroyed pore space, while bone-dry soil causes excessive root shearing.
Timing:
Hardiness Zones 4 through 8 dictate the primary windows for heavy spade work. The most critical period occurs during the "Biological Clock" transition, specifically during the late dormant season or early spring before the "bud break" stage. For deciduous species, this is when the plant is in a state of senescence, and metabolic activity is minimal.
Avoid using a spade for property landscaping when the ground temperature is below 32 degrees Fahrenheit or when the frost line exceeds 2 inches in depth. The ideal window for transplanting is a 14-day period following the last hard frost but before the soil temperature reaches a consistent 55 degrees Fahrenheit. This timing allows roots to establish in the new site before the high transpiration demands of the summer solstice occur.
Phases:
Sowing and Bed Preparation
Before any seed hits the ground, the spade must be used to invert the top 8 to 12 inches of soil to bury weed seeds and incorporate amendments. This process aerates the soil, increasing the oxygen diffusion rate necessary for seed germination. Use the flat back of the spade to level the surface, creating a uniform seedbed.
Pro-Tip: Proper aeration via spading prevents anaerobic respiration in seeds. By increasing macropore space, you ensure that oxygen reaches the embryo, preventing the buildup of ethanol which can lead to seed rot.
Transplanting
When moving established specimens, the spade must be driven vertically to create a clean root ball. The diameter of the root ball should be at least 12 inches for every 1 inch of trunk caliper. Use a "sharp-shooter" spade for deep taproots to ensure the primary anchoring structures remain intact.
Pro-Tip: Maintaining a clean cut on the root ends stimulates the production of auxins. These hormones suppress apical dominance and trigger the growth of lateral "feeder" roots, which are essential for nutrient uptake in the new location.
Establishing
After placing the plant, use the spade to backfill the hole with native soil. Avoid adding high-nitrogen fertilizers directly into the hole, as this can cause osmotic shock. Firm the soil with the ball of your foot to remove large air pockets without over-compressing the rhizosphere.
Pro-Tip: Establishing a proper soil-to-root interface encourages mycorrhizal symbiosis. These beneficial fungi extend the reach of the root system, significantly increasing the plant's ability to absorb water and phosphorus during periods of environmental stress.
The Clinic:
Physiological disorders often manifest when the spade is used incorrectly or at the wrong time. Observe the foliage and growth patterns to diagnose these issues.
- Symptom: Interveinal chlorosis (yellowing between leaf veins) on new growth.
- Solution: This indicates Iron deficiency, often caused by high soil pH or poor drainage. Use the spade to incorporate elemental sulfur or chelated iron into the top 4 inches of the soil.
- Symptom: Marginal leaf scorch and wilting despite adequate watering.
- Solution: This suggests Root Shearing or mechanical damage from the spade. Prune the canopy by 20 percent using bypass pruners to reduce the transpiration load on the damaged root system.
- Symptom: Stunted growth and purplish tint on older leaves.
- Solution: This is a classic sign of Phosphorus deficiency. Phosphorus is immobile in the soil; use a spade to "trench-feed" a high-phosphorus bone meal directly into the root zone at a depth of 6 inches.
Maintenance:
A landscaped property requires rigorous upkeep to maintain its structural integrity. Apply 1.5 inches of water per week at the drip line, ensuring the moisture penetrates to a depth of 8 inches. Use a soil moisture meter to verify that the root zone is not becoming waterlogged, which can lead to root rot pathogens like Phytophthora.
Keep your tools in professional condition. Use a mill file to maintain a 45-degree bevel on your spade's edge. For finer work around delicate perennials, utilize a hori-hori knife to weed or transplant small plugs. Every three months, sanitize your bypass pruners with a 10 percent bleach solution to prevent the spread of vascular wilts. Monitor the mulch layer; it should never exceed 3 inches in depth and must be kept 2 inches away from the trunk flare to prevent bark decay.
The Yield:
When harvesting floral displays or woody stems for propagation, timing is paramount. Harvest in the early morning when turgor pressure is at its peak. Use a sharp spade to divide perennials like Hostas or Daylilies by slicing through the center of the crown.
To maintain "day-one" freshness for cut flowers or divisions, immediately submerge the roots or stems in water cooled to 40 degrees Fahrenheit. This rapid cooling slows down senescence and reduces the metabolic rate of the plant tissue. For woody cuttings, ensure at least three nodes are present, and remove the bottom leaves to prevent moisture loss through the stomata.
FAQ:
How do I clean a spade after use in heavy clay?
Scrape away bulk soil with a wooden shim. Use a stiff wire brush to remove oxidized particles. Wipe the blade with a rag soaked in mineral oil to prevent rust and maintain a low-friction surface for the next excavation.
Can I use a spade to edge my lawn?
Yes. A traditional half-moon spade or a standard garden spade driven vertically creates a clean 90-degree interface between turf and mulch. This physical barrier prevents rhizomatous grasses from encroaching into ornamental beds and improves drainage at the bed margin.
What is the best way to divide overgrown perennials?
Lift the entire root mass using a spade. Place two garden forks back-to-back in the center of the crown and pry them apart. Alternatively, use the spade to slice the crown into 4-inch sections, ensuring each section has viable buds.
How deep should I dig a hole for a new tree?
The hole should be two to three times wider than the root ball but no deeper than the root flare. Using a spade to roughen the sides of the hole prevents "pot-bound" growth where roots circle the smooth clay walls.
How do I prevent "spade-induced" soil compaction?
Never work the soil when it is overly wet. If a handful of soil forms a solid ball that does not crumble when poked, it is too wet. Use a broadfork or spade to lift and crack the soil rather than turning it.