6 Steps to Install a Privacy Screen for a Renovation
Damp earth releases a sharp, metallic scent of geosmin when the shovel first breaks the surface. A healthy privacy screen relies on high turgor pressure within the plant tissue to maintain upright structural integrity. Establishing these living barriers requires precision during a renovation to ensure long term survival. Following specific steps for installing a garden screen ensures that the root systems integrate with the native soil profile without experiencing transplant shock or moisture stress.
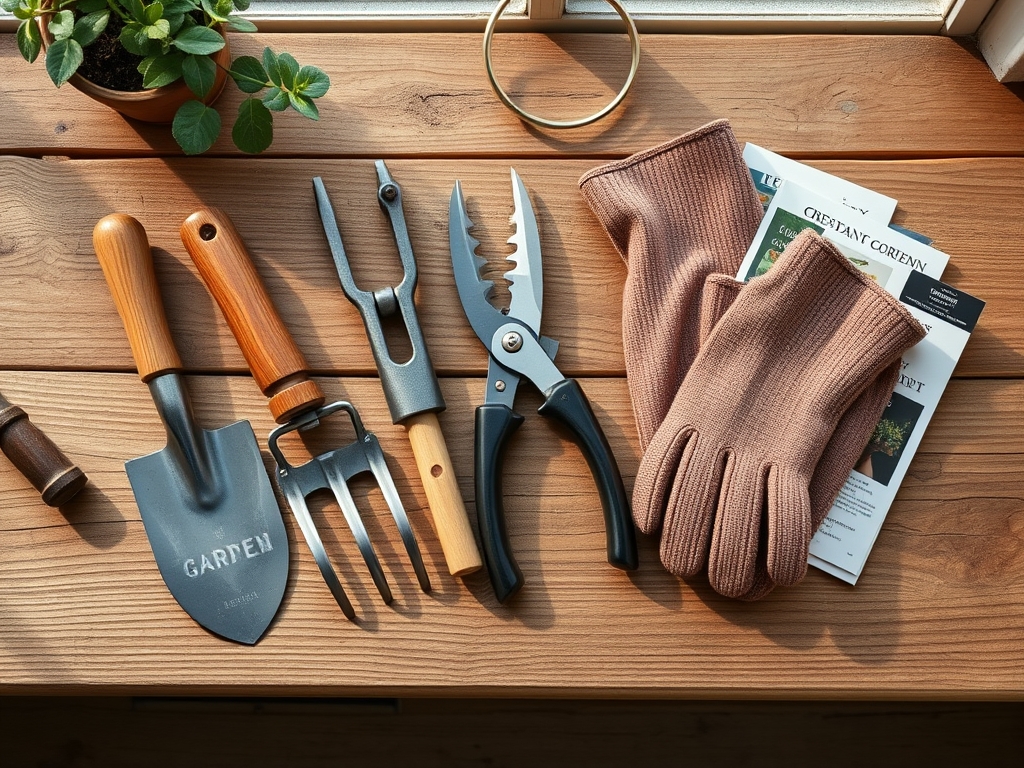
Materials:
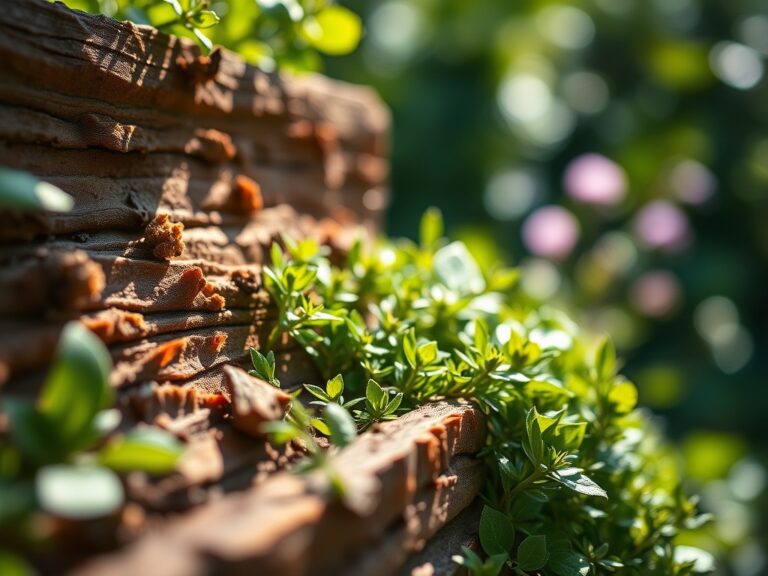
Success begins with the substrate. You require a **friable loam** that maintains a balance of macropores for aeration and micropores for water retention. The ideal soil pH for most screen species, such as *Thuja occidentalis* or *Taxus*, ranges between **6.0 and 7.0**. Soils with a high Cation Exchange Capacity (CEC) above **15 meq/100g** will better retain essential nutrients against leaching.
Before planting, incorporate a slow release fertilizer with an NPK ratio of 10-8-6. This higher nitrogen content supports the initial vegetative surge required for height. For woody perennials, ensure the phosphorus levels (the middle number) are sufficient to stimulate ATP production for root development. Avoid heavy clays that suffocate the rhizosphere; if the site is compacted from construction machinery, incorporate organic matter to break the plate like structure of the soil particles.
Timing:
Timing is dictated by the USDA Hardiness Zone. In Zones 5 through 7, the primary planting window opens in early spring once the soil temperature reaches a consistent 50 degrees Fahrenheit. This allows the root system to establish before the high evapotranspiration rates of summer. Alternatively, fall planting is effective if completed six weeks before the first hard frost, typically between September and October.
The biological clock of the plant is paramount. You must install the screen during the vegetative stage rather than the reproductive stage. Energy diverted to flowering or seed production reduces the resources available for root regeneration. By monitoring the photoperiod, you can ensure the plant has enough daylight hours to maximize photosynthesis and build carbohydrate reserves in the root zone before winter senescence begins.
Phases:
Sowing and Site Preparation
Clear all renovation debris from the site. Excavate a trench or individual holes twice as wide as the root ball but no deeper. If sowing seeds for a screen like Miscanthus, ensure a planting depth of 0.5 inches to allow light to trigger germination.
Pro-Tip: Use a hori-hori knife to score the sides of the planting hole. This prevents "glazing" in clay soils, which acts as a physical barrier to root penetration. Breaking this surface allows roots to access the surrounding soil via mycorrhizal symbiosis, where fungal networks extend the reach of the root system for phosphorus uptake.
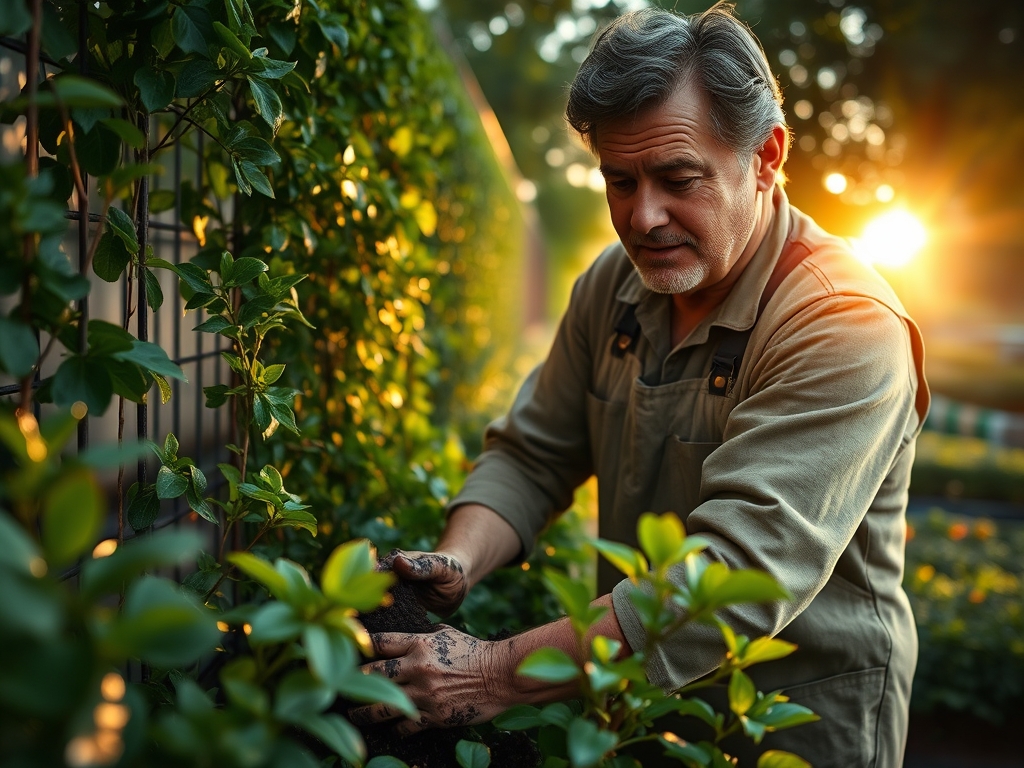
Transplanting
Remove the plant from its container and inspect for circling roots. If the plant is root bound, make four vertical cuts to encourage outward growth. Position the root flare exactly at the soil line. Planting too deep leads to stem suffocation and fungal infection.
Pro-Tip: Orient the plant so the "fullest" side faces the primary light source. This utilizes phototropism, where the plant naturally grows toward light. Proper orientation reduces the need for the plant to exert energy reorienting its canopy, allowing more resources for downward root expansion.
Establishing
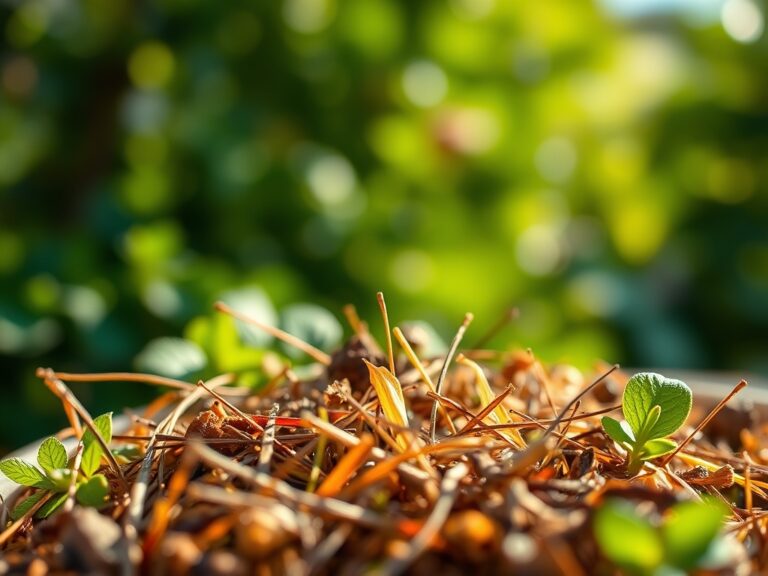
Backfill the hole with native soil, tamping down lightly to remove large air pockets without causing compaction. Apply a 3-inch layer of organic mulch, keeping it two inches away from the trunk. Water immediately to settle the soil and eliminate remaining air gaps around the roots.
Pro-Tip: Avoid heavy pruning during the first season to prevent auxin suppression. Auxins are hormones produced in the terminal buds that signal the roots to grow. By leaving the top growth intact, you ensure the hormonal signals for root development remain strong during the critical establishment phase.
The Clinic:
Physiological disorders often mimic disease but result from environmental stress.
- Symptom: Interveinal chlorosis (yellowing leaves with green veins).
Solution: This indicates Iron deficiency, often caused by high pH levels locking out micronutrients. Apply chelated iron and adjust soil pH to 6.5. - Symptom: Marginal leaf burn or browning tips.
Solution: This is typically Salt toxicity or drought stress. Flush the soil with 2 inches of water to leach excess salts and check the soil moisture meter. - Symptom: Needle drop from the inner canopy outward.
Solution: This is often Nitrogen chlorosis. The plant is mobile-nutrient deficient and is scavenging nitrogen from old growth to support new tips. Apply a 20-10-10 water soluble fertilizer. - Symptom: Wilting despite wet soil.
Solution: This indicates Root Anoxia. The soil lacks oxygen, causing root death. Improve drainage by installing a French drain or elevating the planting bed.
Maintenance:
Precision irrigation is the difference between survival and failure. Deliver 1.5 inches of water per week directly at the drip line. Using a soil moisture meter, ensure the moisture reaches a depth of 8 to 12 inches. Surface watering encourages shallow roots that are susceptible to heat stress.
Pruning should be performed with sharp bypass pruners to ensure clean cuts that callow quickly. Remove no more than 25 percent of the total canopy in a single season. For formal screens, prune in a "pyramid" shape where the base is wider than the top; this ensures light reaches the lower branches, preventing lower limb dieback due to shading. Monitor for pests by inspecting the undersides of leaves for mechanical damage or frass.
The Yield:
For screens utilizing species like Laurus nobilis or clumping bamboo, the "yield" is the biomass itself. Harvest lateral branches for propagation or culinary use only after the plant has reached 75 percent of its target height. Use a sterilized blade to make a 45 degree cut just above a node. To maintain "day-one" freshness for cuttings, immediately submerge the cut ends in 40 degree Fahrenheit water to maintain cellular turgor and prevent vascular air embolisms.
FAQ:
How deep should I dig the hole for a screen?
Dig the hole twice as wide as the root ball but no deeper than the original container. The root flare must remain at or slightly above the soil surface to prevent trunk rot and ensure proper oxygen exchange.
What is the best fertilizer for a new screen?
Use a balanced, slow release 10-10-10 or 10-8-6 NPK formula. Apply it in early spring as new growth emerges. Avoid high nitrogen late in the season, as it stimulates tender growth that frost will kill.
How often should I water a newly installed screen?
Provide 1.5 inches of water per week for the first two growing seasons. Check soil moisture daily during heat waves. Use a soil moisture meter to ensure the water reaches the entire root zone depth.
Why are the bottom branches of my screen dying?
This is usually caused by lack of sunlight. If the top of the screen is wider than the bottom, it shades the lower limbs. Prune the screen into a slight taper to allow light to reach the base.
When is the best time to prune for density?
Prune in late winter or early spring before the first flush of growth. This timing allows the plant to direct its spring energy surge into the remaining buds, resulting in a thicker, denser privacy barrier.