9 Steps to Prepare for a New Pond During a Garden Refresh
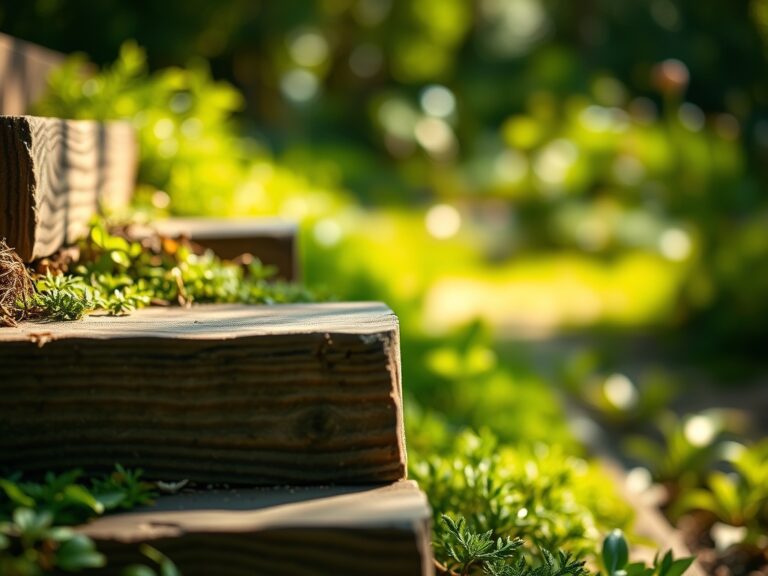
Damp earth releases a sharp, geosmin-heavy scent when the shovel blade shears through the root zone. You feel the turgor of a healthy leaf between your fingers; it is a sign of cellular hydration and osmotic pressure. Learning how to prepare a garden for a pond requires more than digging a hole. It demands an understanding of hydrology and soil mechanics. You are shifting the local water table and altering the rhizosphere of every surrounding plant. This process begins with a structural assessment of your site. You must evaluate the slope to prevent runoff from contaminating the water with nitrogen-heavy fertilizers. Proper preparation ensures the pond becomes a biological sink rather than a source of anaerobic decay. Every step must be calculated based on the Cation Exchange Capacity (CEC) of your soil and the structural integrity of the basin. This is a technical overhaul of your landscape.
Materials:
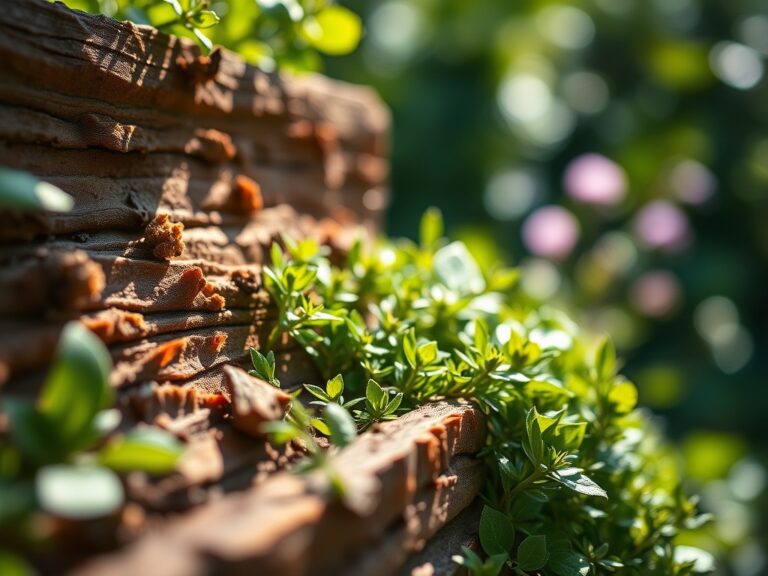
The success of the surrounding marginal zone depends on a **friable loam** substrate. This soil texture allows for optimal gas exchange and root penetration. You must test your soil pH; aim for a range of **6.5 to 7.2** to prevent nutrient lockout. For the terrestrial plants bordering the pond, use a balanced organic fertilizer with an **NPK ratio of 5-5-5**. Avoid high-phosphorus blends near the water line to prevent algae blooms triggered by phosphorus leaching. You will need a high-density polyethylene (HDPE) or EPDM rubber liner with a minimum thickness of **45 mil**. For the transition zone, procure washed pea gravel and crushed volcanic rock. These materials provide a high surface area for beneficial nitrifying bacteria to colonize.
Timing:
In Hardiness Zones 4 through 7, the window for pond installation opens after the final frost when soil temperatures reach a consistent 50 degrees Fahrenheit. This timing aligns with the biological clock of most temperate perennials, moving them from winter dormancy into the vegetative growth stage. In Zones 8 through 10, work should be completed before the summer solstice to avoid high-heat stress on new transplants. You are timing the installation to coincide with peak auxin production, which facilitates rapid root establishment in the disturbed soil. Avoid digging during periods of heavy saturation; compacting wet soil destroys the macropores required for oxygen to reach the roots of your surrounding flora.
Phases:

Sowing the Perimeter
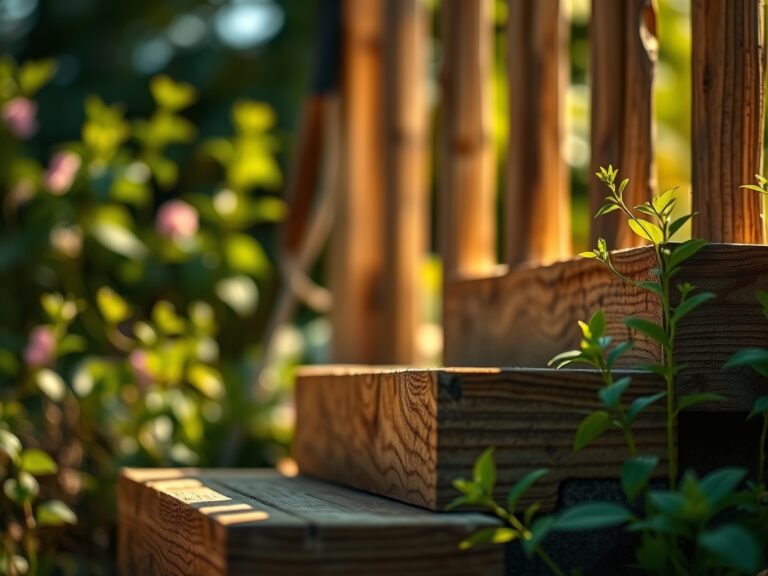
Establish a buffer strip of native grasses or sedges. These species have deep fibrous root systems that stabilize the bank. Seed these at a rate of 2 pounds per 1,000 square feet. Ensure the seed-to-soil contact is firm by using a weighted roller.
Pro-Tip: Utilize mycorrhizal symbiosis by inoculating the soil with Glomus intraradices. This fungal network extends the reach of the root system, increasing the uptake of water and immobile nutrients like phosphorus.
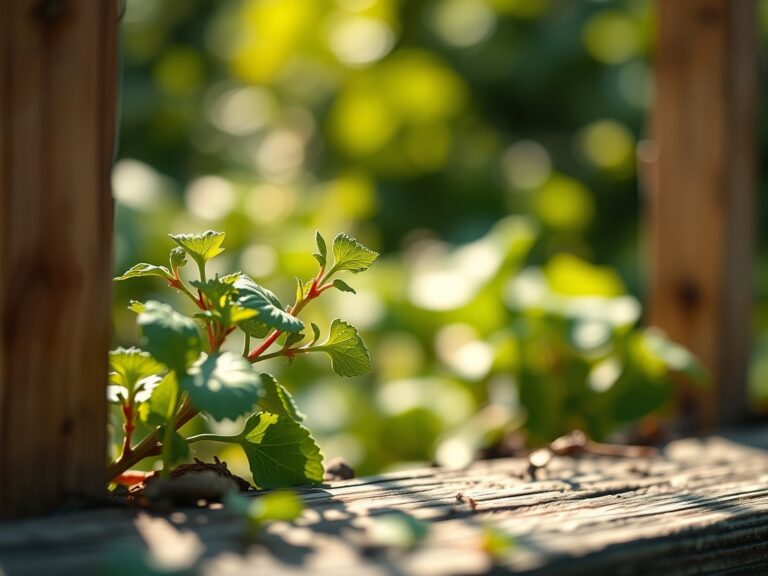
Transplanting Aquatic Flora
When placing marginal plants like Iris pseudacorus or Typha, ensure the crown is set at the specific depth required by the species. Most marginals thrive in 2 to 6 inches of water. Use heavy clay-based aquatic soil to prevent the media from floating away.
Pro-Tip: Manage phototropism by rotating potted aquatic plants 180 degrees every two weeks during the establishment phase. This ensures even distribution of growth hormones and prevents the plant from leaning toward the primary light source.
Establishing the Bio-Filter
The biological filter is the heart of the pond. Introduce floating plants like Pistia stratiotes to provide shade. This reduces the photoperiod available for submerged algae. Aim for 50 percent to 60 percent surface coverage.
Pro-Tip: Maintain auxin suppression by pinching back the terminal buds of perimeter shrubs. This redirects energy to lateral growth, creating a denser privacy screen and windbreak that reduces evaporation rates.
The Clinic:
Observe your plants for physiological disorders during the first 90 days of establishment.
- Symptom: Interveinal chlorosis on new growth.
Solution: This indicates an Iron deficiency, often caused by a pH above 7.5. Lower the pH using elemental sulfur or apply chelated iron.
2. Symptom: Leaf margins turning brown and "crispy."
Solution: This is localized desiccation. Increase the humidity or provide temporary shade. Check for high salt accumulation in the soil.
3. Symptom: Yellowing of older leaves (Nitrogen chlorosis).
Solution: Apply a slow-release nitrogen source. Nitrogen is mobile; the plant is scavenging it from old growth to support new foliage.
4. Symptom: Stunted growth with purple-tinted stems.
Solution: Phosphorus deficiency. Check soil temperature; cold soil inhibits phosphorus uptake even if the nutrient is present.
Maintenance:
Consistency is the baseline for pond health. Use a soil moisture meter to monitor the transition zone; it should remain at 30 percent to 40 percent moisture capacity. Provide 1.5 inches of water per week at the drip line of surrounding trees during dry spells. Use a hori-hori knife to extract deep-rooted weeds without disturbing the pond liner. Sharpen your bypass pruners monthly to ensure clean cuts that heal quickly, preventing pathogen entry. Prune any decaying organic matter immediately to prevent it from falling into the water and increasing the biological oxygen demand (BOD).
The Yield:
If you have integrated edible aquatic plants like Nasturtium officinale (watercress), harvest in the morning when turgor pressure is at its peak. Use sharp shears to take only the top 3 inches of growth. This encourages branching. For ornamental lilies, harvest the blooms just as the first petal begins to unfurl. Place the stems immediately in 40-degree Fahrenheit water to maintain "day-one" freshness and slow the process of senescence.
FAQ:
How deep should a garden pond be?
A minimum depth of 24 inches is required to maintain thermal stability. In colder climates, 36 to 48 inches prevents the entire water column from freezing, which protects the biological activity at the bottom.
What is the best liner for a pond?
45 mil EPDM rubber is the industry standard. It is UV resistant, highly flexible in cold temperatures, and chemically inert. This ensures it will not leach toxins into the rhizosphere of your aquatic plants.
How do I stop my pond from leaking?
Ensure the liner has at least 12 inches of overlap at the edges. Use a dedicated pond sealant for any penetrations. Check the "low spots" in the perimeter where water might be escaping via capillary action through the soil.
Can I use tap water for my pond?
Yes, but you must neutralize chlorine and chloramines. These chemicals destroy the nitrifying bacteria necessary for the nitrogen cycle. Let the water sit for 24 to 48 hours or use a specialized dechlorinator before adding plants.