9 Best Natural Stones for Enhancing Landscaping Value
The smell of damp earth after a heavy rain indicates active microbial respiration within the rhizosphere. When the turgor pressure of a healthy leaf remains high, the vascular system is efficiently transporting nutrients through the xylem. Selecting the best stones for property landscaping requires an understanding of how mineral composition interacts with the local ecosystem. Stone is not merely decorative; it serves as a thermal mass that regulates soil temperature and influences the drainage capacity of the surrounding substrate. Choosing the wrong material can alter the soil chemistry, leading to nutrient lockout or stunted root development. A master gardener views stone as a structural extension of the soil profile. This guide examines nine specific materials that provide structural integrity while supporting the biological needs of your botanical collection. By integrating these minerals, you enhance the property value through both aesthetic permanence and ecological stability.
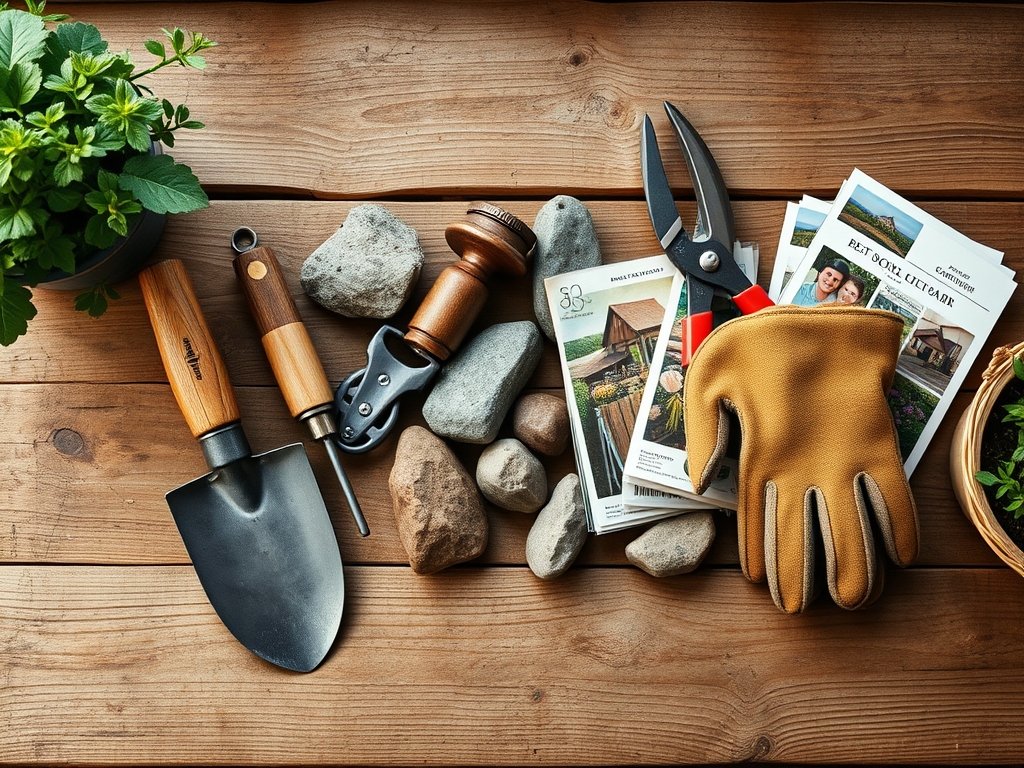
Materials:
The success of stone integration depends on the **soil Cation Exchange Capacity (CEC)** and the existing pH levels. For a **friable loam** with a pH of 6.0 to 7.0, the following stones and nutrient considerations apply:
- Flagstone (Sandstone/Limestone): High calcium content. Limestone will gradually raise soil pH. If your soil is already alkaline (pH 7.5+), avoid limestone to prevent iron chlorosis.
- Granite: Igneous and acidic. Ideal for acid-loving plants like Ericaceae.
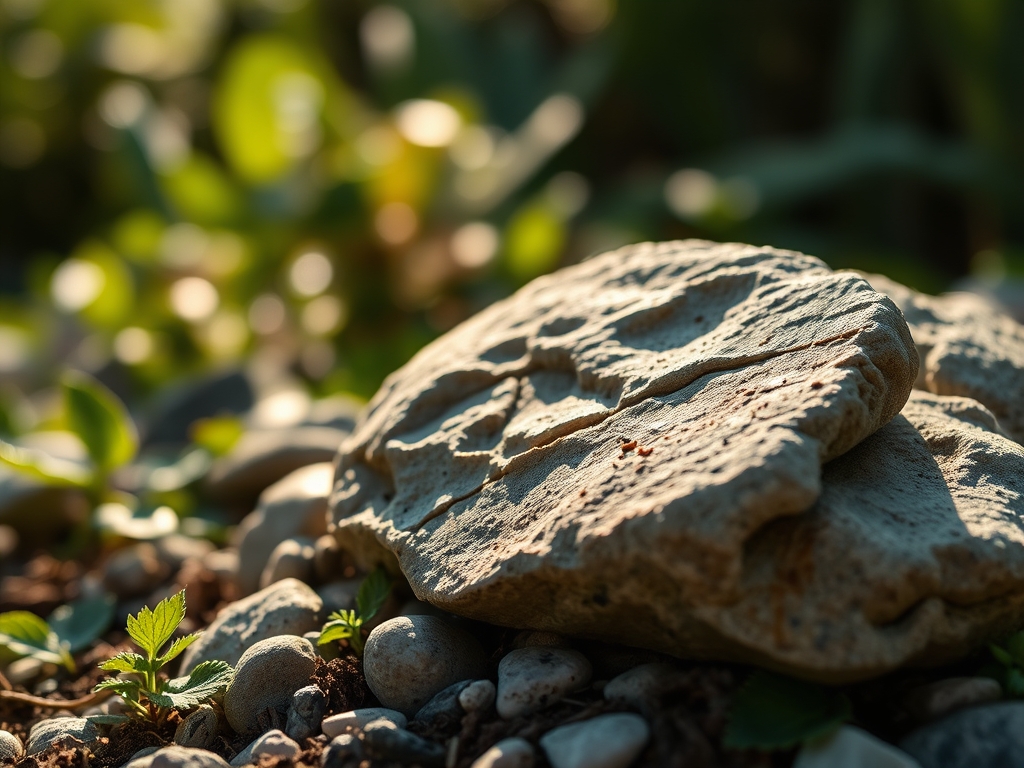
- River Rock: Chemically inert. Excellent for drainage without altering NPK ratios.
- Slate: Fine-grained and metamorphic. Low reactivity.
- Quartzite: Extremely hard and resistant to chemical weathering.
- Basalt: Rich in iron and magnesium. Can slowly release micronutrients into the soil.
- Travertine: Porous and calcareous. Requires careful placement in high-moisture zones.
- Pea Gravel: Increases surface area for heat absorption.
- Lava Rock (Scoria): High porosity. Enhances aeration in the upper soil layers.
For optimal plant health near these stones, maintain a standard NPK ratio of 10-10-10 for general maintenance, or 5-10-10 for root-heavy development in new installations.
Timing:
Stone installation should occur during the dormant season to minimize soil compaction and root disturbance. In Hardiness Zones 4 through 7, the ideal window is late autumn after the first hard frost or early spring before the soil reaches 50 degrees Fahrenheit. This timing respects the biological clock of the plant. During the transition from the vegetative stage to the reproductive stage, plants redirect energy from leaf production to root and seed development. Installing stone during the vegetative peak can cause mechanical stress, leading to a drop in turgor pressure and potential senescence of lower foliage. Ensure all heavy lifting and soil grading are completed before the photoperiod exceeds 12 hours to allow the rhizosphere to stabilize before the high-growth phase of late spring.
Phases:
Sowing and Site Preparation
Before placing stone, the site must be cleared of competitive vegetation. Excavate the area to a depth of 4 to 6 inches to accommodate a sub-base of crushed aggregate. This ensures a stable foundation and prevents shifting during freeze-thaw cycles.
Pro-Tip: Maintain a clear boundary of at least 3 inches between the stone edge and the plant stem. This prevents auxin suppression caused by physical constriction and ensures adequate gas exchange in the soil.
Transplanting and Integration
When placing stones around existing specimens, use a hori-hori knife to cleanly cut any small surface roots rather than tearing them. Position larger boulders first to establish the structural "skeleton" of the garden. Fill the gaps with smaller stones or a friable loam mix to encourage root penetration.
Pro-Tip: Inoculate the planting hole with mycorrhizal fungi before backfilling. This symbiotic relationship expands the root system's reach, allowing the plant to scavenge for phosphorus and water trapped beneath the stone's thermal mass.
Establishing the Hardscape
Once the stones are set, apply a final layer of fine gravel or mulch to suppress weed germination. Monitor the soil moisture levels using a soil moisture meter to ensure the stones are not creating "dry shadows" where water cannot reach the root zone.
Pro-Tip: Observe the direction of light. Stones act as heat sinks, reflecting light and heat onto the underside of leaves. This can increase the rate of transpiration, requiring an adjustment in irrigation frequency to prevent wilting.
The Clinic:
Physiological disorders often manifest when stone placement interferes with the root environment.
- Symptom: Interveinal Chlorosis (Yellow leaves with green veins).
- Cause: Iron or manganese deficiency, often caused by high pH from limestone leaching.
- Fix-It: Apply chelated iron or elemental sulfur to lower the pH to a range of 6.0 to 6.5.
- Symptom: Marginal Leaf Burn.
- Cause: Excessive heat reflection from light-colored stones (Quartzite/Travertine).
- Fix-It: Increase irrigation to 2 inches per week or provide temporary shade during the peak afternoon sun.
- Symptom: Root Rot (Phytophthora).
- Cause: Poor drainage beneath heavy stones or non-porous liners.
- Fix-It: Remove the stone and install a 4-inch perforated drain pipe or increase the depth of the gravel sub-base.
- Symptom: Stunted Growth.
- Cause: Soil compaction from heavy stone installation reducing oxygen in the rhizosphere.
- Fix-It: Use a garden fork to aerate the soil around the perimeter of the stone.
Maintenance:
Stone landscapes require precise maintenance to prevent the accumulation of organic debris which can host pathogens. Use bypass pruners to remove any spent foliage that falls between the stones. This prevents the formation of a "mat" that blocks oxygen.
Irrigation must be targeted. Provide 1.5 inches of water per week at the drip line of each plant. Do not rely on overhead sprinklers as stones can deflect water away from the root ball. Use a soil moisture meter at a depth of 6 inches to verify that the water is penetrating the soil profile beneath the stones. Every three years, inspect the stones for settling; use a pry bar to lift and relevel any pieces that have sunk, as this can compress the underlying roots and restrict nutrient uptake.
The Yield:
In a landscape featuring edible perennials or cut flowers, the stone serves as a ripening aid. For fruiting plants, the heat retained by dark stones like Basalt can accelerate the ripening process by 5 to 7 days. Harvest during the early morning hours when the plant's turgor pressure is at its maximum. Use sharp shears to make clean cuts, preventing the entry of fungi. Post-harvest, immediately move the produce to a cool environment to slow down the metabolic rate and preserve "day-one" freshness. For flowers, a quick plunge into 40-degree Fahrenheit water will lock in the moisture and extend the vase life.
FAQ:
Which stone is best for drainage?
River rock and pea gravel are superior for drainage. Their rounded shapes create large interstitial spaces that allow water to move rapidly through the soil profile, preventing saturation in the rhizosphere and reducing the risk of root rot.
Will limestone hurt my plants?
Limestone consists of calcium carbonate, which raises soil pH. While beneficial for alkaline-loving species, it can cause iron chlorosis in acid-loving plants like azaleas. Always test your soil pH before installing large quantities of limestone.
How do I stop weeds between stones?
Install a heavy-duty geotextile fabric beneath the stone layer. This physical barrier prevents weed seeds in the soil from reaching the surface while allowing water and air to pass through to the underlying microbial community.
Can stones cause soil compaction?
Yes, heavy boulders exert significant pressure on the soil. To mitigate this, install a sub-base of compacted crushed stone. This distributes the weight over a larger surface area, protecting the delicate pore spaces required for root respiration.