6 Steps to Build a Sturdy Garden Bridge for Hardscaping
The smell of damp earth and the iron tang of wet basalt signal a landscape ready for structural intervention. In hardscaping, structural integrity depends on the turgor of the surrounding flora and the stability of the substrate. Integrating a permanent structure requires precise steps for building a garden bridge to ensure it withstands seasonal soil expansion and contraction. Proper execution prevents compaction in the rhizosphere and maintains the hydraulic conductivity of the site while providing a focal point for the horticultural layout.
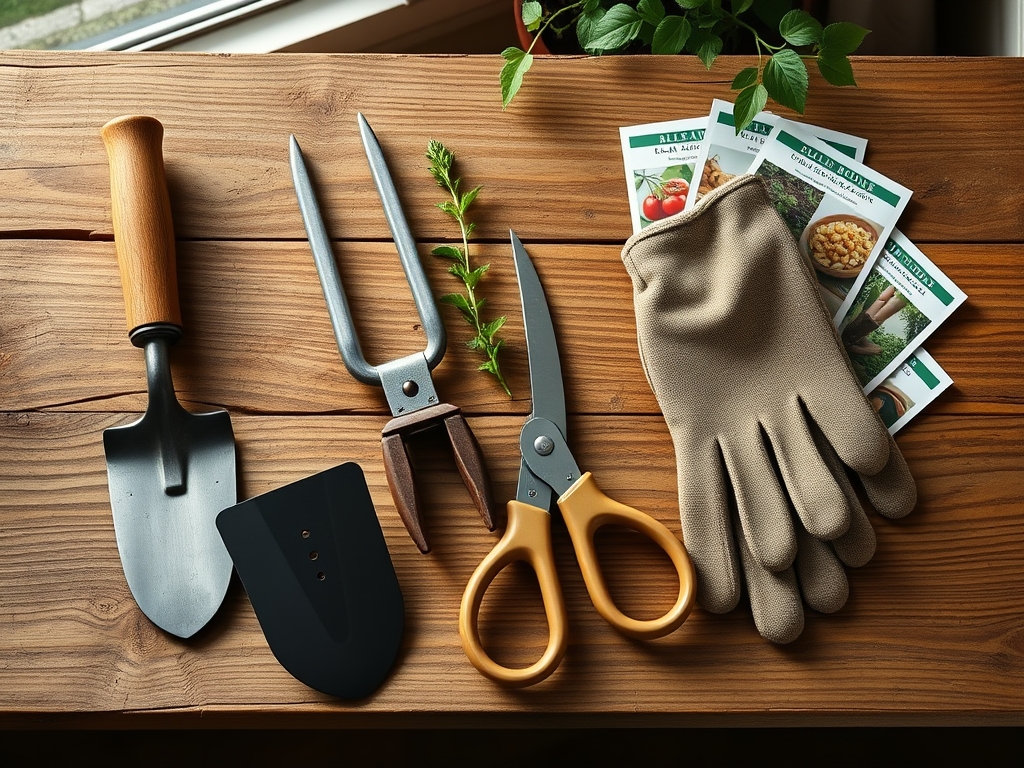
Materials:
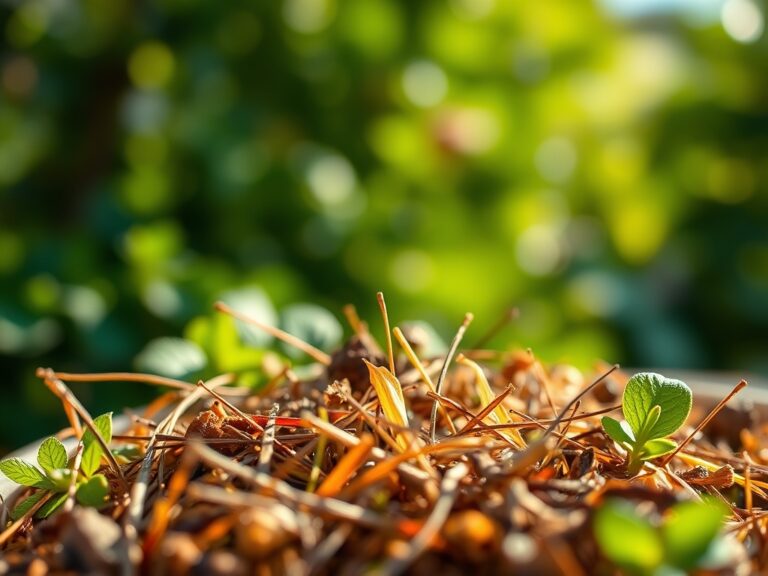
A bridge is only as stable as the soil supporting its footings. The ideal substrate is a **friable loam** with a **pH between 6.0 and 7.0**. This range ensures optimal nutrient availability for the groundcover plants that will stabilize the bridge embankments. High clay content increases the risk of frost heave; therefore, the Cation Exchange Capacity (CEC) should ideally fall between **15 and 25 meq/100g** to maintain structural drainage.
For the surrounding vegetation, provide an NPK ratio of 10-10-10 during the initial establishment phase. This balanced approach supports both the root development (Phosphorus) and the structural rigidity of the stems (Potassium). Use pressure-treated lumber or naturally rot-resistant species like Western Red Cedar. Fasteners must be 316-grade stainless steel or hot-dipped galvanized to resist the corrosive organic acids present in healthy, biologically active soil.
Timing:
Hardscaping projects must align with the local frost-date windows. In Hardiness Zones 5 through 7, construction should begin in late summer or early autumn when the soil moisture content is low and the water table has receded. This timing avoids the peak vegetative growth period, minimizing damage to the vascular systems of nearby perennials.
The biological clock of the surrounding landscape is critical. Aim for the window of senescence, when plants shift resources from foliage to root storage. This transition reduces the risk of transplant shock if you must relocate specimens during the excavation of the bridge footings. Soil temperatures should remain above 50 degrees Fahrenheit to allow for microbial activity to repair any root damage sustained during the installation process.
Phases:

Sowing the Foundation
Excavate the footings to a depth of at least 12 inches below the frost line. Backfill the base with 4 to 6 inches of compacted 3/4-inch crushed stone to facilitate drainage. This prevents water from pooling around the structural members, which would otherwise lead to anaerobic conditions and fungal pathogens.
Pro-Tip: Incorporate mycorrhizal fungi into the backfill soil. This encourages mycorrhizal symbiosis, extending the root reach of nearby plants and increasing the structural stability of the soil through the production of glomalin, a biological glue.
Transplanting and Anchoring
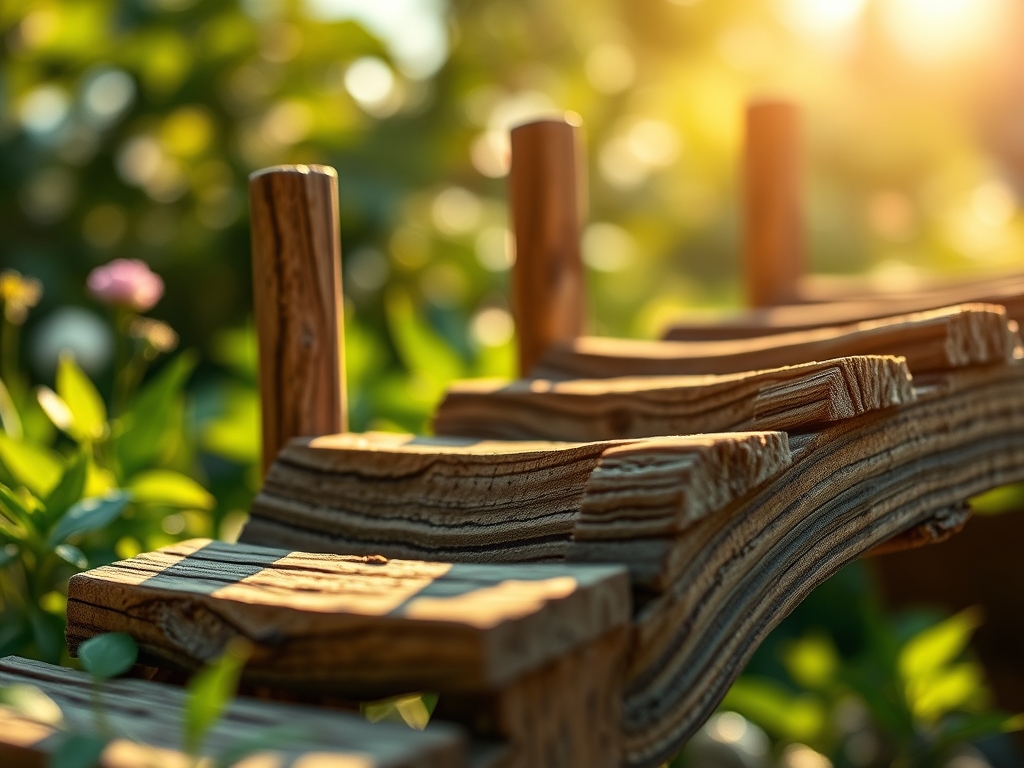
Set the primary beams, or stringers, across the span. Ensure they are level to prevent uneven weight distribution. If you are moving plants to accommodate the bridge, maintain a root ball diameter 12 times the thickness of the main stem. Replant immediately to preserve turgor pressure within the xylem.
Pro-Tip: When pruning roots during transplanting, use clean cuts to stimulate auxin suppression at the tip. This triggers the plant to produce lateral roots, which anchor the bridge footings more effectively over time.
Establishing the Decking
Fasten the deck boards with a 1/4-inch gap between each plank. This allows for air circulation and prevents the accumulation of organic debris that can harbor wood-rotting fungi. The bridge should be treated with a UV-resistant sealant to prevent cellular breakdown of the wood fibers.
Pro-Tip: Orient the bridge to account for phototropism. Ensure the structure does not cast a permanent shadow over sun-loving species, which would cause them to lean aggressively toward the light and weaken their structural integrity.
The Clinic:
Physiological disorders in the bridge-side garden often stem from soil compaction or disrupted drainage patterns.
- Symptom: Yellowing of lower leaves with green veins (Interveinal Chlorosis).
- Solution: This indicates a Magnesium deficiency or high pH. Apply Epsom salts (Magnesium Sulfate) at a rate of 1 tablespoon per gallon of water.
- Symptom: Stunted growth and purple-tinted foliage.
- Solution: Phosphorus deficiency. This often occurs in cold, wet soils. Improve drainage around the bridge footings and apply a 0-20-0 superphosphate fertilizer.
- Symptom: Sudden wilting despite moist soil.
- Solution: Root rot (Phytophthora). The soil is likely too compacted near the bridge. Use a soil moisture meter to verify and incorporate coarse organic matter to increase porosity.
Fix-It Section: For Nitrogen chlorosis (overall pale green or yellow leaves), apply a quick-release high-nitrogen fertilizer (21-0-0) to restore chlorophyll production and vegetative vigor.
Maintenance:
A bridge requires consistent environmental monitoring. Use a soil moisture meter twice weekly to ensure the footings are not causing "rain shadows" that dehydrate nearby plants. Most temperate species require 1.5 inches of water per week delivered at the drip line.
Keep a hori-hori knife sharpened for removing invasive taproots that may wedge between the bridge and the soil. Use bypass pruners to maintain a 6-inch clearance between foliage and the wood to prevent moisture traps. Annually check the torque on all bolts; seasonal expansion can loosen fasteners by up to 2 millimeters per cycle.
The Yield:
If your bridge spans a water feature with edible aquatic plants like watercress, harvest when the leaves are young and crisp. Use sharp scissors to cut the top 3 inches of growth. For terrestrial flowers like Astilbe planted at the bridge entrance, harvest when one-third of the flowers on the spike are open.
Post-harvest, plunge the stems into 40-degree Fahrenheit water immediately. This rapid cooling halts the metabolic process of senescence and maintains cellular turgor for day-one freshness. Store in a high-humidity environment to prevent transpiration.
FAQ:
What is the best wood for a garden bridge?
Western Red Cedar and Redwood are superior due to their natural tannins. These compounds resist decay and insect infestation. Always use stainless steel fasteners to prevent galvanic corrosion when in contact with the wood's natural acids.
How deep should bridge footings be?
Footings must reach at least 12 inches below the local frost line. This prevents frost heave from shifting the structure. In most temperate zones, a total depth of 24 to 36 inches is standard for structural permanence.
How do I prevent wood rot near soil?
Ensure a 2-inch air gap between the wooden stringers and the soil surface. Use concrete piers or pressure-treated "sleepers" as an interface. This break prevents capillary action from drawing moisture into the primary structural beams.
Can I build a bridge over a dry creek?
Yes. Dry creeks require the same structural considerations as active water. Ensure the banks are stabilized with rip-rap or deep-rooted perennials to prevent erosion during heavy rain events, which could undermine the bridge footings.