7 Steps to Build a Practical Path for Better Yard Flow
The scent of damp, disturbed earth signals the start of a structural overhaul in the landscape. When you break ground to establish a walkway, you are managing the physical movement of weight and the biological health of the underlying rhizosphere. Executing the correct steps for building a garden path requires more than aesthetic placement; it demands an understanding of soil compaction and drainage kinetics. A well constructed path directs foot traffic away from sensitive root zones, maintaining the turgor pressure of peripheral foliage by preventing soil compression that leads to anaerobic conditions.
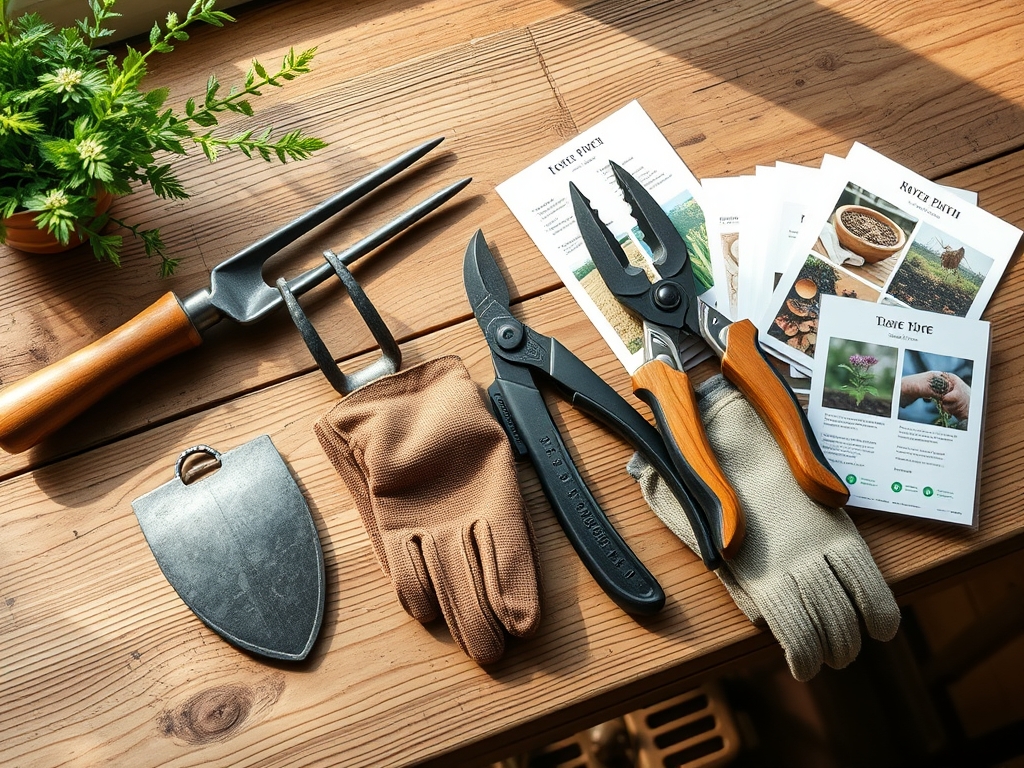
Materials:
The foundation of any path begins with the substrate. You must assess the soil Cation Exchange Capacity (CEC) before selecting your base materials. In heavy clay soils with high CEC, drainage is often poor; you will need a thicker layer of angular crushed stone to facilitate water movement. For the surrounding planting beds, aim for a **friable loam** with a pH between **6.0 and 7.0**.
If you are planting alongside the path, the soil should reflect a balanced nutrient profile. Use a slow release fertilizer with an NPK ratio of 10-10-10 for general ornamentals, or a 5-10-10 ratio for flowering perennials to encourage root development over excessive leaf production. The physical texture of the substrate must allow for capillary action while resisting the shearing forces of human weight. Use a base of 4 inches of compacted 21A or 3/4-inch minus gravel to ensure structural integrity.
Timing:
Successful path construction and integrated planting depend on your Hardiness Zone. In Zones 4 through 7, the ideal window for excavation opens after the final spring frost when the soil moisture levels allow for easy digging without causing "clodding." In Zones 8 through 10, late autumn is preferable to avoid the heat stress that causes rapid transpiration in nearby vegetation.
Understand the biological clock of your garden. Excavating during the transition from vegetative to reproductive stages can stress established plants. Aim to complete heavy construction while the surrounding flora is in a state of semi-dormancy or early spring surge. This timing ensures that any root pruning necessitated by the path edge occurs when auxin levels are high, promoting rapid root regeneration.
Phases:

Sowing and Site Prep
Clear the path of all organic matter. Vegetation left under a path will decompose, causing localized sinking and nitrogen immobilization as microbes consume available N to break down the carbon. Excavate to a depth of 6 to 8 inches. Ensure the subgrade has a 2 percent slope away from building foundations to prevent hydrostatic pressure buildup.
Pro-Tip: Use a landscape fabric between the subsoil and the gravel base. This prevents the migration of fines into the stone layer, maintaining the macropore space necessary for drainage. This separation prevents the "pumping" effect where soil mixes with stone under pressure.
Transplanting and Edging
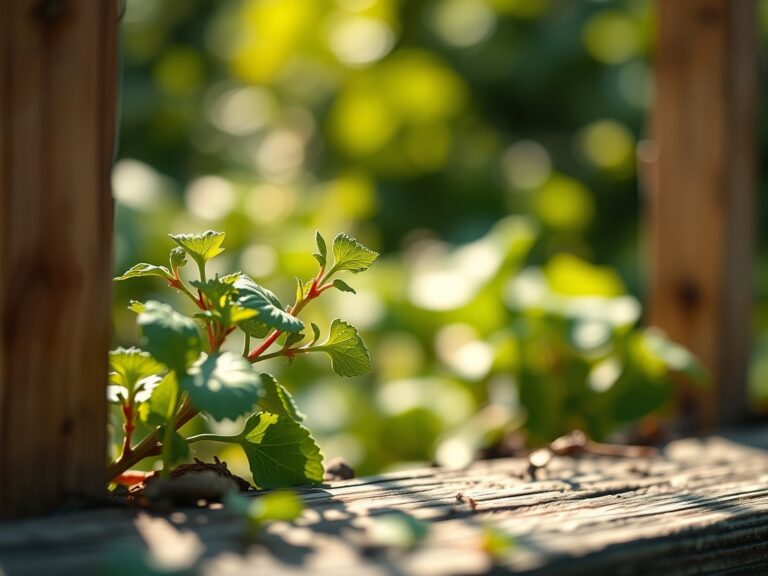
When placing plants along the new path, dig holes twice as wide as the root ball. Ensure the crown sits exactly at the soil line to prevent stem rot. For woody perennials, check for circling roots; these must be severed to prevent future girdling.
Pro-Tip: Apply a mycorrhizal inoculant to the root zone during transplanting. This symbiotic relationship between fungi and roots increases the surface area for nutrient uptake, specifically phosphorus, which is often immobile in the soil profile.
Establishing and Compacting
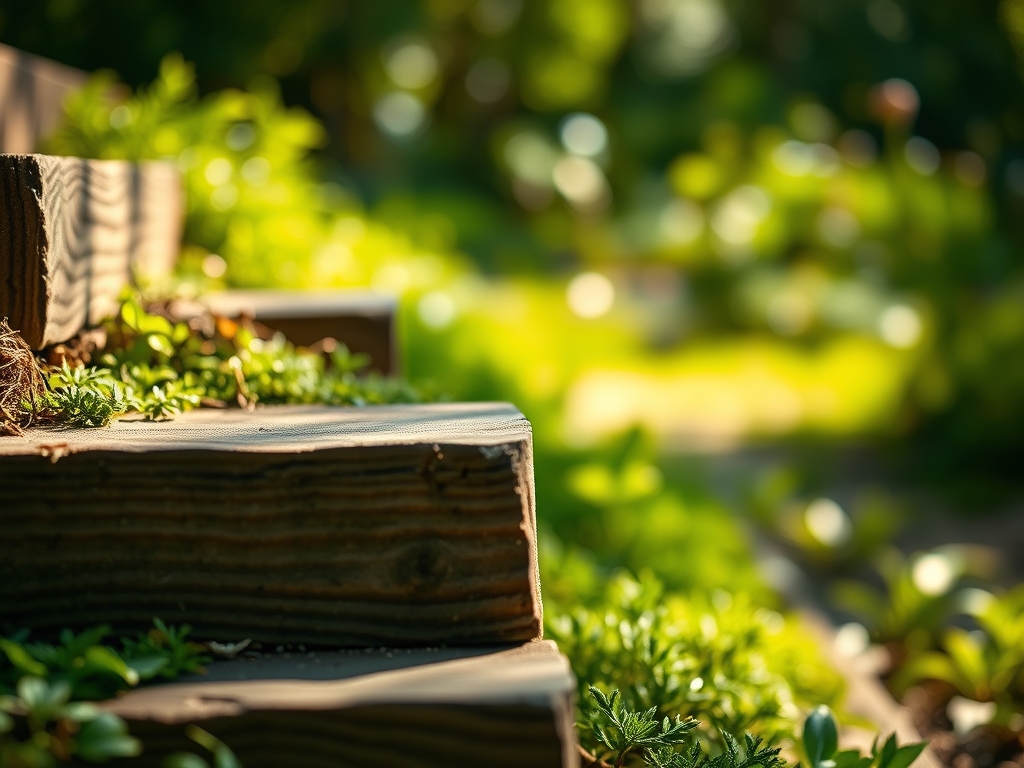
Set your pavers or stones into a 1-inch bed of coarse sand over the gravel base. Use a plate compactor or a hand tamper to lock the units in place. Fill the joints with polymeric sand or fine grit to prevent weed seed germination and stabilize the units against lateral movement.
Pro-Tip: After the path is set, deeply water the adjacent plants. This settles the soil and eliminates air pockets around the roots, preventing desiccation. It also helps re-establish the hydraulic lift mechanism within the plant's vascular system.
The Clinic:
Physiological disorders often manifest shortly after construction due to soil disturbance.
-
Symptom: Interveinal chlorosis (yellowing leaves with green veins) in new growth.
-
Solution: This indicates Iron deficiency, often caused by a pH spike if you used limestone base material. Apply chelated iron and monitor pH levels to ensure they stay below 7.5.
-
Symptom: Marginal leaf burn or necrosis on established plants near the path.
-
Solution: This is likely Salt toxicity or drought stress from root severance. Flush the area with 2 inches of water to leach excess salts and apply a 3 inch layer of organic mulch to retain moisture.
-
Symptom: Stunted growth and purplish tint on lower leaves.
-
Solution: This is a Phosphorus deficiency. Cold soil or high compaction can limit P availability. Use a soil moisture meter to ensure the area is not waterlogged, which prevents P uptake.
Maintenance:
Precision is required to maintain the interface between the path and the garden. Provide 1.5 inches of water per week at the drip line of adjacent plants, rather than at the base of the stem. Use a soil moisture meter to verify that the moisture has penetrated 6 inches deep.
Keep your edges clean using a hori-hori knife to slice through encroaching rhizomes. For woody plants overhanging the path, use bypass pruners to make clean cuts at the branch collar, avoiding stubs that lead to decay. Monitor the path for settling; if a low spot develops, lift the pavers and add sand to prevent "puddling" which can lead to fungal pathogens like Phytophthora in nearby roots.
The Yield:
If your path borders an edible garden, harvesting timing is critical for post-harvest longevity. Harvest leafy greens and herbs in the early morning when turgor pressure is at its peak. This ensures the cells are fully hydrated, preventing wilting.
Use a sharp blade to minimize tissue damage at the harvest site. For flowers, cut at a 45-degree angle and immediately submerge the stems in cool water. This maintains the transpiration stream and prevents air embolisms from forming in the xylem, extending the "day-one" freshness of the botanical material.
FAQ:
How deep should I dig for a gravel path?
Excavate to a depth of 6 inches. This allows for a 4-inch compacted stone base and a 2-inch layer of decorative surface gravel. Proper depth ensures structural stability and prevents the path from shifting during freeze-thaw cycles.
What is the best way to prevent weeds in paths?
Use a combination of heavy-duty geotextile fabric and polymeric jointing sand. The fabric prevents subsoil weed seeds from emerging, while the hardened sand prevents windblown seeds from germinating in the gaps between pavers or stones.
Can I build a path over tree roots?
Avoid cutting roots larger than 2 inches in diameter. If you must cross a root zone, use a "floating" path design with permeable materials like wood chips or uncompacted gravel to allow for oxygen exchange and moisture infiltration.
How do I fix a sinking paver?
Remove the affected paver and the immediate bedding sand. Add additional coarse leveling sand, compact it firmly, and replace the paver. Ensure the height is 1/8 inch higher than surrounding units to allow for minor initial settling.