7 Support Steps for Repotting a Climbing Monstera
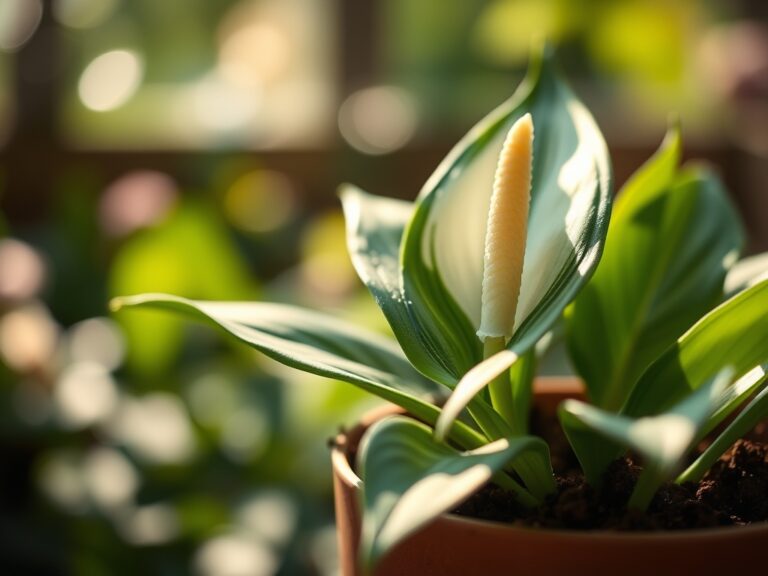
The smell of damp pine bark and the metallic tang of perlite signal the start of a necessary physiological reset for an overgrown epiphyte. When a Monstera deliciosa reaches the limits of its container, its turgor pressure fluctuates and its aerial roots begin a frantic search for new substrate. Mastering the steps for repotting a Monstera requires more than a larger vessel; it demands an understanding of the rhizosphere and the mechanical support necessary for vertical growth. A successful transplant ensures the plant maintains its structural integrity while expanding its root mass to support larger, more fenestrated foliage.
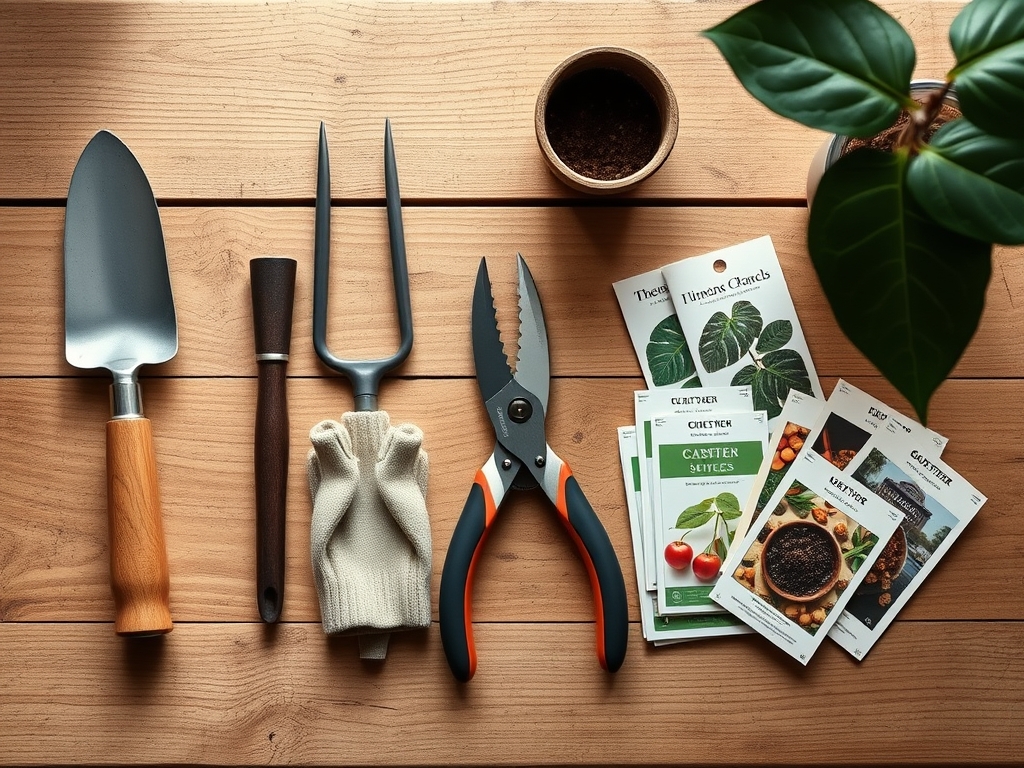
Materials:
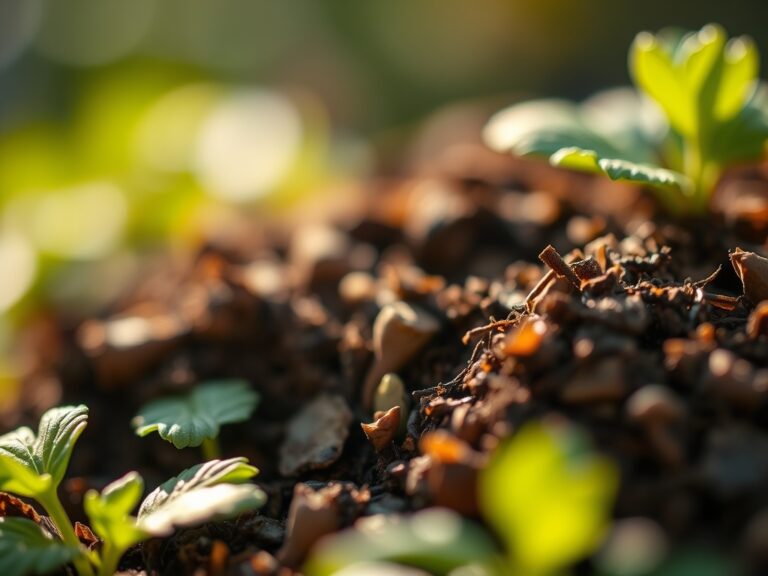
Substrate selection is the foundation of long term health. You must aim for a **pH range of 5.5 to 6.5** to ensure optimal nutrient availability. The ideal medium is a friable loam composed of 40 percent orchid bark, 30 percent coco coir, 20 percent perlite, and 10 percent worm castings. This mixture provides a high Cation Exchange Capacity (CEC), allowing the roots to efficiently pull minerals from the soil solution.
For nutrition, incorporate a slow release fertilizer with an NPK ratio of 20-20-20 or a specialized foliage formula of 3-1-2. The physical texture must be coarse to prevent anaerobic conditions. If the medium is too fine, water displaces oxygen, leading to cellular senescence in the root tips. Ensure you have a support structure ready, such as a cedar plank or a moss pole filled with long-fiber sphagnum, to mimic the plant's natural hemiepiphytic habit.
Timing:
In the Northern Hemisphere, the window for repotting aligns with the shift in photoperiod during early spring. For growers in Hardiness Zones 10 through 12, this can occur as early as February. In cooler zones, wait until the final frost date has passed and indoor ambient temperatures consistently remain between 65 and 80 degrees Fahrenheit.
The biological clock of the Monstera is driven by light intensity and temperature. Moving the plant during its active vegetative stage allows it to recover from transplant shock quickly. Avoid repotting during the winter dormancy period when metabolic rates drop. During this phase, the plant's ability to heal damaged vascular tissue is significantly reduced, increasing the risk of opportunistic fungal infections in the root zone.
Phases:

Sowing the Support
Before the plant leaves its old housing, prepare the new container. Select a pot only 2 inches wider than the current one. Secure the climbing support toward the back of the pot. Monstera stems have a distinct front and back; the aerial roots emerge from the back to grip surfaces. Aligning these roots with the pole is critical for vertical stability.
Pro-Tip: Proper alignment utilizes thigmotropism, a biological response where the plant alters its growth pattern in response to touch. When aerial roots contact a moist support, they trigger the production of adhesive hairs and structural lignin to anchor the plant.
Transplanting and Root Management
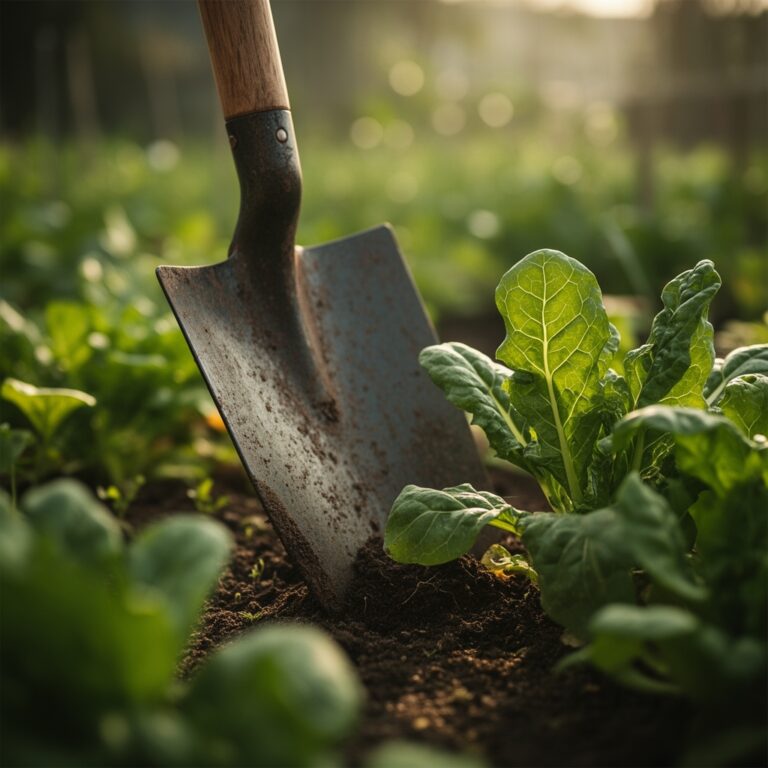
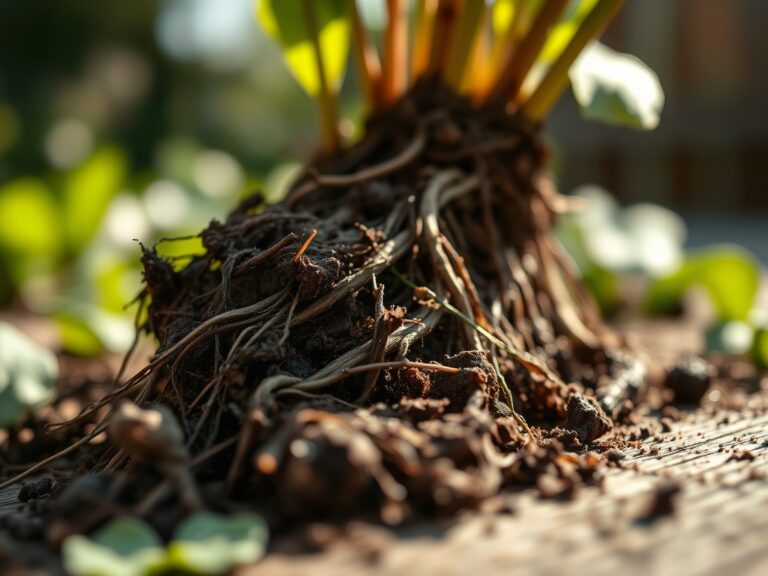
Carefully decant the Monstera from its pot. If the plant is root bound, use a sterilized hori-hori knife to make three to four vertical slices through the outer root mat. This mechanical disruption encourages the branching of lateral roots. Remove the old, exhausted substrate from the center of the root ball to expose the primary rhizome.
Pro-Tip: This process stimulates auxin suppression in the root tips. By pruning the circling roots, you remove apical dominance within the root system, forcing the plant to distribute growth hormones to dormant lateral buds, resulting in a more robust and efficient root architecture.
Establishing the Vertical Lead
Position the plant so the base of the stem sits at the same depth as it did previously. Burying the stem too deep can lead to petiole rot. Secure the main vine to the support using soft garden ties, ensuring they are loose enough to allow for secondary thickening of the stem. Fill the remaining space with your prepared substrate, tamping down lightly to remove large air pockets without compacting the loam.
Pro-Tip: Immediate hydration is essential to re-establish capillary action between the roots and the new soil particles. This water bridge allows for the immediate transport of dissolved minerals, preventing the wilting associated with a sudden drop in turgor pressure.
The Clinic:
Monitoring physiological disorders post-repotting is vital for long term survival.
- Symptom: Yellowing of lower leaves (Chlorosis).
Solution: This typically indicates Nitrogen deficiency. Check the soil pH; if it is above 7.0, the Nitrogen is chemically locked. Adjust with a sulfur-based acidifier. - Symptom: Black, mushy root tips.
Solution: This is a sign of Pythium root rot caused by poor drainage. Increase perlite content and reduce irrigation frequency. - Symptom: Tip burn on new foliage.
Solution: This suggests Salt accumulation or Boron toxicity. Flush the substrate with distilled water equal to three times the volume of the pot. - Symptom: Small, non-fenestrated new leaves.
Solution: This is a light intensity issue. The plant is diverting energy to survival rather than complex leaf morphology. Increase light to at least 200 to 400 foot-candles.
Maintenance:
Post-repotting care requires precision. Use a soil moisture meter to ensure the substrate dries out by 50 to 75 percent before the next hydration cycle. Generally, this equates to roughly 1.5 inches of water applied evenly across the surface until drainage occurs.
Maintain the climbing support by misting the moss pole twice weekly to keep the aerial roots engaged. Use bypass pruners to remove any yellowing foliage at the base of the petiole to prevent the spread of saprophytic fungi. Monitor the ambient humidity; a level of 60 percent is the baseline for preventing desiccation of the leaf margins.
The Yield:
While Monstera deliciosa is primarily grown for its architectural foliage, mature plants in ideal conditions may produce the "Mexican Breadfruit." Harvesting occurs when the hexagonal scales at the base of the spadix begin to lift and shed naturally. This usually takes 10 to 12 months from the initial flowering.
To maintain freshness, harvest the fruit with an inch of stem attached. Place it in a glass jar with the base in an inch of water. The scales will ripen from bottom to top over several days. Only consume the creamy white pulp that is revealed as the scales fall off; the unripe portions contain high concentrations of calcium oxalate crystals which act as a chemical defense mechanism.
FAQ:
How do I know it is time for repotting?
Observe the drainage holes. If roots protrude significantly or water runs straight through without saturating the soil, the plant is root-bound. A decline in leaf size or a cessation of growth during spring also indicates a need for more space.
Can I use regular potting soil?
Standard potting soil is often too fine and retains excessive moisture, leading to root hypoxia. Always amend standard mixes with 30 percent coarse bark or perlite to improve aeration and ensure the drainage rate matches the plant's metabolic needs.
Why are the leaves drooping after I repotted?
This is likely transplant shock caused by damage to the fine root hairs. Maintain high humidity around the foliage to reduce the transpiration rate while the roots re-establish. Avoid fertilizing for at least four weeks to prevent chemical burning of new roots.
How deep should I bury the moss pole?
The pole should reach the bottom of the pot for maximum leverage. Secure it before adding the plant and soil to avoid crushing existing roots. Ensure at least one-third of the pole is submerged in the substrate to provide a stable anchor.