8 Best LED Plant Lights for Healthy Vegetable Starts
Damp earth releases a sharp, metallic scent of geosmin as the first true leaves emerge with rigid turgor pressure. This structural rigidity indicates a plant is maximizing its cellular hydration and photosynthetic potential. To achieve this level of vigor in a controlled environment, you must master the spectrum and intensity of your illumination. Selecting the Best plant lights requires more than just brightness; it demands an understanding of Photosynthetically Active Radiation (PAR) and the specific micromoles delivered to the leaf surface. High-quality LED arrays provide the concentrated photon flux necessary to prevent leggy, etiolated stems that collapse under their own weight. In a professional nursery setting, the goal is a compact, stout seedling with a thick hypocotyl and deep pigment. This density is the direct result of blue-heavy spectrums during the early vegetative phase, which suppress internodal elongation. When the light quality is optimal, the plant allocates energy to root development and vascular expansion rather than a desperate reach for the ceiling. Success begins with the technical specifications of your diodes and the precision of your photoperiod management.
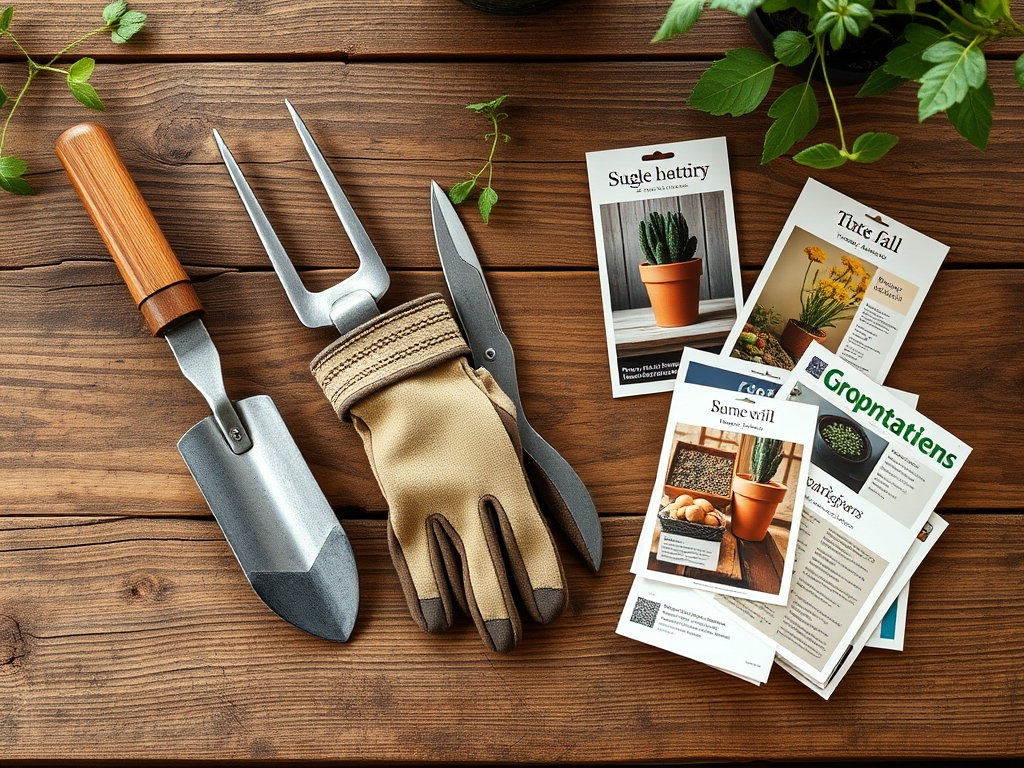
Materials:
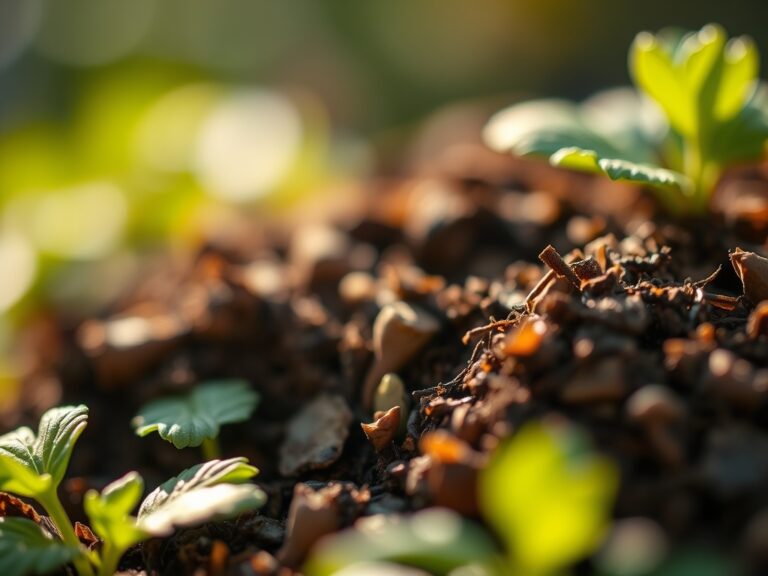
The foundation of any successful start is a friable loam substrate with high porosity to ensure oxygen reaches the **rhizosphere**. For vegetable starts, maintain a soil **pH between 6.0 and 6.8** to optimize nutrient availability. Before sowing, verify your substrate has a high **Cation Exchange Capacity (CEC)**, which measures the soil’s ability to hold and release essential positively charged ions like calcium, magnesium, and potassium.
For the initial growth phase, utilize a balanced NPK ratio of 10-10-10 at half strength to prevent salt buildup. As the plant moves into active vegetative growth, transition to a higher nitrogen ratio, such as 5-2-2, to support chlorophyll production. The physical texture should be gritty yet moisture-retentive; a mix of 60 percent peat or coco coir, 20 percent perlite, and 20 percent vermiculite provides the necessary drainage to prevent anaerobic conditions. Ensure your Best plant lights are positioned to deliver a Photosynthetic Photon Flux Density (PPFD) of 300 to 600 micromoles per square meter per second for these early stages.
Timing:
Hardiness Zones 3 through 8 require strict adherence to frost-date windows to ensure survival. Most vegetable starts should be initiated indoors 6 to 8 weeks before the average last frost date in your specific microclimate. This period allows the plant to complete its initial "Biological Clock" transition from the embryonic stage to the vegetative stage.
The transition from vegetative to reproductive stages is governed by the photoperiod. For most nightshades and brassicas, a consistent 14 to 16 hours of light followed by 8 hours of total darkness is required to maintain steady growth. If the light cycle is inconsistent, the plant may experience premature senescence or bolting. Monitor the soil temperature with a probe; most vegetable seeds require a consistent 65 to 75 degrees Fahrenheit for optimal germination rates. Once the third set of true leaves appears, the plant is ready for the hardening-off process, which involves incremental exposure to unfiltered UV radiation and fluctuating outdoor temperatures over a 7 to 10 day period.
Phases:
Sowing
Place seeds at a depth precisely two to three times their diameter in pre-moistened cells. Maintain a constant humidity level of 80 percent using a germination dome. Position your Best plant lights approximately 4 to 6 inches above the soil surface to provide immediate signal cues upon emergence.
Pro-Tip: Proper light positioning prevents phototropism, where the plant bends toward a distant light source. By providing overhead intensity, you suppress the production of auxins on the shaded side of the stem, ensuring the seedling grows perfectly vertical and structurally sound.
Transplanting
Move seedlings to larger containers once the roots begin to circle the bottom of the plug. Use a hori-hori knife to gently loosen the root ball if it has become slightly constricted. Ensure the new container has adequate drainage holes to prevent perched water tables.
Pro-Tip: During transplanting, inoculate the roots with mycorrhizal fungi. This creates a mycorrhizal symbiosis that effectively increases the root surface area, allowing for enhanced phosphorus uptake and improved drought resistance through a biological network.
Establishing
Once transplanted, focus on strengthening the vascular system. Introduce a small oscillating fan to create a gentle breeze, which triggers the plant to strengthen its cell walls through a process called thigmomorphogenesis. Adjust the Best plant lights to their maximum intensity setting to mimic the full sun of the summer solstice.
Pro-Tip: Maintain a high vapor pressure deficit (VPD) during this stage. If the air is too humid, the plant will not transpire efficiently; if it is too dry, the stomata will close. Aim for a VPD of 0.8 to 1.2 kPa for maximum metabolic activity.
The Clinic:
Physiological disorders often mimic pathogen attacks but are usually environmental.
- Symptom: Interveinal chlorosis (yellowing between green veins) on older leaves. Solution: This indicates a Magnesium deficiency. Apply a foliar spray of Epsom salts at a rate of 1 tablespoon per gallon.
- Symptom: Edema (small bumps or blisters on the underside of leaves). Solution: This is caused by high humidity and low transpiration. Increase airflow and reduce watering frequency.
- Symptom: Purpling of the underside of leaves. Solution: This is typically a Phosphorus deficiency, often caused by soil temperatures dropping below 60 degrees Fahrenheit, which locks out the nutrient.
- Fix-It for Nitrogen Chlorosis: If the entire plant turns pale green, apply a water-soluble fertilizer with a high first number (Nitrogen) to restore chlorophyll density immediately.
Maintenance:
Precision maintenance is the difference between a harvest and a failure. Use a soil moisture meter daily to ensure the substrate remains at a consistent 40 to 60 percent saturation. Most established vegetable starts require 1.5 inches of water per week delivered directly at the drip line to avoid wetting the foliage. Use bypass pruners to remove any yellowing lower leaves (cotyledons) once the true leaves are established; this prevents opportunistic fungal pathogens from colonizing decaying tissue. Inspect the undersides of leaves weekly for any signs of stress. If you detect physical damage, use a hori-hori knife to remove the affected plant entirely to protect the rest of the tray. Clean your Best plant lights every two weeks with a dry microfiber cloth to remove dust that can reduce photon output by up to 10 percent.
The Yield:
Harvesting vegetable starts for the garden is about timing the "transplant shock" window. The ideal time to move plants to their final location is when they have reached 6 to 8 inches in height and have a well-developed root system that holds the soil together. For leafy greens intended for early consumption, harvest using the "cut and come again" method with sharp snips to avoid tearing the vascular tissue. To maintain "day-one" freshness for harvested greens, submerge them in 40-degree Fahrenheit water for 15 minutes immediately after cutting to remove field heat and lock in turgidity. Store in a breathable container at high humidity.
FAQ:
How far should LED lights be from seedlings?
Maintain a distance of 4 to 12 inches depending on the wattage. High-intensity LEDs (over 200W) should stay further away to avoid leaf scorch, while lower-wattage shop lights must remain close to prevent etiolation.
What is the best light spectrum for vegetables?
A "Full Spectrum" LED with a heavy 450nm (blue) peak is best for vegetative growth. Blue light promotes thick stems and suppresses stretching, while a smaller 660nm (red) peak supports overall biomass and eventual flowering.
How many hours should I leave my plant lights on?
Most vegetable starts require 14 to 16 hours of light per day. Providing 24-hour light is counterproductive, as plants require a dark period for cellular respiration and to process the carbohydrates synthesized during the day.
Can I use regular LED bulbs for plants?
Standard household LEDs lack the specific PAR output and spectrum density required for vigorous growth. While they may keep a plant alive, they usually result in weak, spindly growth compared to dedicated horticultural LED arrays.