7 Drainage Steps to Treat Root Rot with Soil Prep
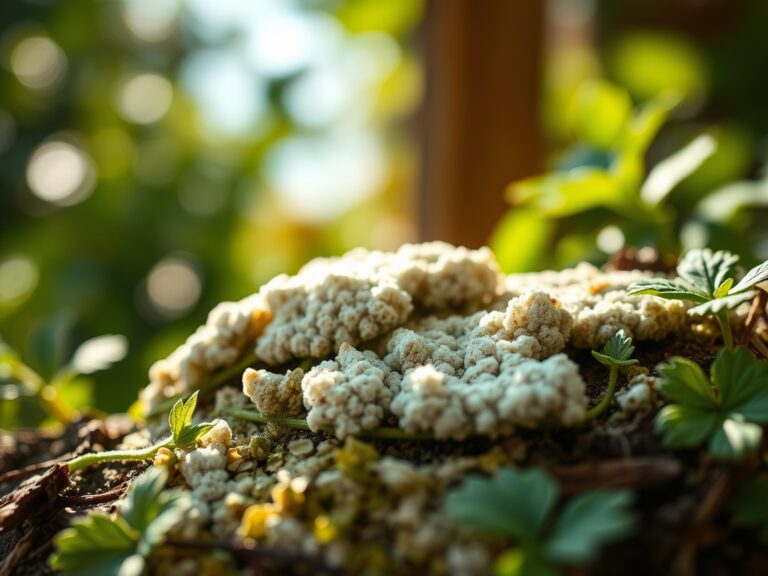
The smell of anaerobic decay is the first warning of a failing rhizosphere. When soil pores remain saturated, oxygen is displaced, and the resulting hypoxia triggers the onset of Phytophthora or Pythium pathogens. A healthy leaf maintains turgor pressure through efficient transpiration; a plant suffering from root rot exhibits a characteristic wilt that does not recover after watering. Implementing specific steps for treating root rot with drainage requires a complete overhaul of the physical and chemical environment surrounding the root mass. You must intervene before the vascular system collapses entirely. This process involves the physical removal of necrotic tissue, the introduction of high-porosity substrates, and the recalibration of the soil Cation Exchange Capacity (CEC) to ensure nutrient uptake is not inhibited by waterlogged conditions. Success depends on the immediate restoration of gas exchange within the top 12 inches of the soil profile. By following a rigorous technical protocol, you can reverse the decline and re-establish a functional root system capable of supporting vigorous vegetative growth and eventual reproductive success.
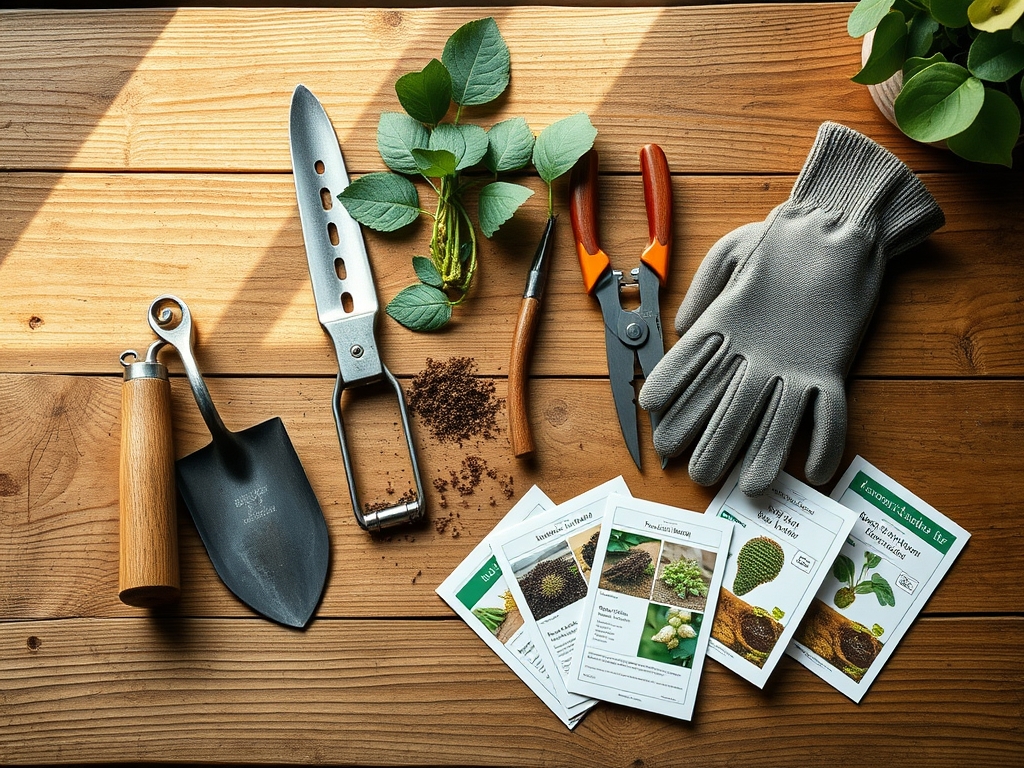
Materials:
The recovery substrate must be a **friable loam** with a high percentage of coarse aggregates to facilitate rapid percolation. Aim for a soil pH between **6.0 and 6.8** for most temperate species to maximize nutrient availability.
- Substrate Components: Horticultural grade perlite, coarse river sand (not play sand), and aged pine bark fines. These materials increase macropore space.
- Nutrient Profile: Use a low-nitrogen starter fertilizer with an NPK ratio of 5-10-5. High nitrogen at this stage can force succulent top growth that the compromised root system cannot support.
- Fungicidal Wash: A solution of 3 percent hydrogen peroxide or a copper-based fungicide to drench the remaining healthy root tissue.
- Amendments: Calcined clay or zeolite to improve the CEC without increasing water retention to dangerous levels.
Timing:
The window for intervention is narrow and dictated by the plant's biological clock. For woody perennials in Hardiness Zones 4 through 8, the ideal time for root surgery and soil replacement is during early dormancy or just before the spring bud break. At these stages, the plant is not under the high evaporative demand of mid-summer heat.
The transition from the vegetative stage to the reproductive stage is a period of high metabolic stress. If root rot is detected during the reproductive phase, the priority is to reduce the fruit or flower load immediately. This redirects energy from seed production back to root regeneration. Monitor the photoperiod; as day length increases, the plant's demand for water will rise, making a functional, well-drained root zone even more critical.
Phases:

Sowing and Seedling Protection
When starting seeds in areas prone to rot, use a sterile, soilless medium. Ensure the ambient temperature remains between 65 and 75 degrees Fahrenheit to promote rapid germination and minimize the time the seedling spends in its most vulnerable state.
Pro-Tip: Utilize a heat mat to maintain a consistent root zone temperature. This accelerates cellular metabolism and allows the seedling to develop a robust cuticle, which acts as a physical barrier against soil-borne pathogens.
Transplanting and Root Pruning
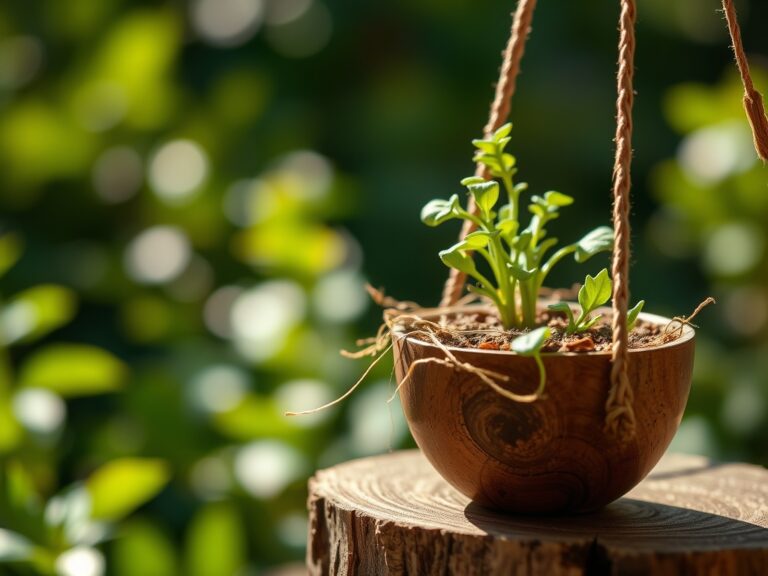
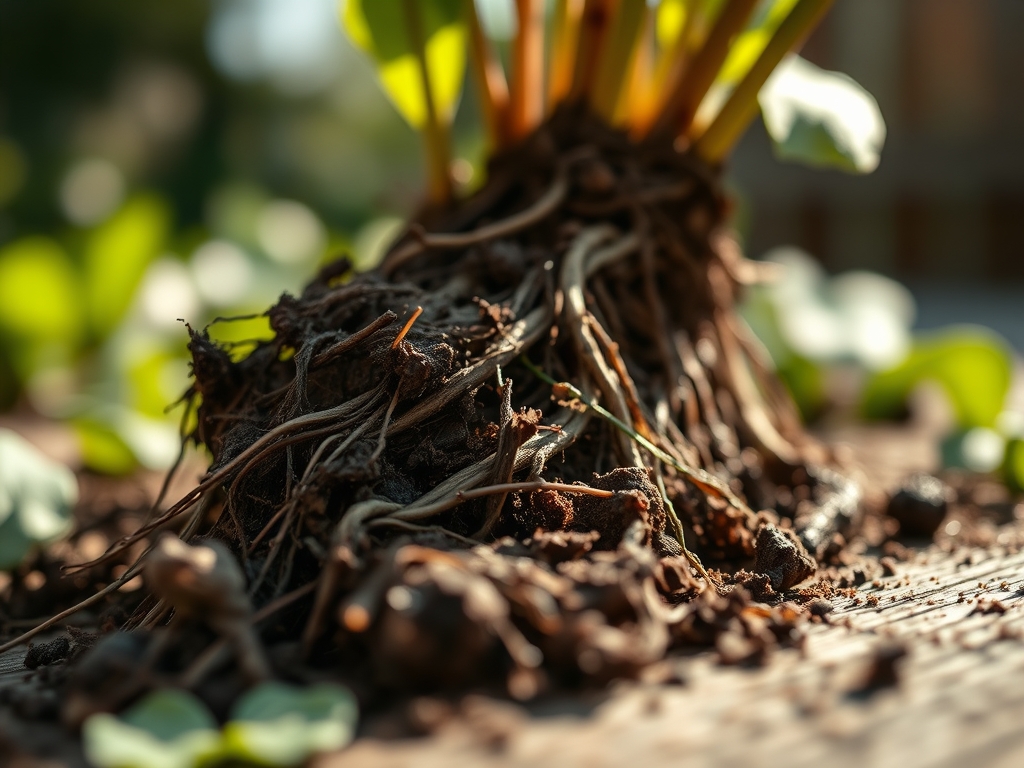
Carefully remove the plant from its saturated environment. Use a hori-hori knife to prune away any roots that are black, slimy, or emit a foul odor. Healthy roots should appear white or tan and feel firm to the touch. Wash the remaining root ball in a mild fungicidal solution before placing it in the new, well-drained substrate.
Pro-Tip: Apply a mycorrhizal inoculant directly to the wounded root tissue. This establishes a symbiotic relationship where the fungi extend the reach of the root system, improving phosphorus uptake and providing a biological shield against future fungal infections.
Establishing the New Drainage Profile
Replant at a depth where the root flare is slightly above the soil line. This prevents "collaring," where moisture trapped against the stem leads to secondary infections. Backfill with the prepared friable loam, ensuring there are no large air pockets while avoiding heavy compaction that would crush the new macropores.
Pro-Tip: Avoid heavy fertilization for the first 14 to 21 days. This suppresses auxin production in the shoot tips, which in turn encourages the plant to allocate its carbon resources toward root elongation rather than upward growth.
The Clinic:
Physiological disorders often mimic nutrient deficiencies. Distinguishing between the two is vital for correct treatment.
- Symptom: Interveinal chlorosis on new growth.
- Solution: Check soil pH. If pH is above 7.2, iron becomes insoluble. Lower the pH using elemental sulfur to restore iron availability.
- Symptom: Leaf tip burn or marginal necrosis.
- Solution: This often indicates salt accumulation from over-fertilization or poor drainage. Flush the root zone with 2 gallons of water per gallon of container volume to leach excess salts.
- Symptom: Nitrogen Chlorosis (yellowing of older, lower leaves).
- Fix-It: Apply a water-soluble fertilizer with a high first number (e.g., 20-10-10) at half strength. Nitrogen is mobile within the plant; the plant is scavenging it from old leaves to support new growth.
Maintenance:
Precision irrigation is the primary defense against the return of root rot. Use a soil moisture meter to verify that the top 2 to 3 inches of soil have dried before re-applying water. Most established plants require approximately 1.5 inches of water per week, delivered at the drip line rather than the base of the trunk.
Use bypass pruners to remove any dead or dying branches, which reduces the overall transpiration pull on the recovering roots. Keep the area free of fallen debris and leaf litter, as these can harbor fungal spores and maintain excess humidity at the soil surface. Monitor the soil compaction twice a year; if the soil becomes dense, use a garden fork to gently aerate the perimeter of the root zone without severing major structural roots.
The Yield:
For edible crops recovering from root rot, the harvest may be delayed by 10 to 14 days. Harvest during the coolest part of the morning to ensure maximum cell turgidity. Use sharp, sterilized shears to make clean cuts, preventing jagged wounds that could serve as entry points for post-harvest pathogens.
To maintain freshness, immediately move the harvest to a cool, shaded area. For leafy greens, a quick dip in 40-degree Fahrenheit water can remove field heat and lock in crispness. For fruiting crops, avoid bruising, as damaged tissue releases ethylene gas, which accelerates senescence and reduces shelf life.
FAQ:
How do I identify root rot without digging?
Look for persistent wilting despite wet soil, yellowing lower leaves, and a distinct smell of sulfur or rot emanating from the ground. Stunted growth and premature leaf drop are also primary indicators of a compromised rhizosphere.
Can I reuse soil from a plant with root rot?
No. Soil from infected plants contains active fungal spores and pathogens. Reusing it will infect new specimens. Dispose of the soil away from your garden or sterilize it using solarization at temperatures above 140 degrees Fahrenheit.
What is the best drainage material for pots?
Avoid putting rocks at the bottom; this creates a perched water table. Instead, mix coarse perlite, pumice, or bark throughout the entire soil profile. This ensures consistent capillary action and prevents a saturated zone at the base.
How long does it take for roots to recover?
Under optimal conditions with a pH of 6.5 and consistent temperatures, new root hairs will begin to form within 7 to 14 days. Full structural recovery of the root system typically requires one full growing season.