6 Size Tips for Repotting a Snake Plant
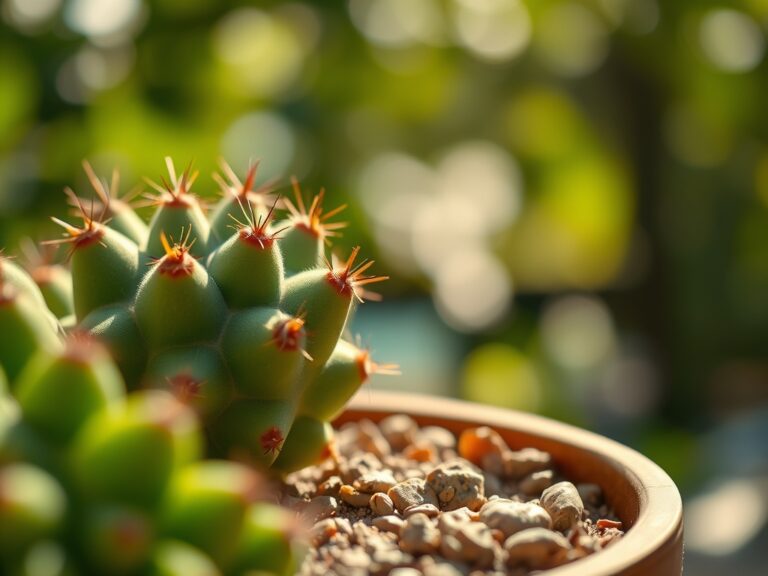
The smell of damp peat and the gritty texture of perlite under your fingernails signal the start of a necessary physiological reset for Sansevieria. A healthy snake plant exhibits high turgor pressure; its leaves stand rigid and upright like architectural steel. When the rhizomes begin to distort the plastic of a nursery pot or emerge from drainage holes, the plant has exhausted its available volume. Mastering the steps for repotting a snake plant requires understanding the delicate balance between root confinement and substrate oxygenation. Neglecting this transition leads to root senescence and a decline in metabolic efficiency. This guide provides the technical framework to execute a successful transplant without inducing osmotic shock or mechanical damage to the succulent root system.
Materials:
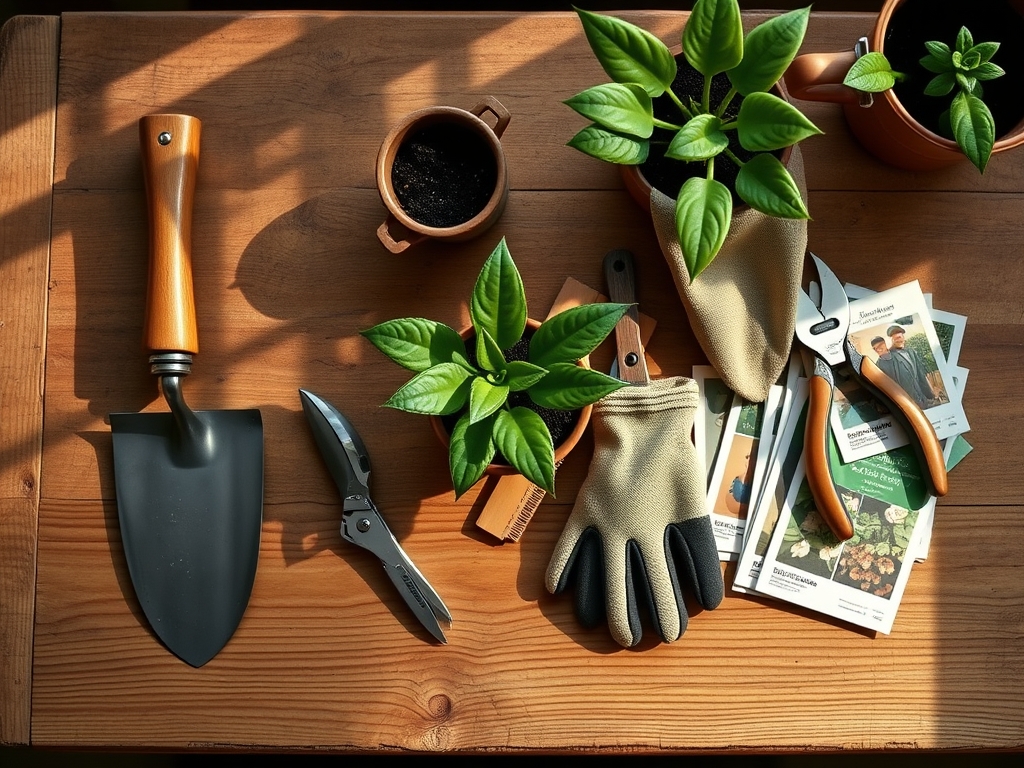
The substrate for Sansevieria must prioritize drainage to prevent anaerobic conditions in the rhizosphere. Use a potting medium with a **pH range of 5.5 to 7.0**. The physical texture should be a friable loam mixed with inorganic aggregates. A ratio of **1 part coarse sand, 1 part perlite, and 2 parts peat or coco coir** ensures the Cation Exchange Capacity (CEC) remains high enough to retain nutrients while allowing rapid water percolation.
For nutrition, incorporate a slow-release granular fertilizer with an NPK ratio of 10-10-10 or 8-8-8. High nitrogen levels are unnecessary for these slow-growing succulents and can lead to weak, elongated growth. The goal is a balanced mineral profile that supports cellular structural integrity. Select a container only 1 to 2 inches wider than the current root ball. Oversized pots lead to "perched water tables," where the bottom layer of soil remains saturated, suffocating the roots through lack of gas exchange.
Timing:
The biological clock of the snake plant is governed by light intensity and ambient temperature. While Sansevieria can survive in Hardiness Zones 9 through 12, they are primarily managed as indoor specimens in cooler climates. The ideal window for repotting is during the late spring or early summer, specifically between April and June. This aligns with the plant's transition from a semi-dormant winter state to its active vegetative growth phase.
In professional horticulture, this timing is critical because the plant's metabolic rate is at its peak. Increased photoperiods trigger the production of auxins, the hormones responsible for root initiation and elongation. If you repot during the winter senescence, the plant lacks the energy reserves to colonize the new substrate, increasing the risk of fungal pathogens. Aim for a consistent ambient temperature of 70 to 80 degrees Fahrenheit during the transplant window to ensure rapid recovery.
Phases:
Sowing and Preparation
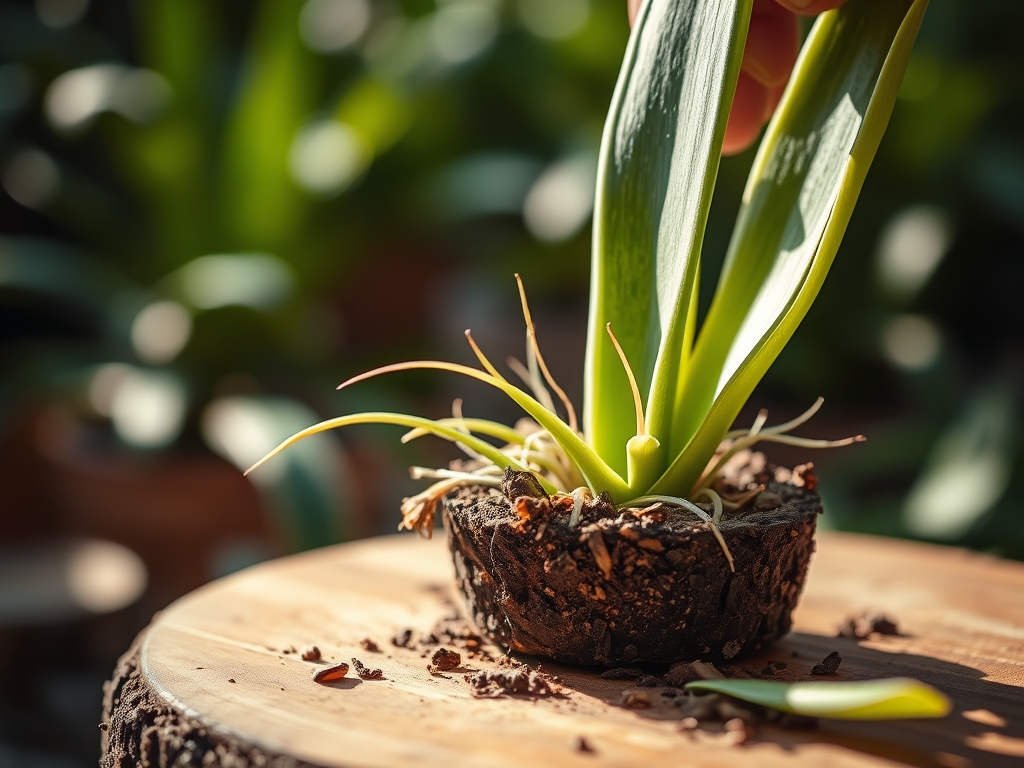
Before moving the plant, withhold water for 5 to 7 days. Dry soil is more friable and less likely to cling to the roots, reducing the risk of mechanical tearing. Use a hori-hori knife to circle the inner perimeter of the pot, severing any root-to-wall adhesions. Lay the plant on its side and gently slide the root mass out. Inspect the rhizomes for any signs of soft, brown tissue, which indicates the onset of rot.
Pro-Tip: Maintaining root integrity is vital because Sansevieria relies on thick, fleshy rhizomes for water storage. Damaging these structures triggers a stress response that redirects energy away from leaf production and toward wound healing.
Transplanting
Position the plant in the center of the new vessel. Ensure the depth remains consistent with the previous planting; burying the crown too deep leads to moisture entrapment and crown rot. Fill the voids with your prepared substrate, tapping the sides of the pot to settle the soil and eliminate large air pockets. Do not pack the soil tightly. High bulk density reduces the oxygen available to the root hairs, which are the primary sites for nutrient uptake.
Pro-Tip: Use a sterilized bypass pruner to remove any dead or circling roots. This stimulates "lateral root branching" through the suppression of apical dominance within the root system, leading to a more robust and expansive network.
Establishing
Once the plant is situated, do not water it immediately. Wait 2 to 3 days before the first irrigation. This allows any micro-fractures in the root tissue to callus over, preventing soil-borne pathogens from entering the vascular system. Place the plant in bright, indirect light. Avoid direct solar radiation for the first 10 to 14 days to prevent excessive transpiration while the roots are still settling.
Pro-Tip: This waiting period utilizes the plant's CAM (Crassulacean Acid Metabolism) pathway. By keeping stomata closed during the day and healing in a dry environment, the plant conserves internal moisture and prioritizes structural repair.
The Clinic:
Physiological disorders in Sansevieria often manifest through leaf morphology.
- Symptom: Soft, mushy leaf bases.
- Solution: This indicates over-saturation and anaerobic root rot. Remove the plant from the soil, excise decayed tissue with a sterile blade, and repot in a dry, high-perlite medium.
- Symptom: Horizontal scarring or "corking."
- Solution: This is often a result of mechanical damage or sudden fluctuations in humidity. It is aesthetic and does not require chemical intervention; maintain a stable environment.
- Symptom: Nitrogen Chlorosis (Yellowing of older leaves).
- Solution: Apply a water-soluble fertilizer with a 1.0% Nitrogen concentration. Ensure the soil pH is not above 7.5, as high alkalinity can lock out essential micronutrients like iron and manganese.
- Symptom: Leaf curling or wrinkling.
- Solution: This indicates a deficit in turgor pressure. Check the soil moisture meter; if it reads below 20% at the root zone, a deep, thorough watering is required.
Maintenance:
Post-repotting maintenance requires precision. Use a soil moisture meter to verify that the substrate is dry at least 3 inches below the surface before watering. In a standard indoor environment, this typically equates to 0.5 to 1.0 liters of water every 3 weeks, depending on pot size. Always apply water directly to the soil at the drip line; avoid getting water into the center of the leaf rosette, as standing water promotes bacterial soft rot.
Every 6 months, use a damp cloth to wipe dust from the leaves. Dust accumulation reduces the efficiency of the photosynthetic active radiation (PAR) absorption. During the active growing season, supplement with a diluted liquid fertilizer once every 8 weeks. Monitor for structural shifts using a hori-hori knife to check soil compaction levels annually.
The Yield:
While Sansevieria is not an edible crop, the "yield" is measured in leaf propagation and air filtration efficiency. If you wish to harvest a leaf for propagation, select a mature, healthy blade. Use bypass pruners to make a clean, V-shaped cut at the base. Allow the cutting to callus for 48 hours in a cool, dry place before inserting it into a rooting medium. This callusing process is the most critical step for ensuring "day-one" freshness and preventing the cutting from liquefying in the propagation tray.
FAQ:
How do I know if my snake plant needs a bigger pot?
Check for roots protruding from drainage holes or a bulging container. If the plant stops producing new growth during the spring or the soil dries out in less than three days, the root-to-soil ratio is too high.
What is the best soil for repotting a snake plant?
Use a well-draining succulent mix with a pH of 5.5 to 7.0. A blend of 50% organic matter (peat or coco coir) and 50% inorganic aggregate (perlite, pumice, or coarse sand) prevents root suffocation.
Can I use regular garden soil for snake plants?
No. Garden soil has a high bulk density and lacks the necessary porosity. It retains too much moisture and may harbor pathogens, leading to rapid root senescence and fungal infections in a container environment.
How much water does a snake plant need after repotting?
Wait 2 to 3 days before watering to allow root callusing. Afterward, provide enough water to saturate the root ball until it drains from the bottom. Do not water again until the top 3 inches of soil are dry.