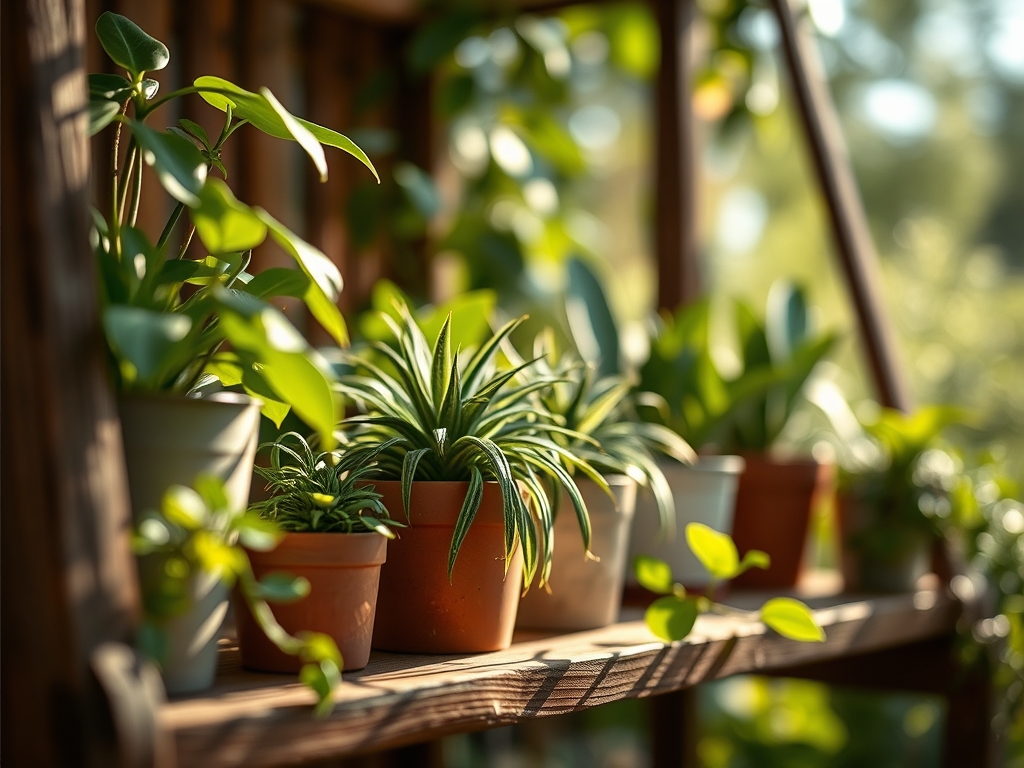
6 Tropical Steps to Prepare a Tropical Foliage Plant Shelf
The sharp scent of wet pine bark and the tactile resistance of a leaf with full turgor pressure define the successful indoor jungle. Achieving this requires more than aesthetic placement; it demands a calculated replication of the understory environment. Understanding how to prepare a plant shelf for tropicals involves managing light intensity, humidity gradients, and substrate chemistry within a confined vertical space. You are not merely decorating a room. You are engineering a microclimate where the transpiration rate must be balanced against the atmospheric vapor pressure deficit. If the shelf is poorly situated, the plant will suffer from cellular senescence or fungal pathogens. A high-performance shelf setup prioritizes the physiological needs of the plant over visual symmetry. By focusing on the intersection of light quality and root zone stability, you ensure that every Philodendron or Alocasia thrives in its synthetic habitat.
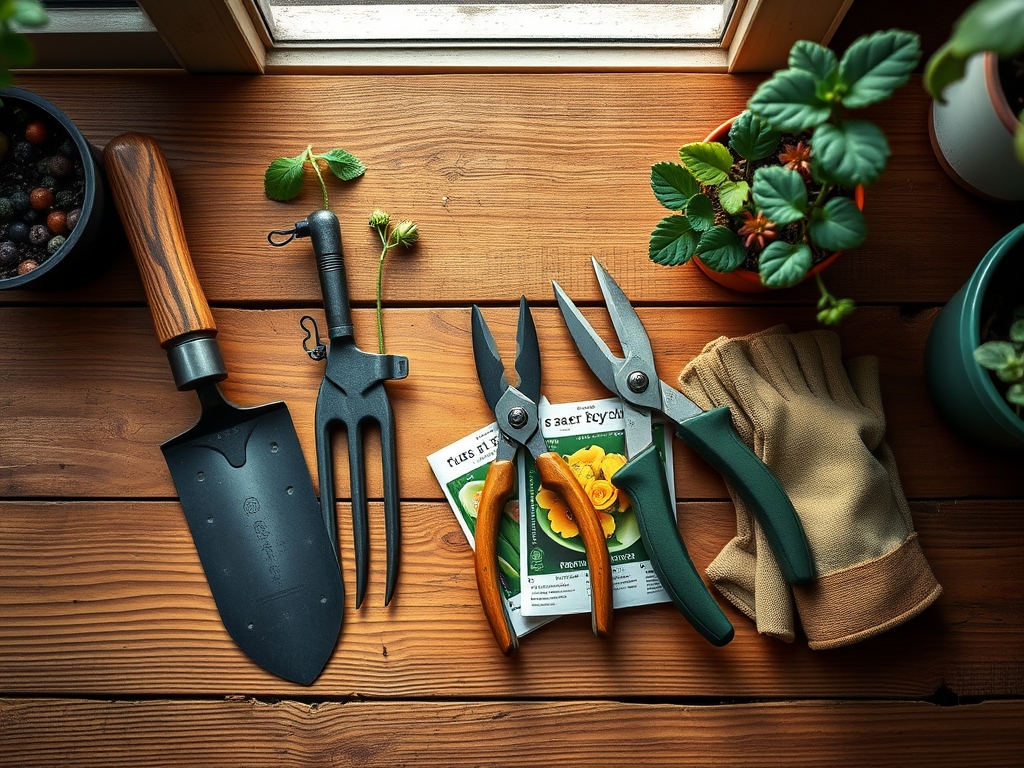
Materials:
The foundation of a tropical shelf begins with the substrate and the structural integrity of the shelving unit. Tropical aroids and foliage plants generally require a **pH range between 5.5 and 6.5** to ensure maximum nutrient bioavailability. A friable loam, amended with coarse perlite and orchid bark, provides the necessary macropores for oxygen exchange in the rhizosphere.
For fertilization, maintain a consistent NPK ratio. During the active growth phase, use a 9-3-6 ratio to support foliage expansion. The high nitrogen content drives chlorophyll production, while the phosphorus and potassium support root architecture and cellular water retention. Your potting mix must have a high Cation Exchange Capacity (CEC) to hold onto these nutrients. Incorporate inorganic components like pumice or calcined clay to prevent compaction. The shelf itself should be constructed from non-porous materials like powder-coated steel or sealed bamboo to resist the 80 percent humidity required by most high-end tropical species.
Timing:
While indoor shelves are protected from the elements, they are not immune to the seasonal photoperiod. In Hardiness Zones 5 through 8, the transition from autumn to winter triggers a slowdown in metabolic activity. You must synchronize your shelf preparation with the spring equinox. This is when the biological clock of the plant shifts from maintenance to aggressive vegetative growth.
Avoid major repotting or shelf reorganization if the ambient temperature drops below 65 degrees Fahrenheit. Tropical plants enter a state of semi-dormancy when light levels fall below 12 hours per day. Monitor the frost-date windows in your specific region; even indoor plants near windows can experience cold shock if the glass temperature drops significantly. The goal is to establish the shelf during the "ascending" phase of the year when the increase in natural lumens complements your supplemental LED arrays.
Phases:
Sowing and Propagation
Start your tropical collection by propagating from node cuttings or sowing seeds in a high-humidity germination chamber. Maintain a constant bottom heat of 75 degrees Fahrenheit to accelerate cell division in the meristematic tissue.
Pro-Tip: Utilize a rooting hormone containing Indole-3-butyric acid (IBA) to stimulate adventitious roots. This works through auxin suppression of lateral buds, forcing the plant to prioritize root initiation over leaf expansion during the first fourteen days.
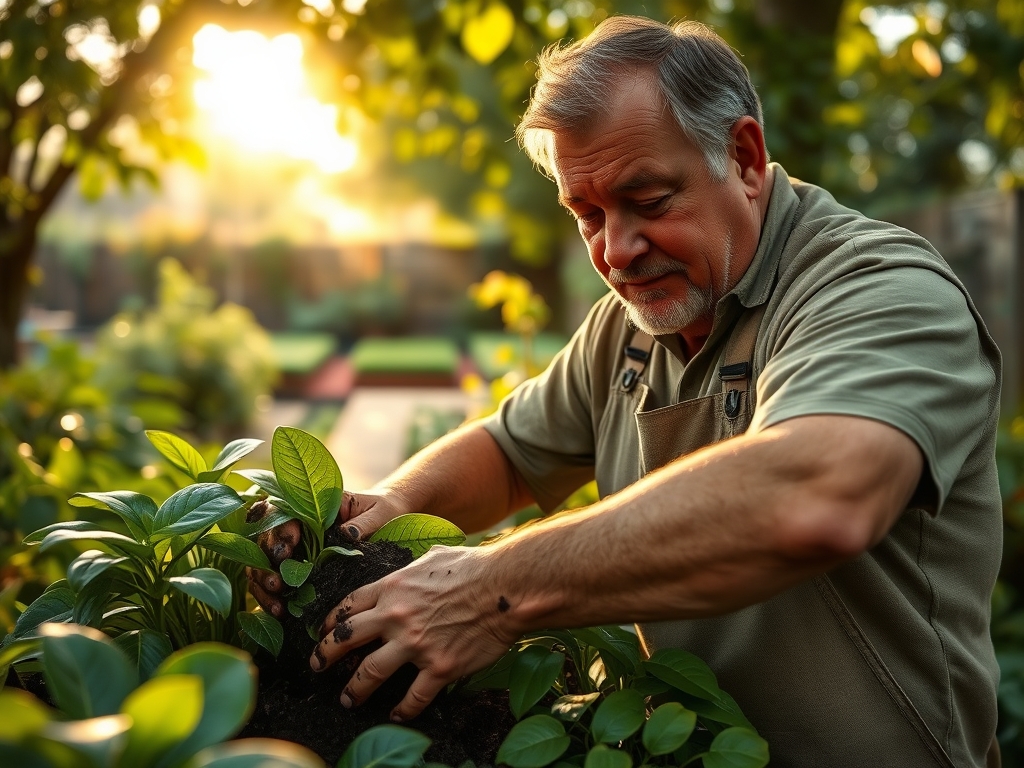
Transplanting
When moving plants to the shelf, ensure the root ball is not constricted. Use a hori-hori knife to gently loosen any circling roots. The new container should only be 2 inches wider than the previous one to prevent "wet feet," where excess soil retains water that the root system cannot yet process.
Pro-Tip: Inoculate the new substrate with endomycorrhizal fungi. This creates a mycorrhizal symbiosis that effectively extends the root surface area by up to 1,000 percent, allowing for better uptake of phosphorus and micronutrients.
Establishing
Once placed on the shelf, do not move the plants for at least 21 days. This allows the plant to calibrate its leaves toward the light source. Monitor the distance between the leaf canopy and your grow lights to prevent thermal burn.
Pro-Tip: Observe the direction of growth to manage phototropism. Regularly rotating the plant 90 degrees every week prevents the elongation of internodes, maintaining a compact and structurally sound specimen.
The Clinic:
Physiological disorders often manifest when the shelf environment deviates from the tropical norm.
- Symptom: Interveinal chlorosis (yellowing between green veins).
- Solution: This indicates a magnesium deficiency. Apply a foliar spray of Epsom salts (magnesium sulfate) at a rate of 1 tablespoon per gallon.
- Symptom: Tip burn or necrosis on new growth.
- Solution: Likely caused by low humidity or excess salts in the substrate. Flush the pot with distilled water until the Total Dissolved Solids (TDS) in the runoff drops below 200 ppm.
- Symptom: Leaf abscission (sudden dropping of healthy leaves).
- Solution: Check for rapid temperature fluctuations or "cold drafts." Ensure the shelf is not positioned directly under an HVAC vent.
Fix-It for Nitrogen Chlorosis: If the oldest leaves turn uniformly pale yellow, the plant is scavenging nitrogen for new growth. Apply a liquid fertilizer with a high N-value (like 10-5-5) to restore the nitrogen pool in the soil solution.
Maintenance:
Precision is the hallmark of a master horticulturist. Use a soil moisture meter to verify that the substrate is dry to a depth of 2 inches before adding water. For most tropicals, aim for the equivalent of 1.5 inches of water per week, delivered directly to the root zone rather than the foliage to prevent fungal spores from germinating.
Keep a pair of bypass pruners sterilized with 70 percent isopropyl alcohol. Prune away any senescent (dying) foliage to redirect energy to the apical meristem. Use a hori-hori knife to periodically aerate the top inch of soil, preventing the formation of a hydrophobic crust. Clean the leaves with a damp microfiber cloth every 14 days to remove dust that blocks stomata and reduces photosynthetic efficiency.
The Yield:
While many shelf tropicals are grown for foliage, some produce inflorescences or edible parts like Monstera deliciosa fruit. Harvesting must occur only when the fruit scales begin to lift naturally. This indicates the conversion of starches to sugars. To maintain "day-one" freshness, store harvested tropical tissues in a high-humidity environment at 55 degrees Fahrenheit. Never refrigerate tropical produce at standard fridge temperatures, as this causes chilling injury and cellular collapse.
FAQ:
How do I prevent root rot on a plant shelf?
Ensure your substrate contains at least 30 percent coarse aggregate like perlite or bark. Use pots with multiple drainage holes and never allow the base to sit in standing water. Only water when the top 2 inches of soil are dry.
What is the best light for a tropical shelf?
Use full-spectrum LED grow lights that provide a PPFD (Photosynthetic Photon Flux Density) of 200 to 400 μmol/m2/s for most foliage plants. Keep the lights on a timer for 12 to 14 hours daily to mimic equatorial cycles.
How do I increase humidity without a humidifier?
Group plants closely together to utilize collective transpiration. You can also place pebble trays filled with water beneath the pots, ensuring the water level remains below the bottom of the pot to prevent wicking and saturated roots.
When should I fertilize my tropical shelf plants?
Fertilize only during periods of active growth, typically from March through September. Use a balanced liquid fertilizer diluted to half-strength every second watering. Cease fertilization during winter months when the plant's metabolic rate and nutrient uptake decrease significantly.