7 Steps to Build a Durable Patio to Increase Property Value
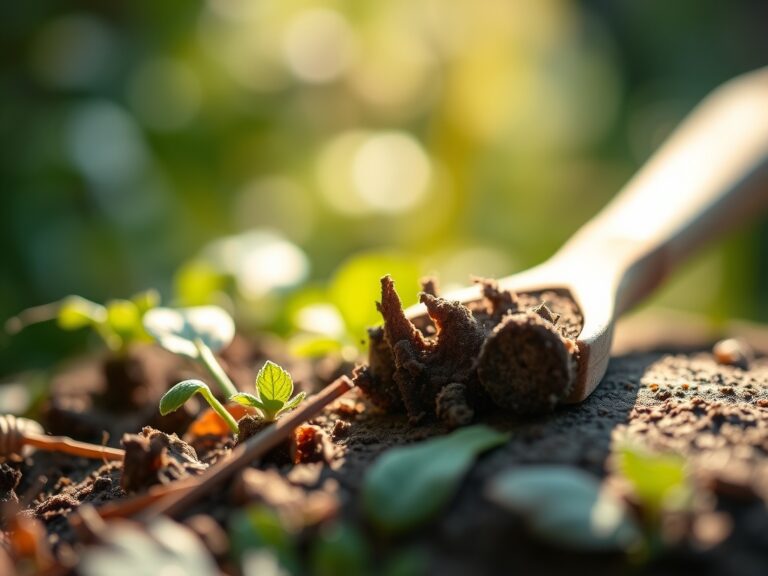
Crushed limestone releases a faint, metallic scent when the shovel strikes the subsoil; the smell of damp earth and anaerobic microbes signals a site ready for transformation. Effective steps for building a garden patio require more than aesthetic placement. You must manage the hydraulic conductivity of the soil and the structural integrity of the substrate to prevent frost heave. A durable patio serves as a foundational hardscape that stabilizes the local microclimate; it reduces erosion and manages runoff while providing a stable platform for high-value botanical specimens. By treating the patio as a geological extension of the garden, you ensure that the surrounding rhizosphere remains undisturbed by shifting pavers or poor drainage. This project demands precision in excavation and a deep understanding of soil compaction mechanics. Every millimeter of slope and every pound of base material dictates the longevity of the installation. We begin by analyzing the ground beneath our feet; the literal foundation of property appreciation and horticultural success starts with the structural assessment of the native soil profile.
Materials:
The success of any hardscape integrated with a garden depends on the chemical and physical properties of the surrounding earth. Before laying stone, test the soil pH; most temperate garden plants thrive at a **pH of 6.0 to 7.0**. High alkalinity near concrete pavers can leach lime into the soil, spiking the pH and locking out essential micronutrients. Ensure the surrounding planting beds contain a **friable loam** with a Cation Exchange Capacity (CEC) above **15 milliequivalents per 100 grams**.
For the vegetation bordering the patio, utilize a specific NPK ratio to encourage root establishment without excessive succulent growth. A 5-10-10 NPK fertilizer is ideal for the transition zone. High phosphorus (10) supports the ATP energy transfer required for root development, while potassium (10) regulates stomatal conductance and turgor pressure. Avoid high nitrogen (N) during construction; it promotes weak, leggy growth that is susceptible to mechanical damage from heavy machinery. The base material for the patio itself should consist of 3/4-inch minus crushed rock to allow for adequate drainage and a 1-inch layer of washed concrete sand for leveling.
Timing:
Hardscape construction must align with the physiological states of your garden. In Hardiness Zones 4 through 7, the window for building opens after the final spring frost when the soil moisture levels drop below the plastic limit. Working saturated soil destroys its structure; it collapses the macropores necessary for oxygen diffusion to the roots. Observe the "Biological Clock" of your perennials. The ideal time to excavate is during the early vegetative stage before the plant enters the high-energy reproductive stage (flowering).
Avoid construction during the peak summer heat when plants are under high transpirational stress. If the vapor pressure deficit is too high, the plants bordering your work site will suffer from permanent wilting point. Aim for a soil temperature between 55 and 65 degrees Fahrenheit. This temperature range allows the soil to be compacted effectively without turning into a brick-like state that prevents future root penetration.
Phases:

Sowing the Foundation
Excavate to a depth of 8 inches for a standard pedestrian patio. This allows for 6 inches of compacted base and 2 inches of sand and paver. Ensure a slope of 1/8 inch per foot away from any structures to prevent water accumulation.
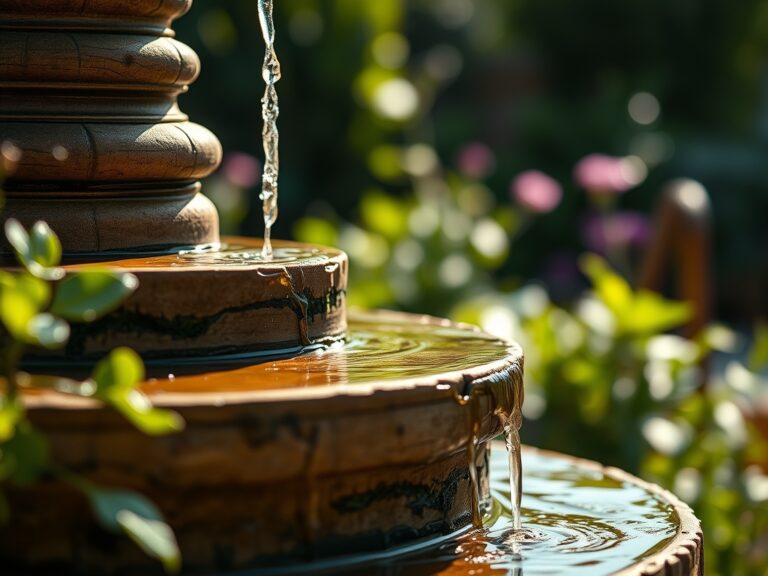
Pro-Tip: Proper drainage prevents root asphyxiation. When water pools, it displaces oxygen in the soil pores, leading to anaerobic conditions that kill beneficial mycorrhizal fungi and trigger root rot.
Transplanting the Perimeter
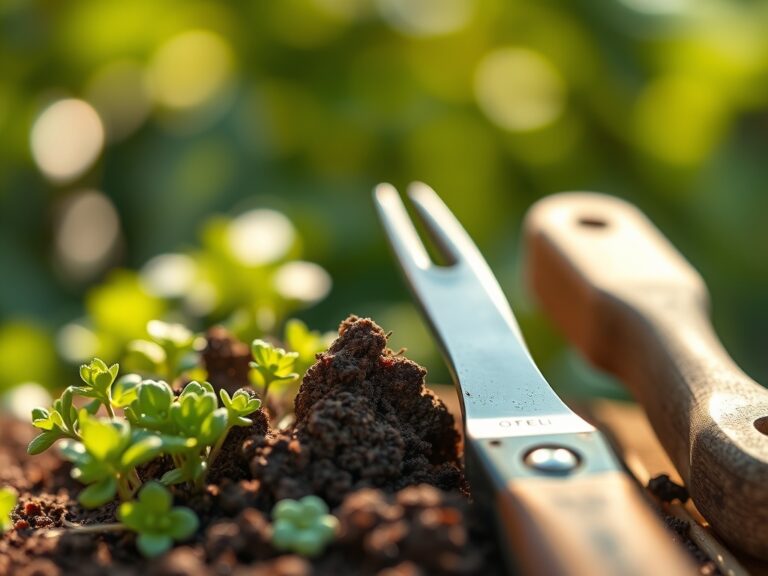
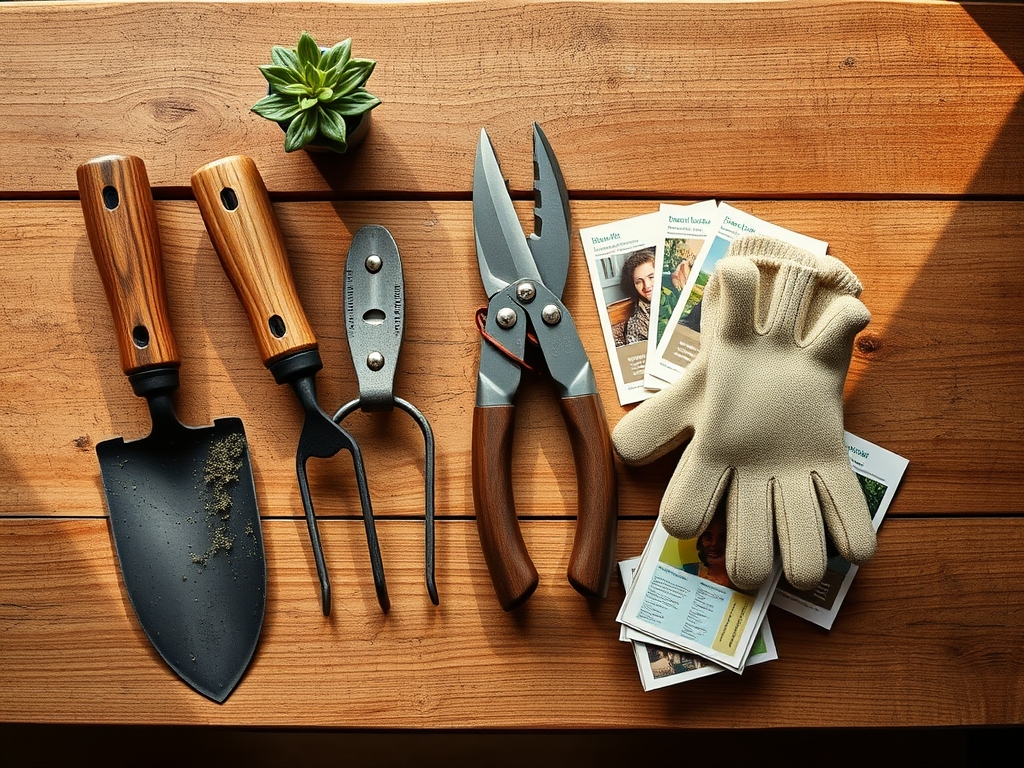
As the patio edges are defined, move existing plants using a hori-hori knife to preserve the root ball. Replant them at the same depth they were originally growing. Ensure the transition between the hardscape and the soil includes a geotextile fabric to prevent the migration of fines into the drainage layer.
Pro-Tip: Maintain auxin suppression by avoiding heavy pruning of the apical meristems during transplanting. Keeping the terminal buds intact signals the plant to prioritize root regeneration over new foliage growth.
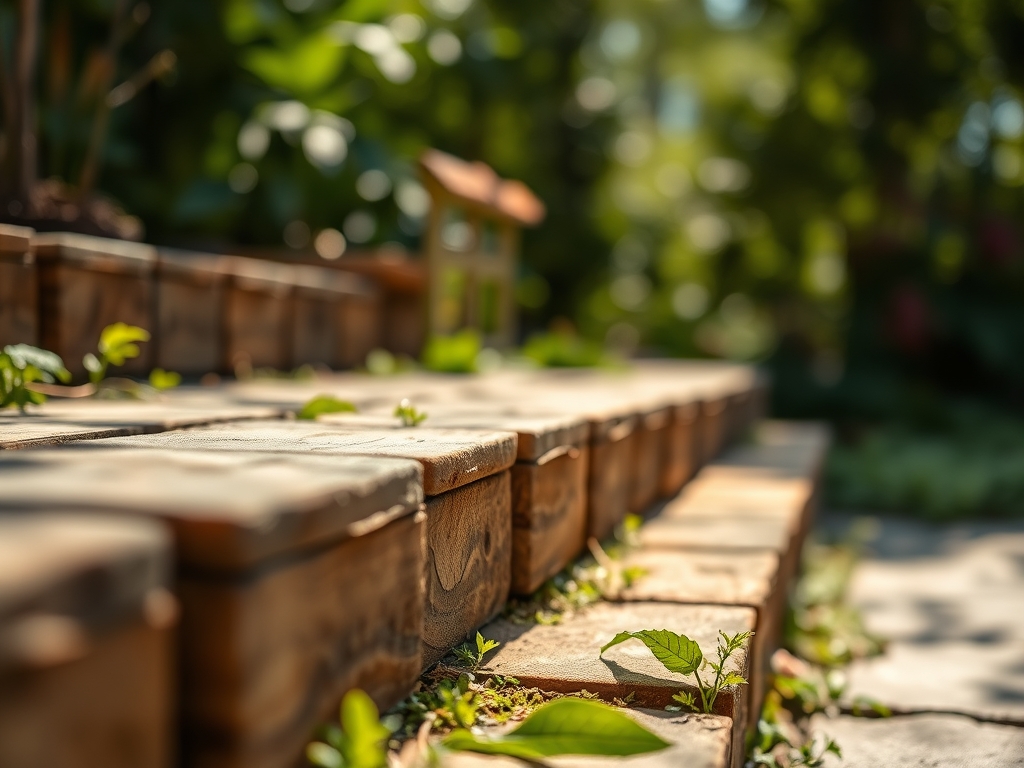
Establishing the Microclimate
Once the pavers are set, fill the joints with polymeric sand. This prevents weed seeds from germinating in the gaps. The thermal mass of the stone will create a heat sink; use this to your advantage by planting thermophilic species nearby that benefit from the radiated heat during cool nights.
Pro-Tip: Watch for phototropism in plants near the patio. The light reflecting off light-colored stones can increase the total photosynthetic photon flux density (PPFD), potentially causing leaf scorch on shade-loving species.
The Clinic:
Monitoring the physiological health of the garden during and after construction is critical.
- Symptom: Interveinal chlorosis (yellowing between leaf veins) on new growth.
- Solution: This indicates a Manganese or Iron deficiency, often caused by high pH runoff from new concrete. Apply a chelated micronutrient drench to lower the localized pH.
- Symptom: Marginal leaf burn or necrosis on established shrubs.
- Solution: This is often a sign of Salt Toxicity from certain paver cleaners or de-icing agents. Flush the soil with 2 inches of water to leach the excess salts below the root zone.
- Symptom: Stunted growth and dark purple coloration on the underside of leaves.
- Solution: This is Phosphorus deficiency. The cold, compacted soil from construction prevents P-uptake. Use a liquid 0-20-0 phosphate supplement to provide immediate availability.
- Fix-It: For general Nitrogen chlorosis (overall pale green leaves), apply a slow-release organic fertilizer with a 10-0-0 ratio to restore chlorophyll production without causing a growth spike.
Maintenance:
A durable patio requires consistent environmental monitoring. Use a soil moisture meter twice weekly to ensure the surrounding beds maintain a moisture level of 20% to 30%. Plants adjacent to the patio require 1.5 inches of water per week at the drip line; the stone surface increases evaporation rates in the nearby soil.
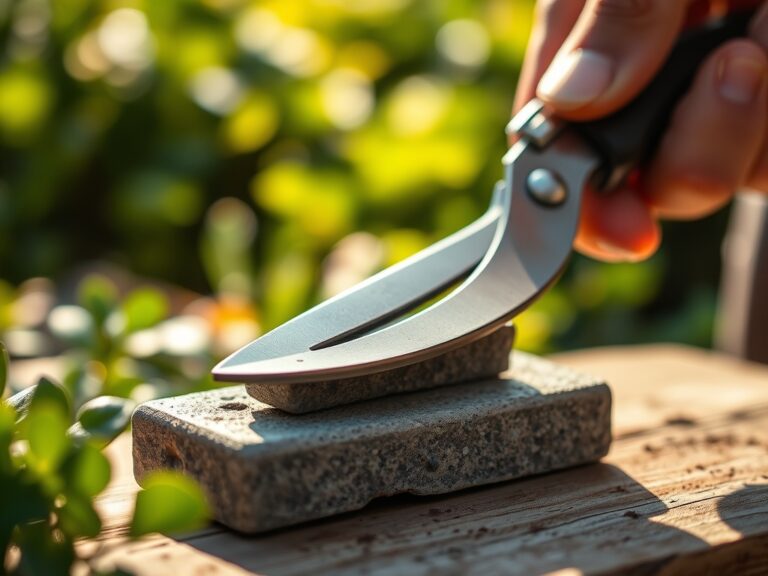
Use bypass pruners to remove any "suckers" or water sprouts that emerge due to the stress of construction. Every two years, inspect the joints for erosion. If the substrate settles, it can create "pockets" where water collects, leading to localized soil compaction. Use a hori-hori knife to remove any deep-rooted weeds that manage to penetrate the perimeter before they can disrupt the leveling sand.
The Yield:
While a patio is a "permanent" crop, the surrounding landscape provides the seasonal yield. If you have planted lavender or culinary herbs in the patio borders, harvest when the oil concentration is at its peak; usually just before the flowers open in the early morning. Use sharp snips to avoid tearing the vascular tissue. For "day-one" freshness, immediately place the stems in a cool, shaded area to reduce the respiration rate and preserve the turgor of the cells. This post-harvest handling ensures the botanical value of your property remains as high as the structural value of the stone.
FAQ:
How deep should I dig for a garden patio?
Excavate to a total depth of 8 to 10 inches. This accommodates 6 inches of compacted gravel, 1 inch of bedding sand, and the thickness of your chosen paver. Proper depth prevents shifting during freeze-thaw cycles.
What is the best base material for drainage?
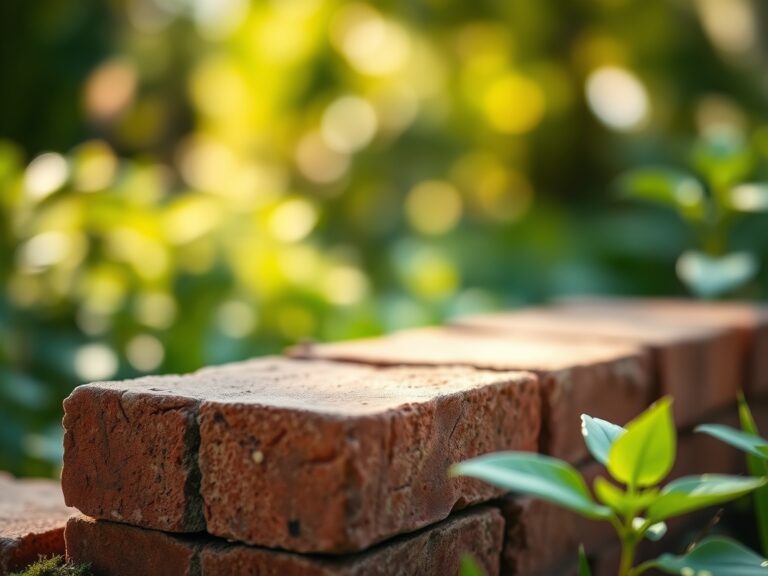
Use 3/4-inch minus crushed limestone or granite. The angular edges lock together for stability while the varying particle sizes allow for water percolation, preventing hydrostatic pressure buildup beneath the pavers.
Can I build a patio over tree roots?
Avoid it. Compacting base material over roots causes asphyxiation and mechanical damage. If you must, use a "floating" deck or permeable pavers and keep the installation outside the tree's critical root zone (1 foot per inch of trunk diameter).
How do I stop weeds from growing between pavers?
Use polymeric sand to fill the joints. When misted with water, the polymers harden to create a flexible but impenetrable barrier. This prevents wind-blown seeds from reaching the organic matter needed for germination.