7 Steps to Prepare a “Top Maintenance Tips” Showcase
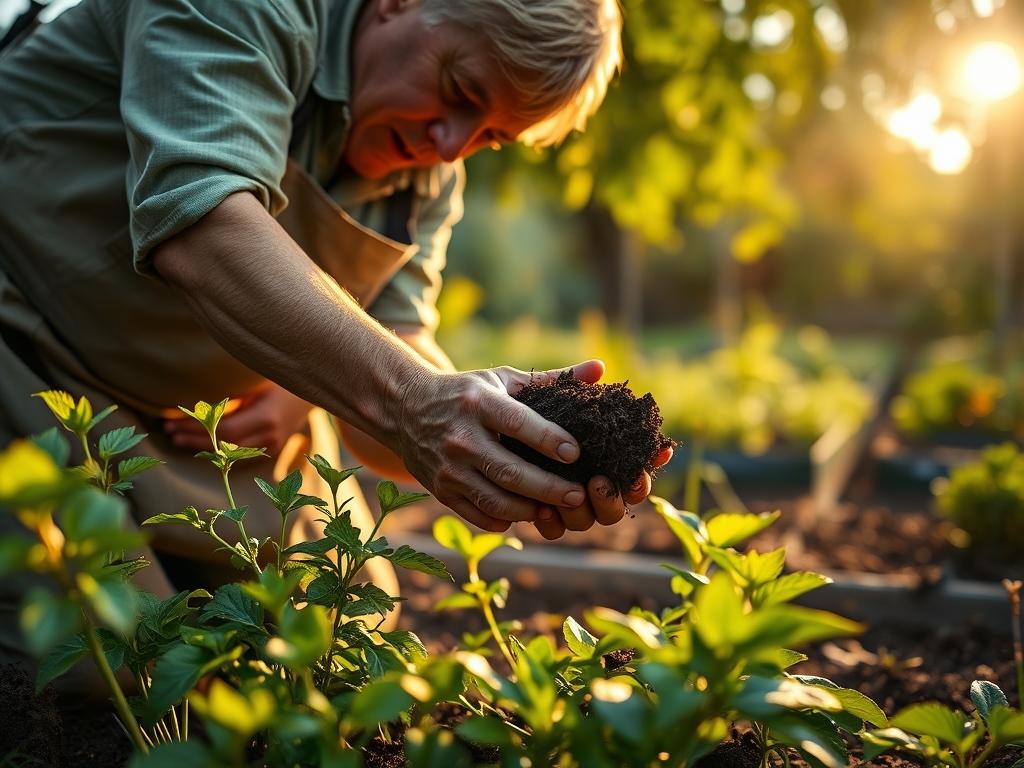
The scent of damp, well-aggregated soil indicates a healthy microbial population, while the turgor of a stiff, hydrated leaf signals optimal vascular function. Successful cultivation requires more than intuition; it demands a rigorous understanding of the rhizosphere. Knowing how to prepare a garden for a tool maintenance tips involves organizing the physical space to facilitate mechanical efficiency and plant health. This process ensures that every cut is clean and every amendment is precise, reducing the risk of pathogen transmission and physiological stress.
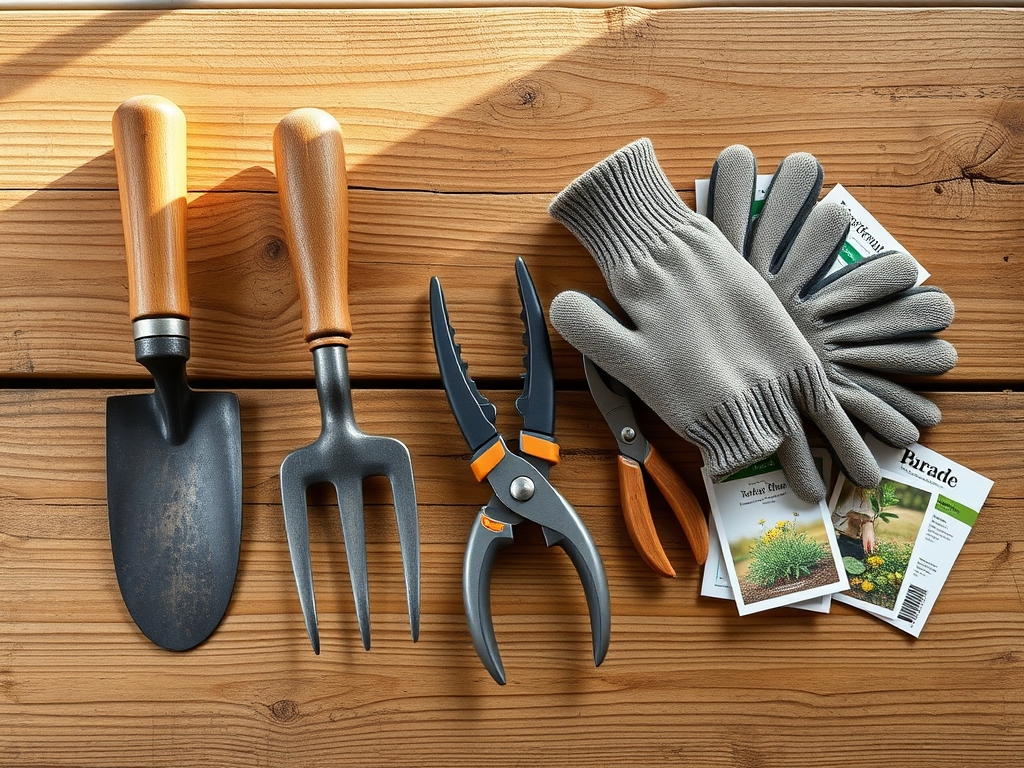
Materials:
Substrate quality determines the efficacy of your labor. The ideal medium is a **friable loam** with a Cation Exchange Capacity (CEC) between **15 and 25 meq/100g**. This ensures the soil can hold and release essential nutrients like calcium and magnesium. Target a soil pH of **6.2 to 6.8** for most temperate species to maximize nutrient bioavailability.
For the vegetative growth phase, integrate a fertilizer with a 10-5-5 NPK ratio to support nitrogen-heavy leaf development. If transitioning to fruit or flower production, shift to a 5-10-10 NPK ratio to prioritize phosphorus and potassium for root strength and reproductive success. The physical texture should allow for immediate drainage while maintaining enough capillary action to keep moisture accessible at the root zone.
Timing:
Hardiness Zones dictate the operational calendar. In Zones 5 through 7, the primary window for preparation begins four weeks before the last predicted frost date. You must monitor the soil temperature with a probe; do not begin heavy cultivation until the soil consistently registers above 50 degrees Fahrenheit.
Plants operate on a biological clock governed by photoperiodism and thermal units. The transition from vegetative growth to reproductive stages is triggered by changes in day length and accumulated Growing Degree Days (GDD). Aligning your maintenance schedule with these transitions prevents the interruption of auxin flow, which can lead to stunted development or premature senescence.
Phases:
Sowing
Direct sow seeds at a depth exactly three times their diameter. Ensure the seedbed is level and free of large clods to prevent air pockets that desiccate emerging radicals. Maintain a consistent soil moisture level of 70 percent field capacity during the germination window.
Pro-Tip: Proper sowing depth is critical because of skotomorphogenesis, the developmental strategy of a seedling in the dark. If buried too deep, the seedling exhausts its endosperm energy reserves before reaching the surface for photosynthesis.
Transplanting
When moving seedlings from flats to the field, ensure the root ball remains intact. Dig a hole twice as wide as the root mass but no deeper. This prevents the settling of the plant, which can lead to stem rot if the crown is buried.
Pro-Tip: Use a seaweed-based kelp meal during transplanting to encourage mycorrhizal symbiosis. These fungi extend the root system's reach, significantly increasing the surface area for water and phosphorus absorption.
Establishing
During the first 14 to 21 days, focus on root anchorage. Avoid high-nitrogen fertilizers that force rapid top growth at the expense of the root system. Monitor the plant for upright posture and steady leaf expansion.
Pro-Tip: Prune the first set of flower buds on young plants to suppress apical dominance and redirect energy toward root and structural development. This process, driven by the manipulation of auxin and cytokinin ratios, results in a more robust adult plant.
The Clinic:
Physiological disorders often mimic infectious diseases but result from environmental or nutritional imbalances.
- Symptom: Interveinal chlorosis on young leaves.
Solution: This indicates an Iron (Fe) deficiency, often caused by high soil pH. Apply chelated iron and lower the pH with elemental sulfur. - Symptom: Blossom end rot on fruit.
Solution: This is a Calcium (Ca) transport issue. Ensure consistent irrigation, as calcium moves through the plant via the transpiration stream. - Symptom: Purpling of older foliage.
Solution: This signals Phosphorus (P) deficiency. Apply bone meal or triple superphosphate to the root zone. - Fix-It for Nitrogen Chlorosis: If older leaves turn uniform pale yellow, apply a quick-release high-nitrogen liquid feed to restore chlorophyll production immediately.
Maintenance:
Precision is the hallmark of a professional garden. Apply 1.5 inches of water per week at the drip line rather than the base of the stem to encourage lateral root expansion. Use a soil moisture meter to verify that water is penetrating at least 6 inches deep.
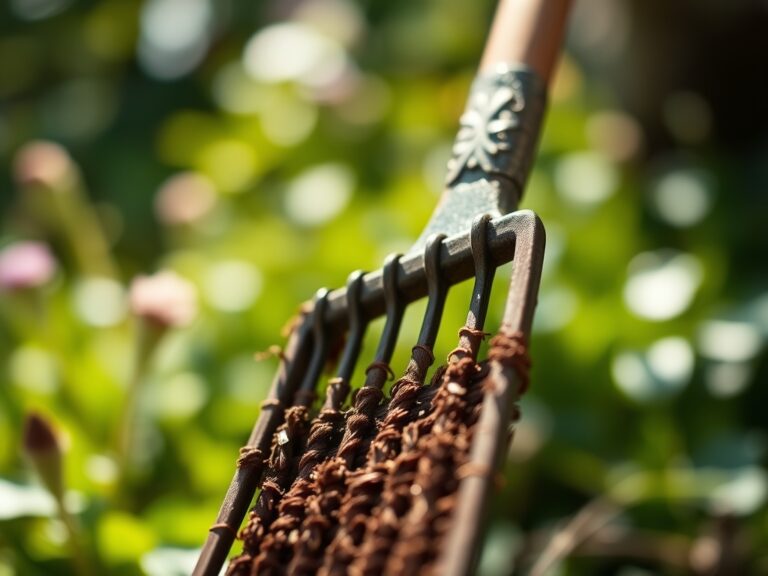
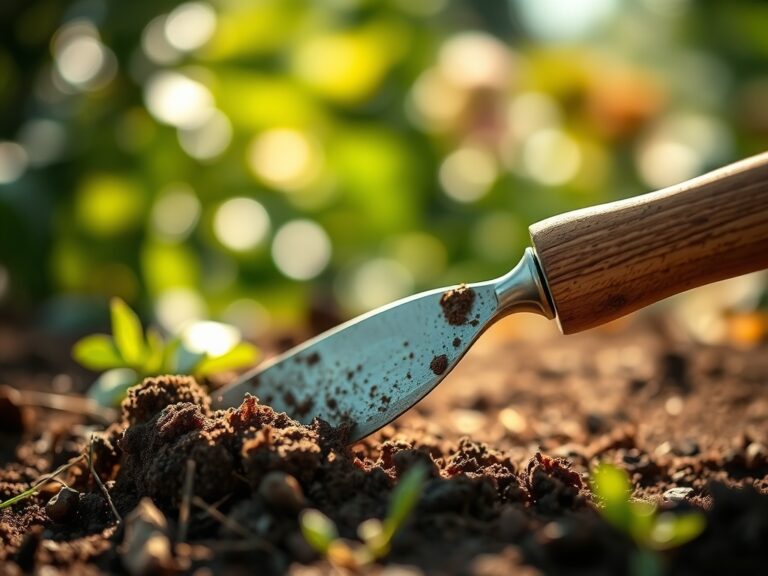
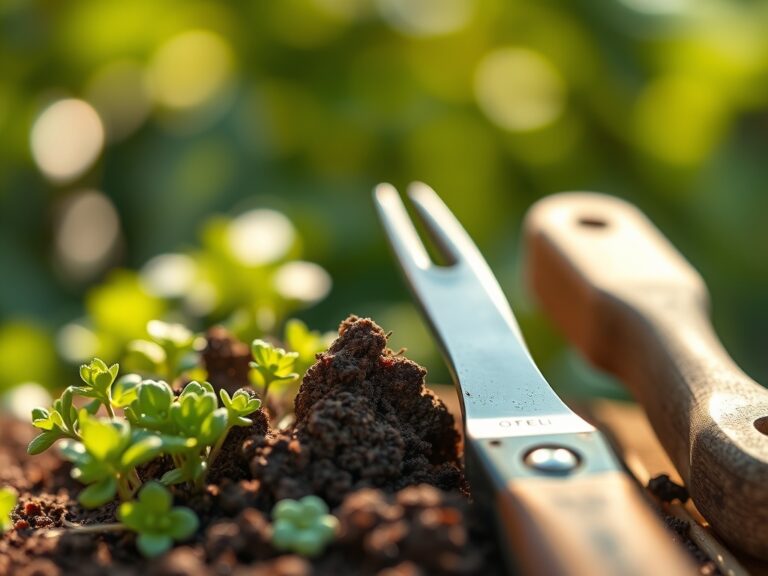
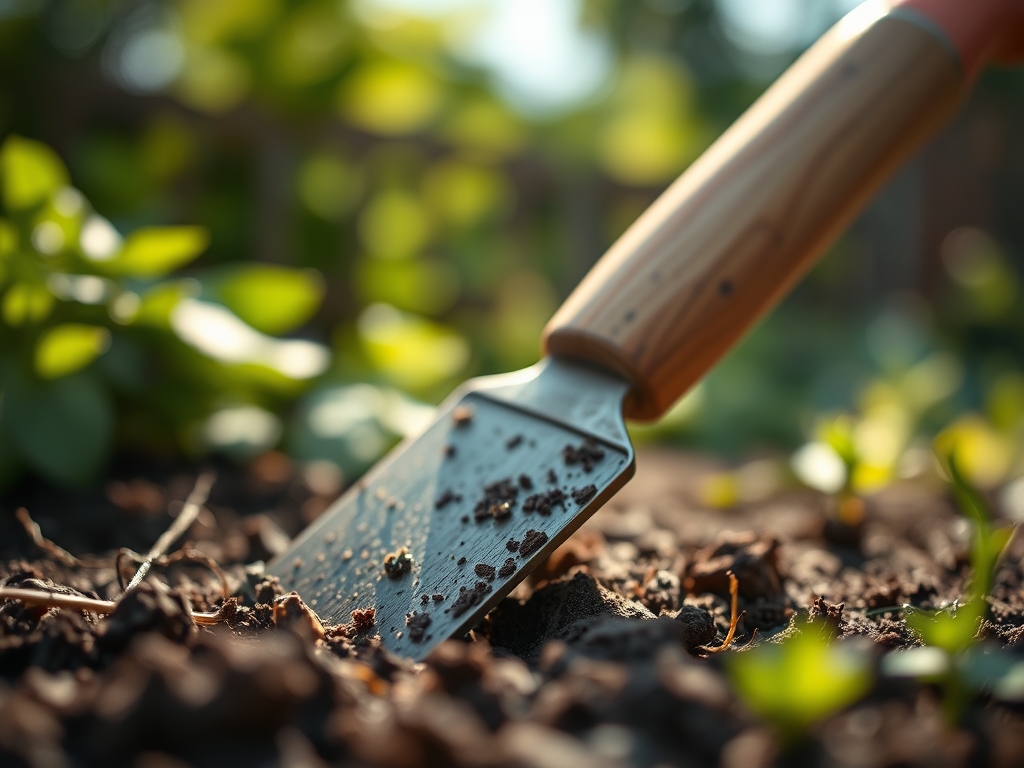
Keep your bypass pruners sharp; a dull blade crushes vascular tissue, creating an entry point for pathogens. Use a hori-hori knife for precise weeding and measuring planting depths. Sanitize all blades with a 70 percent isopropyl alcohol solution between plants to prevent the spread of systemic viruses. Observe the root structure in the step-by-step photos to ensure your maintenance does not interfere with the primary taproot.
The Yield:
Harvesting is a surgical process. For leafy greens, harvest in the early morning when turgor pressure is at its peak to ensure maximum crispness. For fruiting crops, use the "ground spot" color or sugar content (measured via a refractometer in Brix) to determine peak maturity.
Post-harvest handling is critical for "day-one" freshness. Immediately move harvested material into a shaded, cool environment to reduce the respiration rate. Removing field heat quickly preserves the cellular structure and prevents the rapid breakdown of sugars into starches.
FAQ:
How do I test soil pH at home?
Use a calibrated digital pH probe or a chemical reagent kit. Collect samples from five different locations at a depth of 6 inches. Mix them in a clean bucket to get an average reading for the entire plot.
What is the best way to clean rusty tools?
Soak the metal components in distilled white vinegar for 24 hours. Scrub with steel wool to remove oxidized layers. Rinse, dry thoroughly, and apply a thin coat of mineral oil to prevent future oxidation and ensure smooth mechanical operation.
When should I sharpen my bypass pruners?
Sharpen blades after every 10 hours of heavy use or if you notice the tool is tearing rather than slicing the plant tissue. A clean cut allows the plant to form callus tissue quickly, reducing the risk of infection.
Why are my plant leaves curling upward?
Upward curling, or physiological leaf roll, is often a defense mechanism against excessive transpiration. It occurs when the plant loses water faster than the roots can absorb it. Increase irrigation frequency and provide temporary shade during peak UV hours.