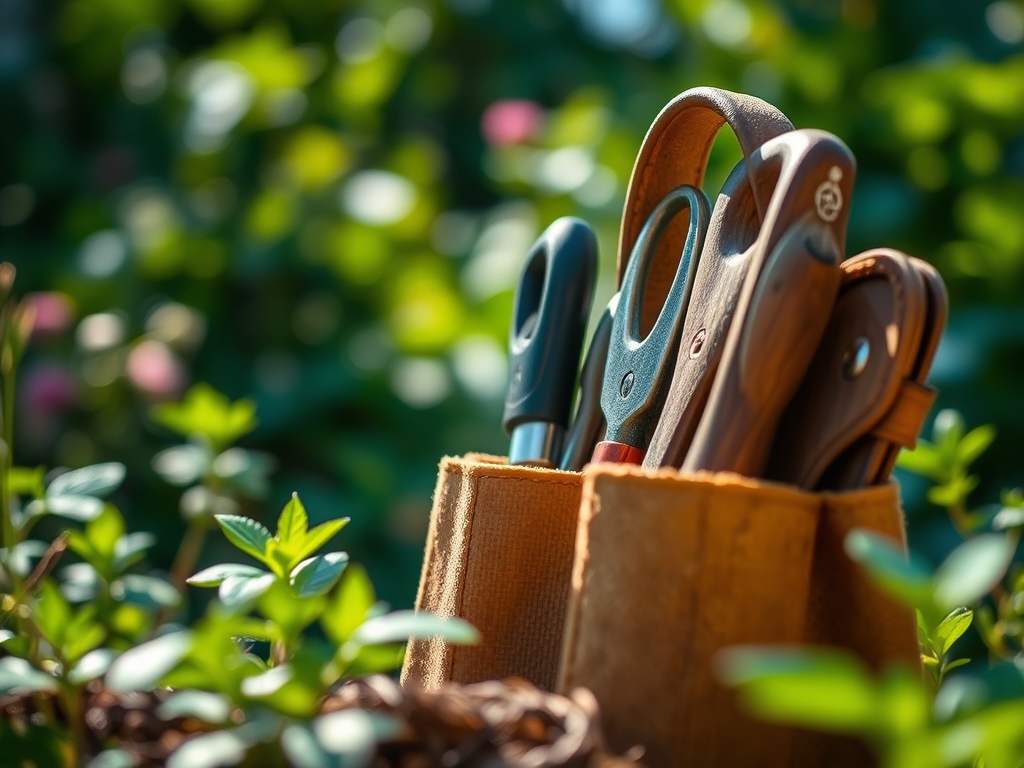
7 Best Heavy-Duty Tool Bags for Portable Organization
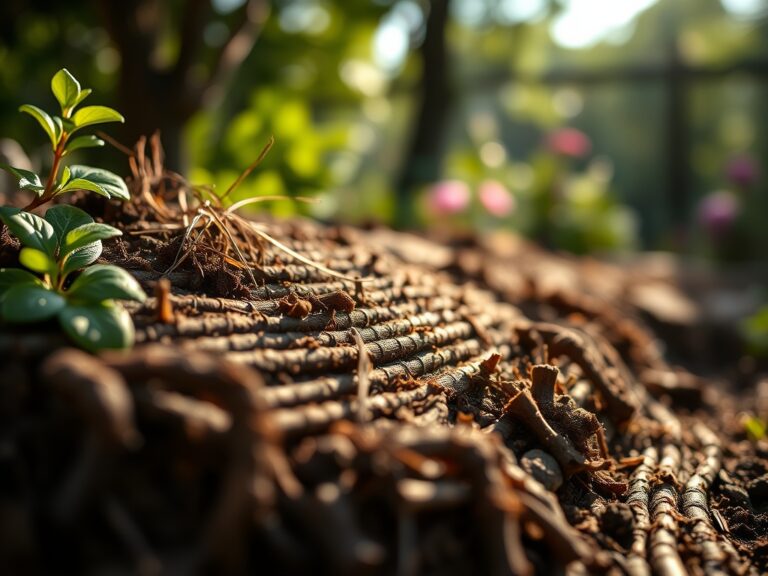
The scent of damp, anaerobic soil clinging to a rusted blade signifies a failure in systematic management. Successful horticulture demands more than intuition; it requires the immediate availability of sterilized steel and calibrated sensors. Efficient field operations depend on the best tool bags for garden organization to prevent the cross-contamination of pathogens and the degradation of expensive carbon steel. When a plant exhibits loss of turgor pressure, every second spent searching for a moisture meter increases the risk of permanent wilting point. A heavy duty bag ensures that bypass pruners, soil probes, and pH kits remain within the immediate reach of the operator. This organizational discipline maintains the physiological health of the crop by allowing for rapid intervention during critical growth windows. High quality canvas and reinforced polymers protect sensitive instruments from UV degradation and moisture infiltration. By treating the tool bag as a mobile command center, the gardener transitions from a reactive hobbyist to a proactive land manager.
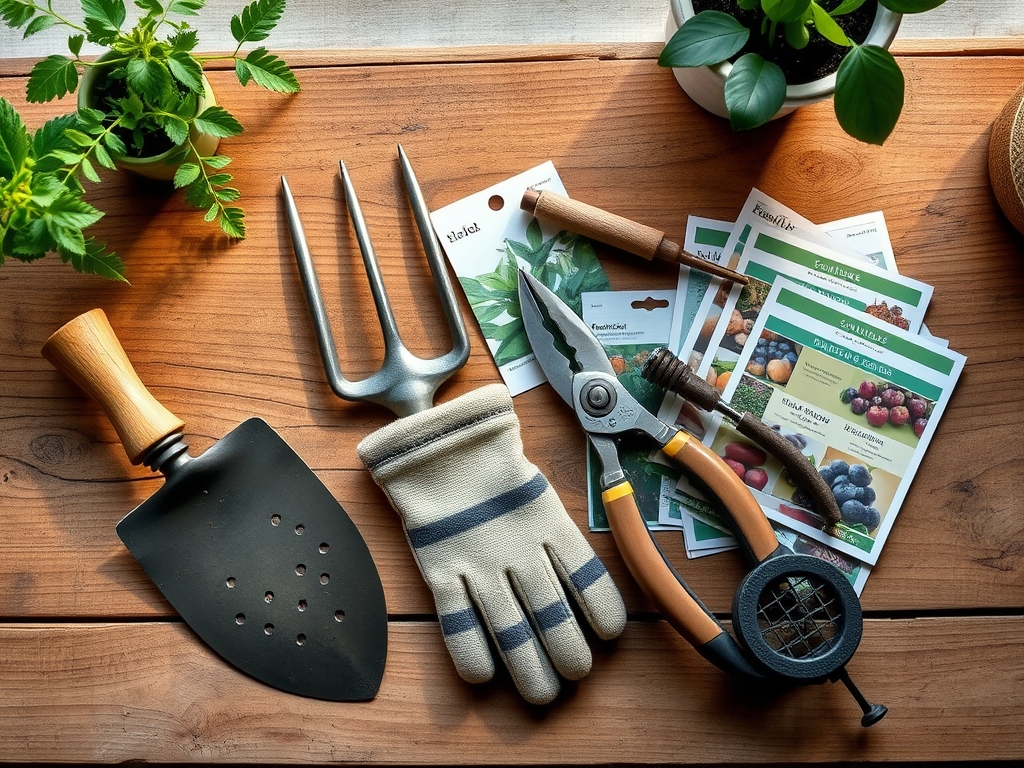
Materials:
Superior organization begins with an understanding of the substrate. For a standard vegetable plot, aim for a **friable loam** with a **Cation Exchange Capacity (CEC) between 15 and 25 meq/100g**. This ensures the soil can hold and exchange essential nutrients like Calcium and Magnesium. Before deploying your tools, adjust the soil pH to a range of **6.2 to 6.8** to maximize nutrient bioavailability.
Heavy duty tool bags must accommodate specific amendments. During the vegetative stage, maintain an NPK ratio of 3-1-2 to support foliar expansion. As the plant enters the reproductive phase, transition to a 1-3-2 ratio to prioritize phosphorus for flower and fruit development. The bag should have dedicated compartments for granular 10-10-10 fertilizer and liquid seaweed extracts, keeping them isolated from metal tools to prevent oxidation.
Timing:
The biological clock of a garden is governed by the photoperiod and the accumulation of Growing Degree Days (GDD). In Hardiness Zones 5 through 7, the window for spring transplanting typically opens between April 15 and May 15, following the last 32 degree Fahrenheit frost event. Understanding the transition from the vegetative stage to senescence is critical for tool selection.
During the long days of the summer solstice, plants focus on biomass production. This is when your bag should be stocked with sharp bypass pruners for canopy management. As the photoperiod shortens, the plant shifts energy to the rhizosphere and seed production. Monitoring soil temperatures is vital; most temperate crops require a minimum of 60 degrees Fahrenheit for active root respiration. Your organization system must allow for the rapid exchange of spring seeding tools for autumn harvest implements as these thermal windows shift.
Phases:
Sowing
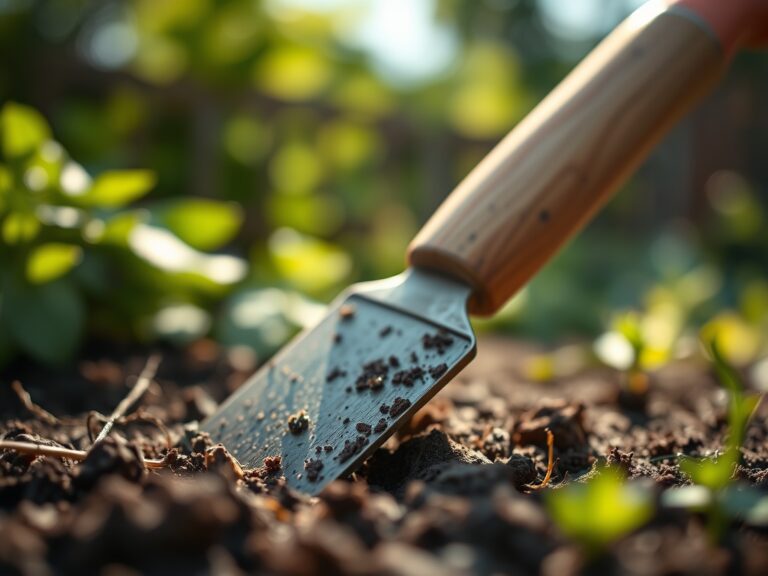
Direct seeding requires precision and consistent moisture. Use a dedicated pocket in your tool bag for a seed dibber and a calibrated ruler. Ensure seeds are placed at a depth exactly three times their diameter to optimize the seed to soil contact.
Pro-Tip: Proper sowing depth prevents epigeal germination failure. If a seed is too deep, the hypocotyl will exhaust its endosperm energy reserves before reaching the surface to begin photosynthesis.
Transplanting
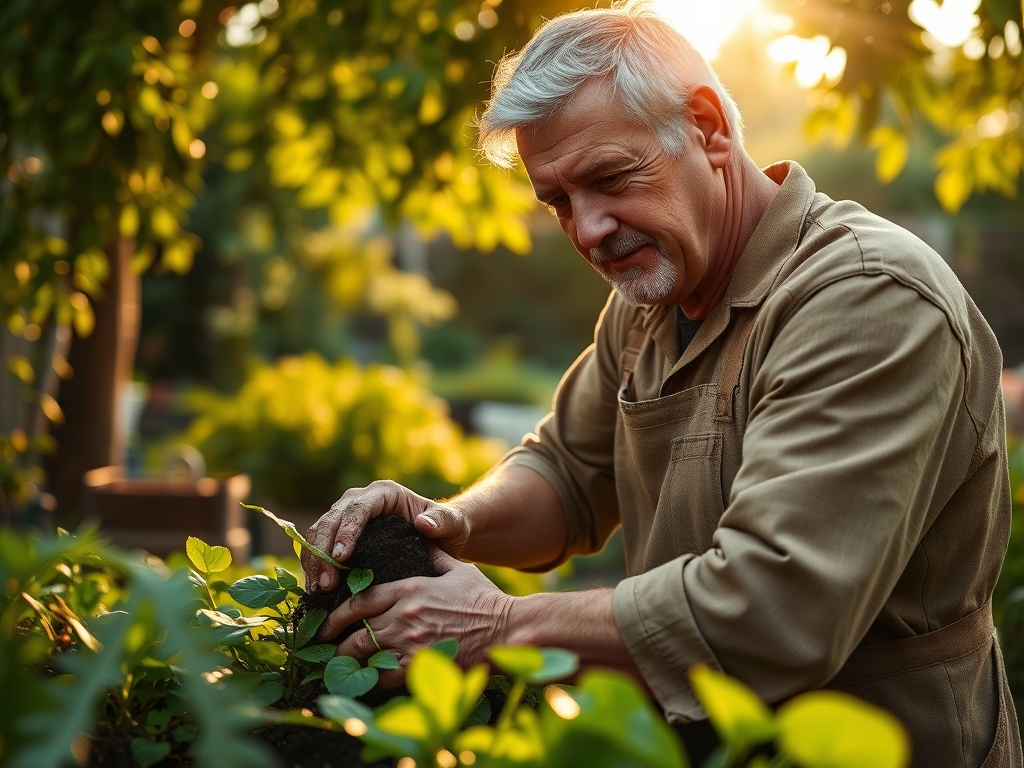
Moving a seedling from a controlled environment to the field induces transplant shock. Use a hori-hori knife to slice through circling roots in pot-bound specimens. This mechanical disruption encourages new lateral root growth into the surrounding soil matrix.
Pro-Tip: Apply a mycorrhizal inoculant directly to the root ball during this phase. This creates a mycorrhizal symbiosis that effectively increases the root surface area by up to 1,000 percent, enhancing phosphorus uptake.
Establishing
Once the plant is in the ground, the focus shifts to apical dominance and structural integrity. Use soft garden ties to secure the main stem to a support structure. This prevents wind throw and ensures the plant remains upright for maximum light interception.
Pro-Tip: Prune the lower axillary buds to encourage auxin suppression in the lateral branches. This redirects the plant's hormonal energy toward the primary leader, resulting in a taller and more robust vascular system.
The Clinic:
Physiological disorders often mimic infectious diseases. Accurate diagnosis requires immediate access to testing equipment stored in your organized kit.
- Symptom: Interveinal chlorosis on young leaves.
Solution: This indicates Iron deficiency, often caused by a pH above 7.0. Apply chelated iron and lower the soil pH using elemental sulfur. - Symptom: Blossom end rot on fruit.
Solution: This is a Calcium transport issue. It is rarely a lack of calcium in the soil but rather inconsistent soil moisture preventing calcium movement through the xylem. Increase irrigation consistency. - Symptom: Purpling of older foliage.
Solution: Phosphorus deficiency. This often occurs in cold soils where microbial activity is low. Apply a water soluble high phosphorus fertilizer (NPK 10-30-10) for immediate uptake.
The Fix-It: For general Nitrogen chlorosis (yellowing of the entire leaf starting at the bottom), apply a high nitrogen source like blood meal or urea. Ensure the soil temperature is above 55 degrees Fahrenheit for the nitrogen to be converted into a plant available form by nitrifying bacteria.
Maintenance:
Precision maintenance prevents the decline of plant vigor. Deliver exactly 1.5 inches of water per week at the drip line, which is the outermost circumference of the canopy where the most active feeder roots reside. Use a soil moisture meter to verify that the water is penetrating at least 6 to 8 inches deep.
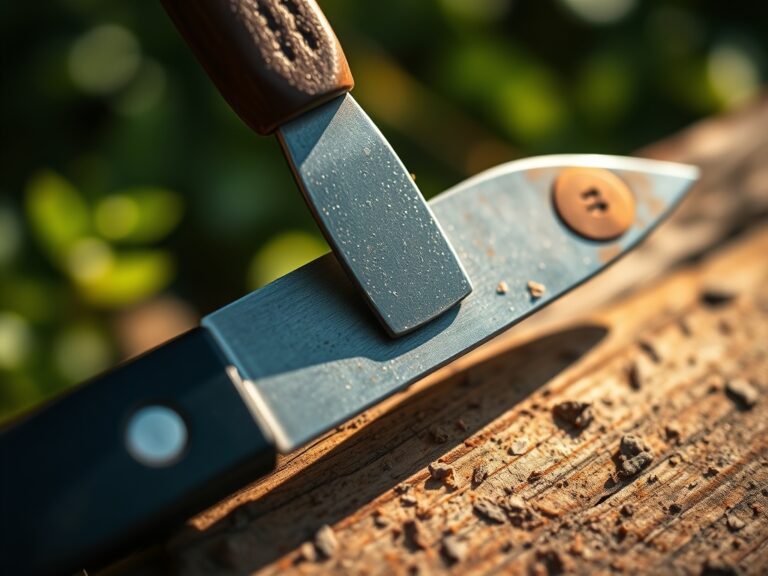
Clean your bypass pruners with 70 percent isopropyl alcohol between every cut to prevent the spread of vascular wilts. Your hori-hori knife should be sharpened weekly to ensure clean, surgical cuts that callus over quickly. Check the tension on your pruner blades; a loose pivot point will crush the stem tissue rather than slicing it, creating an entry point for opportunistic fungi. Store a small sharpening stone in a side pocket of your bag for field touch-ups.
The Yield:
Harvesting is the culmination of the plant's life cycle. For most fruiting crops, harvest when the fruit reaches 90 percent color saturation. Use a sharp blade to leave a small portion of the pedicel attached; this prevents the entry of rot-inducing bacteria into the fruit body.
Post-harvest handling is critical for maintaining "day-one" freshness. Remove field heat immediately by placing the produce in a shaded, ventilated area or a cool water bath. This slows the rate of respiration and ethylene production, extending the shelf life of the harvest. For leafy greens, harvest in the early morning when turgor pressure is at its peak to ensure maximum crispness and nutrient density.
FAQ:
What material is best for a heavy duty garden bag?
Choose 1680D ballistic polyester or heavy waxed canvas. These materials resist punctures from thorns and provide the structural rigidity needed to stay upright when placed on uneven, muddy terrain.
How do I prevent rust on my garden tools?
Wipe tools clean after every use and apply a thin coat of mineral oil. Store them in a bag with a reinforced, waterproof base to prevent ground moisture from wicking into the fabric and oxidizing the steel.
Why is tool organization important for plant health?
Organized bags allow for rapid response to pests and nutrient issues. Having sanitization wipes and sharp blades readily available prevents the jagged cuts and cross-contamination that lead to systemic fungal and viral infections.
How many pockets does a professional garden bag need?
A minimum of 8 to 12 exterior pockets is ideal. This allows for the separation of hand tools from delicate items like seed packets, pH pens, and moisture meters, preventing mechanical damage during transport.