6 Steps to Install a High-End Garden Water Fountain
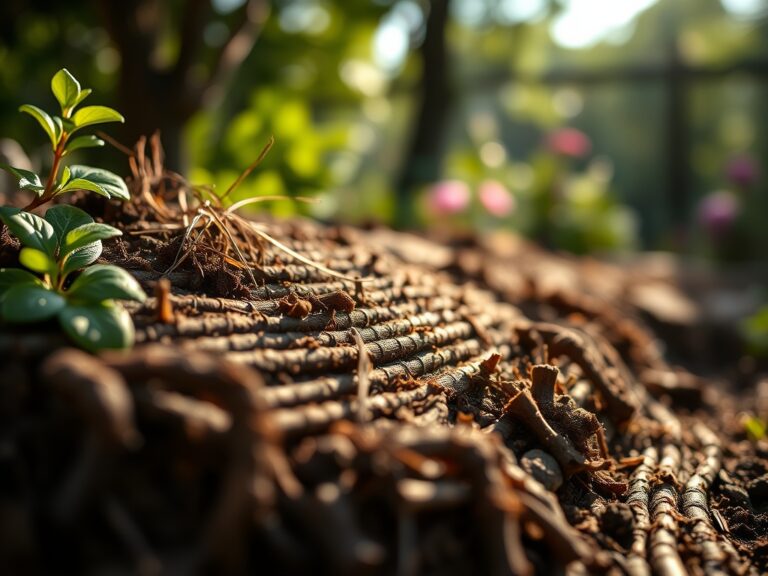
The smell of damp earth and the cool humidity of high turgor pressure in surrounding foliage signal a prime environment for water features. Proper hydration in the rhizosphere ensures that surrounding plants maintain cellular structural integrity while the sound of moving water masks ambient noise. Mastering the steps for installing a garden fountain requires more than aesthetic placement; it demands an understanding of soil compaction, structural load, and hydraulic engineering. Precise execution prevents root rot and soil erosion in the immediate vicinity.
Materials:

A stable foundation begins with the substrate. The ideal soil for surrounding vegetation is a **friable loam** with a **pH between 6.0 and 7.0**. This range optimizes the Cation Exchange Capacity (CEC), allowing plants to access essential macronutrients. Before installation, amend the area with a balanced **10-10-10 NPK ratio** to support root establishment. Avoid heavy clays that impede drainage or pure sands that lack nutrient retention. You will need a **submersible pump rated for the fountain’s total head height**, **PVC or reinforced tubing**, and a **GFCI-protected electrical outlet**. For the base, utilize **crushed limestone or 3/4-inch angular gravel** to ensure a level surface that resists shifting during freeze-thaw cycles.
Timing:
Installation should occur when the soil is workable and not saturated. In Hardiness Zones 4 through 7, the window opens after the final spring frost but before the heat of mid-summer. In Zones 8 through 11, late autumn is preferable to avoid heat stress on the installer and any relocated plants. Observe the biological clock of your garden; schedule the installation during the transition from the vegetative stage to the reproductive stage of nearby perennials. This timing ensures that the root systems are robust enough to withstand minor disturbances. Avoid working in soil with a moisture content above 25 percent to prevent compaction, which collapses the macropores necessary for oxygen diffusion to the roots.
Phases:

Sowing the Foundation
Excavate a hole 2 to 4 inches deeper than the fountain basin. Level the bottom using a tamper and add a layer of coarse sand or gravel. This layer acts as a capillary break, preventing moisture from wicking upward and destabilizing the unit.
Pro-Tip: Proper leveling prevents uneven water distribution, which can lead to localized anaerobic conditions in the soil. Anaerobic bacteria thrive in waterlogged spots, producing hydrogen sulfide that is toxic to the mycorrhizal symbiosis required for nutrient uptake.
Transplanting and Plumbing
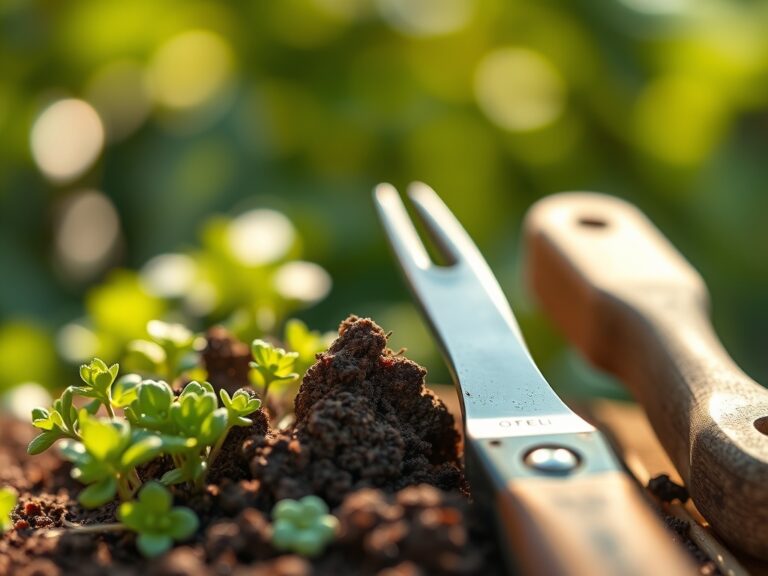
Position the basin and run the conduit for the pump. If you are moving plants to accommodate the feature, use a hori-hori knife to keep the root ball intact. Ensure the pump is centered and the tubing is free of kinks. Fill the area around the basin with the previously described friable loam, tamping lightly to remove air pockets.
Pro-Tip: When replanting, avoid burying the crown deeper than its original level. Deep planting triggers auxin suppression in the apical meristem, which stunts vertical growth and can lead to stem rot.
Establishing the Flow
Fill the basin with water and activate the pump to check for leaks. Monitor the surrounding soil for 48 hours to ensure no subsurface seepage is occurring. Adjust the flow rate to minimize excessive splashing, which can cause foliar fungal issues on nearby plants.
Pro-Tip: Consistent water movement increases local humidity, reducing the transpiration rate of surrounding broadleaf plants. This allows the plants to maintain higher turgor pressure during peak solar radiation without depleting soil moisture reserves.
The Clinic:
Physiological disorders often manifest shortly after site disturbance.
-
Symptom: Interveinal chlorosis (yellowing between leaf veins).
-
Solution: This indicates a Nitrogen or Iron deficiency caused by high pH or root damage. Test the soil pH; if it is above 7.5, apply chelated iron or an acidic fertilizer to lower the pH and increase nutrient availability.
-
Symptom: Marginal leaf burn or necrosis.
-
Solution: This suggests Salt Accumulation or drought stress. If the fountain uses treated tap water, the splash zone may accumulate sodium. Flush the soil with 2 inches of fresh water to leach salts below the root zone.
-
Symptom: Wilting despite moist soil.
-
Solution: This is a sign of Root Hypoxia or Pythium root rot. Improve drainage by incorporating perlite or coarse organic matter into the substrate to increase air porosity.
Fix-It: For Nitrogen chlorosis, apply a liquid 20-0-0 fertilizer at half strength. This provides an immediate nitrate source for the plant to resume chlorophyll synthesis.
Maintenance:
A high-end fountain requires a strict regimen to protect the surrounding horticultural ecosystem. Provide 1.5 inches of water per week at the drip line of surrounding plants, adjusted for rainfall. Use a soil moisture meter to verify that the root zone stays between 40 percent and 60 percent field capacity.
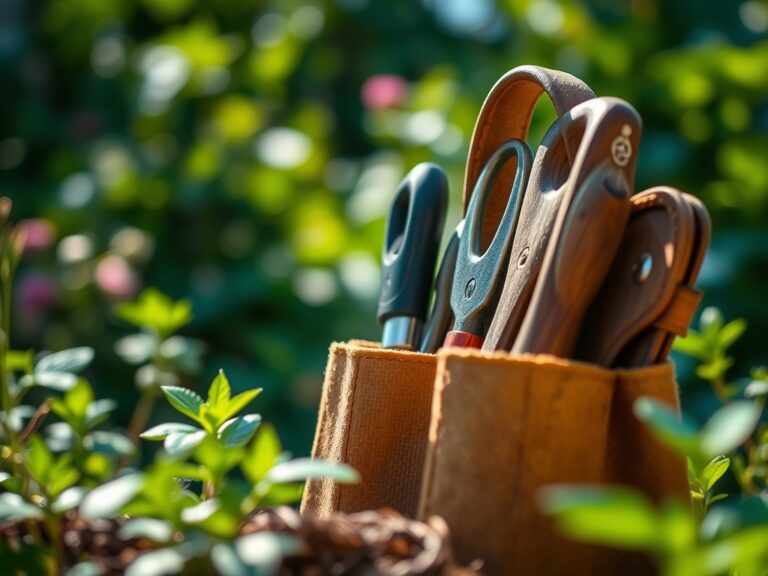
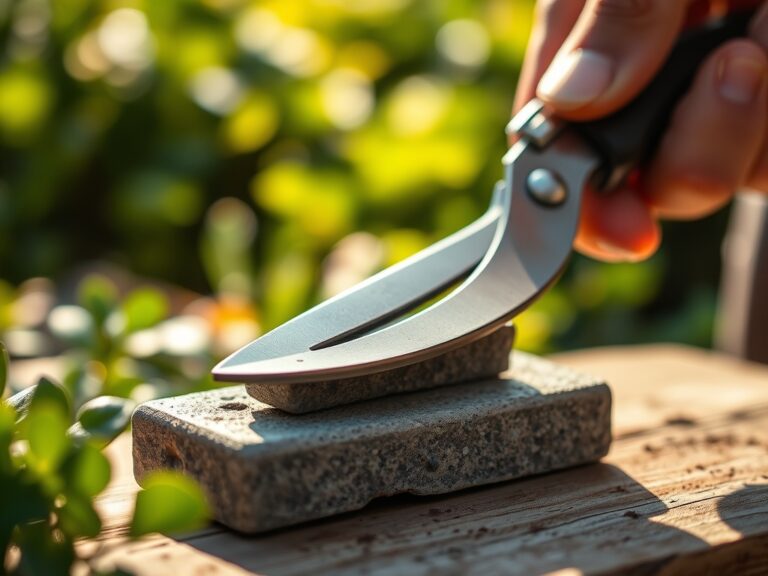
Prune any overhanging branches with bypass pruners to prevent leaf litter from clogging the pump filter. Decomposing organic matter in the water increases nitrogen levels, which can lead to algal blooms. Every six months, scrub the fountain surfaces to remove mineral scale. Use a hori-hori knife to edge the perimeter, preventing turfgrass rhizomes from encroaching on the fountain base and disrupting the level.
The Yield:
While a fountain is not a food crop, its "yield" is measured in the health of the micro-environment. If you have integrated aquatic plants like Nymphaea, harvest spent blooms by cutting the stem 4 inches below the water line. This prevents the energy-intensive process of seed production and redirects sugars to the rhizome for winter dormancy. For surrounding flowers, harvest in the early morning when turgor pressure is at its peak. Cut stems at a 45-degree angle and immediately submerge in 100-degree Fahrenheit water to prevent air embolisms in the xylem, ensuring day-one freshness for indoor displays.
FAQ:
How deep should the fountain basin be buried?
The basin should be buried so the rim sits 1 inch above the soil grade. This prevents runoff from carrying silt, pesticides, or fertilizers into the water, which can damage the pump and cause chemical imbalances.
What is the best way to prevent algae?
Maintain a neutral pH and limit direct sunlight exposure to the water. Incorporating aquatic plants or using a specialized UV clarifier will disrupt the reproductive cycle of algae without harming the surrounding terrestrial rhizosphere or beneficial insects.
Can I run the fountain during winter?
In zones with a frost line deeper than 6 inches, you must drain the pump and lines. Expanding ice exerts thousands of pounds of pressure per square inch, which will rupture PVC pipes and crack stone basins through mechanical weathering.
How do I fix a leaking fountain basin?
Identify the fissure and clean the surface thoroughly. Apply a marine-grade epoxy or polyurethane sealant specifically rated for underwater use. Ensure the sealant cures for at least 24 hours before refilling to ensure a chemical-resistant, watertight bond.