9 Steps to Prepare for a Professional Garden Light Install
The smell of damp earth after a saturation event signifies the presence of geosmin; it is the scent of a healthy rhizosphere functioning at peak efficiency. When a leaf maintains high turgor pressure, its cellular walls are rigid and ready for the metabolic demands of the season. Understanding how to prepare a garden for a light installation requires more than aesthetic planning; it demands a forensic evaluation of the soil structure and plant physiology to ensure that the introduction of electrical conduits and heat-emitting fixtures does not compromise the root zone. A professional install involves trenching, which can sever vital mycorrhizal networks and disrupt the delicate balance of the top six inches of soil. By stabilizing the soil chemistry and mapping the root architecture before the first shovel hits the ground, you preserve the vascular integrity of your specimens. Success is measured by the plant's ability to maintain transpiration rates despite the temporary stress of construction. This guide provides the technical framework to prep your landscape for a seamless integration of light and life.
Materials:

The substrate must be a **friable loam** with a Cation Exchange Capacity (CEC) between **15 and 25 meq/100g** to ensure nutrient retention during the installation process. Test your soil to confirm a **pH level between 6.2 and 6.8**, which is the optimal range for nutrient solubility. Before the installers arrive, amend the soil with a low-impact organic fertilizer. Use an **NPK ratio of 4-4-4** to provide a balanced baseline without triggering excessive vegetative growth that could be damaged during the light placement. Avoid high nitrogen (N) counts above **10%**; rapid succulent growth is more susceptible to bruising and pathogen entry. The physical texture should allow for easy trenching without collapsing; if the soil is sandy (low CEC), incorporate aged compost to increase cohesion. If the soil is heavy clay, integrate expanded shale to improve aeration and drainage around the new electrical housing units.
Timing:
Preparation must align with the biological clock of your specific Hardiness Zone. For Zones 5 through 7, the ideal window for garden prep is the shoulder seasons of early spring or late autumn when plants are transitioning between vegetative and dormant states. Avoid installing lights during the peak reproductive stage (flowering), as the metabolic energy of the plant is diverted away from root repair. Monitor the frost-date windows; do not disturb the soil if the ground temperature is below 40 degrees Fahrenheit. At this temperature, microbial activity slows, and root regeneration is sluggish. By timing the installation during the "quiescent period," you allow the plant to focus its hormonal resources on healing the rhizosphere rather than supporting a heavy leaf canopy or fruit set.
Phases:

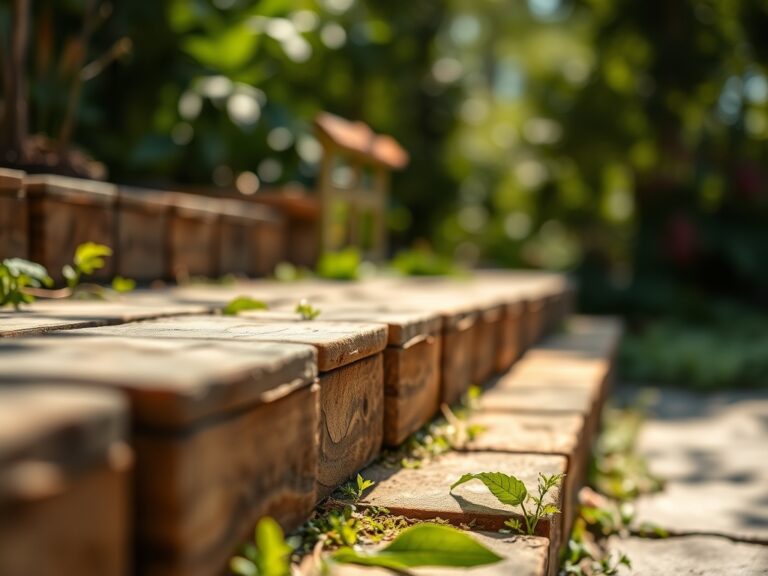
Sowing and Soil Stabilization
Before the light fixtures are positioned, establish a ground cover or mulch layer to prevent compaction from foot traffic. If sowing a nurse crop to protect the soil, choose low-growing species that will not interfere with the beam spread of the fixtures. Ensure the soil moisture is at 60% of field capacity to allow for clean trenching.
Pro-Tip: Maintaining soil moisture prevents the collapse of macro-pores. This protects the mycorrhizal symbiosis between fungi and roots, which is essential for phosphorus uptake and drought resistance after the soil is disturbed.
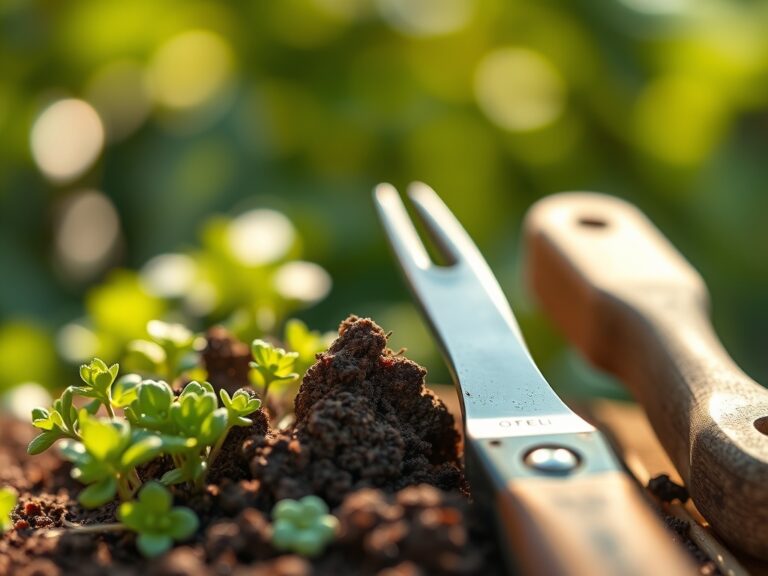
Transplanting and Relocation
Identify any specimens located directly in the path of the proposed wiring. These must be moved at least 18 inches away from the heat signature of high-output LED or halogen drivers. Use a sharp spade to cut a clean root ball, preserving as much of the fine feeder roots as possible.
Pro-Tip: When moving plants, keep the root ball shaded. Exposure to direct UV rays causes auxin suppression in the root tips, which halts new growth and leads to transplant shock.
Establishing the Light Perimeter
Once the hardware is in place, backfill the trenches with the original native soil to maintain consistent drainage patterns. Tamp the soil lightly to remove large air pockets but avoid heavy compaction which limits oxygen diffusion to the roots.
Pro-Tip: Plants near new light sources may experience altered photoperiodism. Artificial light can trick a plant into delayed senescence, so monitor for late-season growth that may not harden off before the first hard freeze.
The Clinic:
Physiological disorders often manifest shortly after the soil is disturbed for light installation. Observe these symptoms carefully:
- Symptom: Interveinal chlorosis (yellowing between leaf veins).
Solution: This indicates Iron (Fe) or Magnesium (Mg) deficiency often caused by a pH spike from disturbed limestone base layers. Apply a chelated iron foliar spray to bypass the soil lock-up. - Symptom: Marginal leaf burn or necrosis.
Solution: This is often a sign of root desiccation or salt accumulation from improper backfilling. Flush the area with 2 inches of water to leach excess salts and re-hydrate the root zone. - Symptom: Sudden wilting despite moist soil.
Solution: This suggests root rot (Phytophthora) caused by poor drainage in the lighting trenches. Incorporate perlite or coarse sand into the backfill to improve oxygenation.
Fix-It: For general Nitrogen chlorosis (overall pale green leaves), apply a liquid seaweed extract. It provides a quick dose of bio-available nutrients without the risk of salt burn to damaged roots.
Maintenance:
Post-installation care is critical for long-term plant health. Use a soil moisture meter to ensure the root zone receives exactly 1.5 inches of water per week at the drip line. Do not water the light fixtures directly; aim for the soil surface to minimize fungal pathogens on the foliage. Use a hori-hori knife to weed around the fixtures, as its serrated edge allows for precision removal without disturbing the buried cables. Prune any branches that obstruct the light path using bypass pruners, making clean cuts at the branch collar to facilitate rapid callousing. Check the fixtures monthly for heat-related stress on nearby foliage; if leaves appear scorched, increase the distance between the lamp and the plant.
The Yield:
If your garden includes ornamental flowers or herbs near the lighting, harvest them during the "morning turgor" peak. This is when the plant is most hydrated, usually between 6:00 AM and 8:00 AM. Use sterilized snips to avoid introducing bacteria into the vascular system. For "day-one" freshness, immediately plunge the stems into 40-degree Fahrenheit water to slow the respiration rate and preserve the essential oils and pigments.
FAQ:
How deep should I dig for garden light wires?
Trench to a depth of 6 to 12 inches for low-voltage lighting. This depth protects the cables from aeration tools and hori-hori knives while remaining above the deeper structural roots of established trees.
Will artificial lights hurt my plants' sleep?
Excessive light can disrupt photoperiodism, potentially delaying dormancy. Use warm-spectrum LEDs (2700K) and timers to ensure plants receive at least 8 hours of true darkness for proper metabolic respiration and hormone regulation.
Should I fertilize before or after lighting installation?
Fertilize two weeks prior with a balanced 4-4-4 NPK ratio. This builds nutrient reserves in the plant tissue, allowing the specimen to better withstand the physical stress and root pruning associated with trenching.
What is the best soil for backfilling light trenches?
Use the native soil removed during digging. Mixing in foreign potting soils creates "the bathtub effect," where water collects in the hole and rots the roots. Amend only with a small amount of organic compost.