8 Steps to Prepare for a New Garden Wall Installation
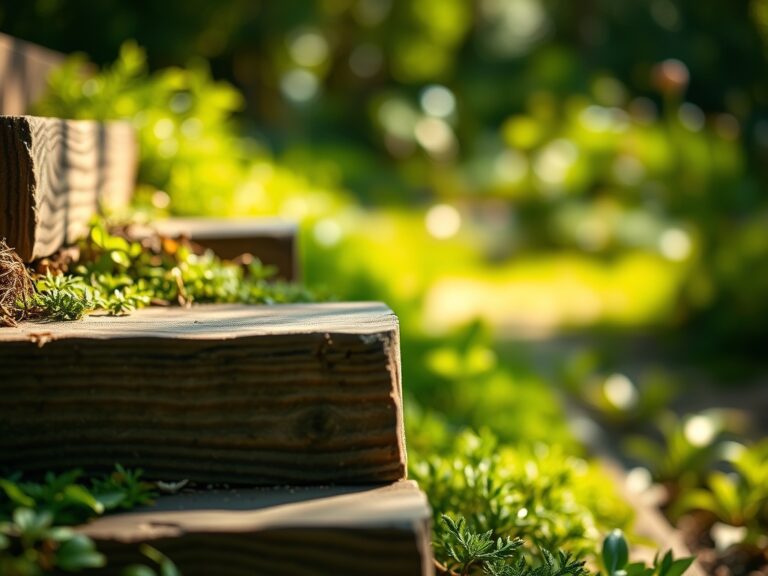
Crushed stone and the metallic tang of a shovel blade hitting shale define the initial stages of structural landscaping. When learning how to prepare a garden for a wall, you must first respect the hydraulic pressure exerted by saturated soil. A retaining wall is not merely an aesthetic boundary; it is a mechanical intervention in the rhizosphere. Success depends on managing the turgor pressure of nearby specimen plants while ensuring the soil profile remains stable under the weight of stone or timber. Neglecting the subterranean drainage patterns leads to catastrophic failure of both the masonry and the root systems.
Proper site preparation requires a deep understanding of the Cation Exchange Capacity (CEC) of your specific plot. High-clay soils expand when wet; this creates lateral force that can buckle a four-foot wall within three seasons. You are not just stacking blocks; you are re-engineering the local topography to facilitate better gas exchange for your plants. By clearing a wide berth and amending the soil before the first stone is laid, you ensure that the photoperiod requirements of your perennials are met without the obstruction of heavy machinery later in the season.
Materials:
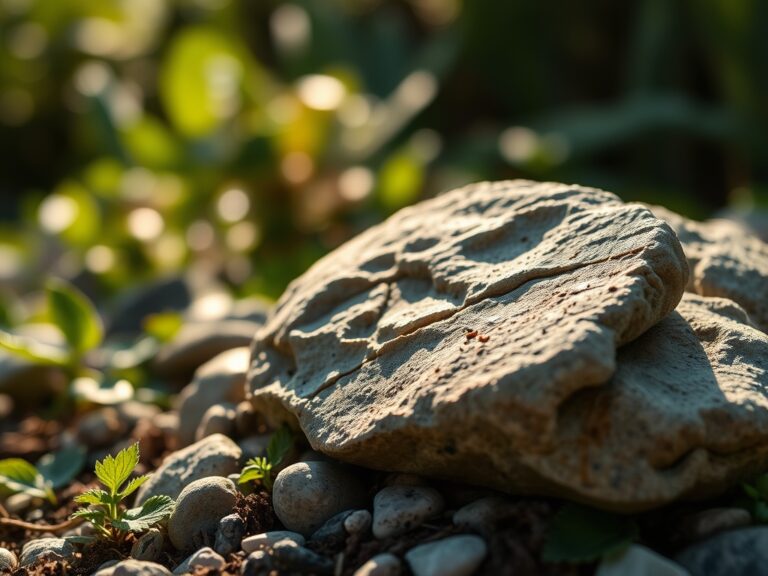
The ideal substrate for a garden wall transition is a friable loam with a balanced pore space ratio of 50 percent solids to 50 percent air and water. Before installation, test your soil pH; most temperate garden species thrive in a range of 6.2 to 6.8.
For the backfill area directly behind the wall, you require high-drainage aggregates. However, the planting zone immediately adjacent must be fortified with specific NPK ratios to compensate for the disturbance. Use a slow-release 5-10-10 fertilizer to encourage root development rather than excessive leaf production. Phosphorus is critical here; it supports the ATP energy transfer required for plants to recover from root pruning. If your soil is heavy clay, incorporate organic matter to lower the bulk density below 1.33 g/cm3. This ensures that the cation exchange remains efficient, allowing the roots to access magnesium and calcium essential for cell wall stability.
Timing:
Timing is dictated by the Hardiness Zone and the local frost-date window. In Zones 5 through 7, wall preparation should commence either in the early spring before the vegetative stage begins or in late autumn as plants enter senescence. Avoid construction during the peak of the summer heat. High temperatures increase the transpiration rate, and any root damage sustained during wall excavation will lead to rapid desiccation.
Observe the Biological Clock of your garden. If you are moving established shrubs to accommodate the wall, do so when the plant is dormant. This minimizes the shock to the vascular system. For most deciduous species, this window opens when soil temperatures drop below 45 degrees Fahrenheit but before the ground freezes solid. Construction during this period allows the soil to settle over the winter, ensuring that the capillary action of the water table is restored before the spring growth surge.
Phases:

Sowing
If you are starting a new border along the wall from seed, prepare the seedbed to a depth of 2 inches. Ensure the soil is fine-grained to provide maximum seed-to-soil contact.
Pro-Tip: Maintain consistent moisture to trigger the imbibition phase of the seed. This biological process involves the intake of water to activate metabolic enzymes; without it, the embryo remains dormant and susceptible to fungal pathogens.
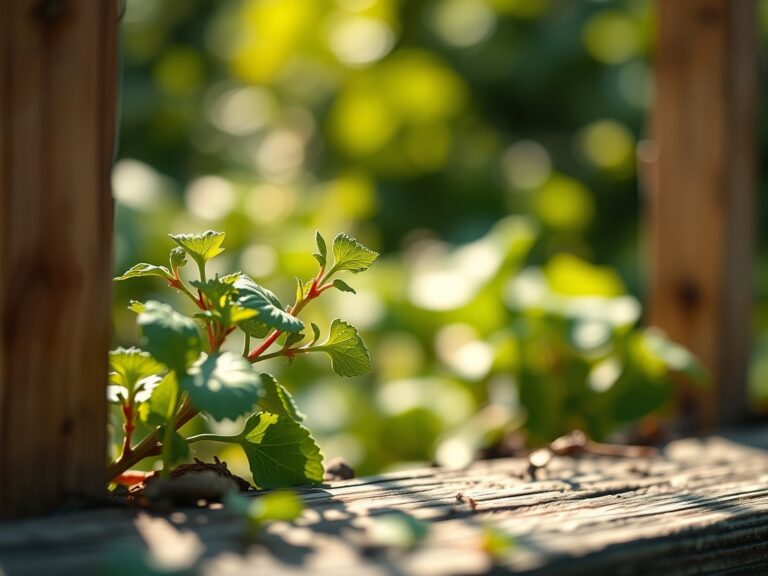
Transplanting
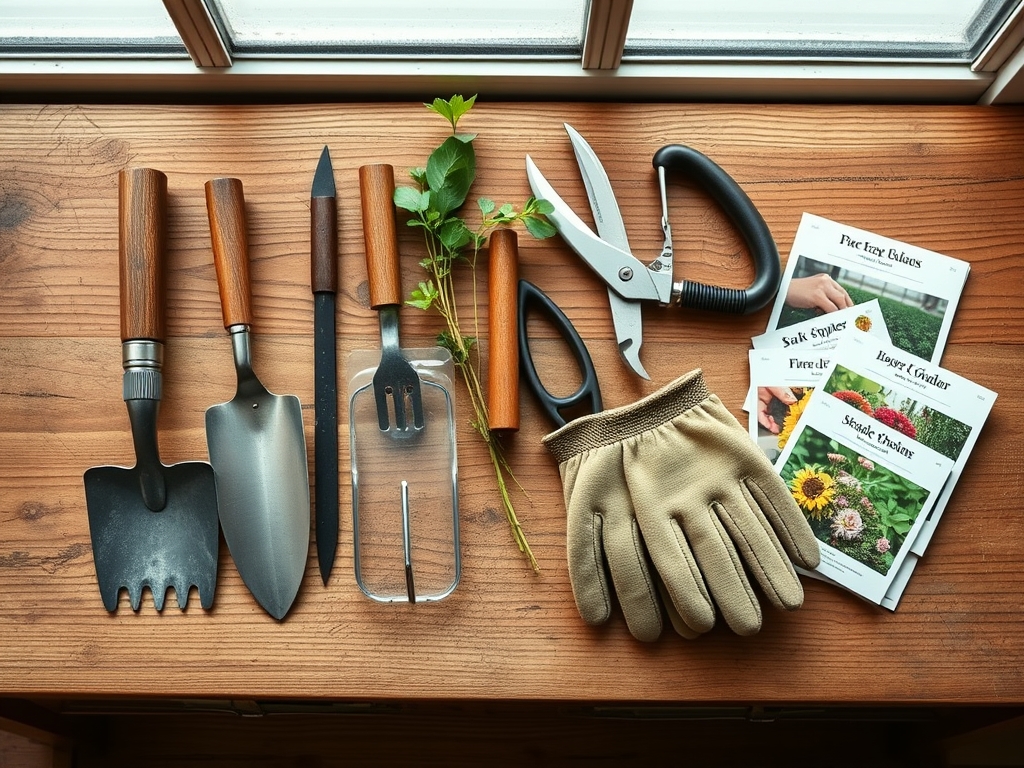
When moving existing plants to the new wall perimeter, maintain a root ball diameter at least 12 times the thickness of the main stem. Use a hori-hori knife to make clean cuts on any peripheral roots.
Pro-Tip: Avoid adding high-nitrogen fertilizer directly into the transplant hole to prevent auxin suppression. High nitrogen levels can prioritize foliage over root repair; you want the plant to focus its hormonal energy on establishing new root hairs through mycorrhizal symbiosis.
Establishing
Once the wall is in place and the plants are positioned, mulch the area with 3 inches of organic material. This regulates soil temperature and prevents the "heaving" caused by freeze-thaw cycles.
Pro-Tip: Position taller plants according to phototropism principles. Ensure the wall does not cast a permanent shadow over sun-loving species, as the lack of light will lead to "leggy" growth as the plant stretches toward the sun, weakening the cellular structure of the stem.
The Clinic:
Physiological disorders often arise during major landscape changes. Monitor your plants for these specific indicators of stress.
Symptom: Interveinal Chlorosis
This appears as yellowing leaves with green veins. It is often a sign of Iron or Manganese deficiency, frequently caused by an alkaline spike if lime from the wall mortar leaches into the soil.
Fix-It: Apply chelated iron and check the pH. If it is above 7.5, incorporate elemental sulfur to acidify the rhizosphere.
Symptom: Leaf Scorch
Brown, crispy edges on leaves indicate the plant cannot move water fast enough to meet transpiration demands. This is common after root disturbance during wall excavation.
Fix-It: Increase irrigation frequency and provide temporary shade. Use a soil moisture meter to ensure the root zone stays at 60 percent field capacity.
Symptom: Nitrogen Chlorosis
The entire leaf turns a pale green or yellow, starting from the bottom of the plant. This happens when high-carbon mulch (like fresh wood chips) robs the soil of nitrogen.
Fix-It: Supplement with a quick-release 10-0-0 liquid fertilizer to bridge the gap until the mulch begins to break down.
Maintenance:
Post-installation care is a game of precision. Provide exactly 1.5 inches of water per week at the drip line. Use a soil moisture meter to verify that moisture is penetrating 8 inches deep; shallow watering encourages weak, surface-level roots that will fail during a drought.
Use bypass pruners to remove any dead or crossing branches that may have been damaged during the construction process. Clean cuts are essential to prevent the entry of pathogens. If the wall is made of stone, monitor the soil interface for "slumping." If the soil level drops, top-dress with a mix of compost and coarse sand to maintain the grade. Use your hori-hori knife to remove weeds manually; chemical herbicides can leach through the wall's drainage system and contaminate the lower water table.
The Yield:
If your wall borders an edible garden, harvest timing is critical for maintaining day-one freshness. For leafy greens, harvest in the early morning when turgor pressure is at its peak. This ensures the cell walls are fully hydrated, providing a crisp texture.
For fruiting crops like tomatoes or peppers, use the "snap test." If the fruit does not easily detach from the pedicel, the abscission layer has not yet formed, and the sugars are not fully developed. Post-harvest, immediately move produce to a cool, shaded area to slow down the metabolic rate and prevent senescence.
FAQ:
How deep should I dig the wall foundation?
Dig the trench to a depth of 12 to 18 inches depending on the local frost line. A base of 6 inches of compacted gravel is mandatory to prevent shifting during soil expansion and contraction cycles.
Does a garden wall affect soil pH?
Yes. Concrete, mortar, and certain limestones are alkaline. They can raise the soil pH over time. Monitor the rhizosphere annually and apply acidic amendments if the pH exceeds 7.0 for acid-loving plants.
Can I plant immediately after building a wall?
Wait 7 to 14 days for the backfill soil to settle. Use this time to monitor drainage. If water pools behind the wall, you must install a perforated drain pipe before finalizing your planting plan.
What is the best way to prevent root rot near walls?
Ensure the wall has weep holes every 4 feet. Use a highly porous backfill like number 57 stone. This prevents hydrostatic pressure and keeps oxygen levels high in the soil, preventing anaerobic conditions.