6 Steps to Sharpen a Garden Knife with a Fine Metal File
The smell of damp earth and the crisp turgor of a healthy leaf define the success of a garden; however, a dull blade ruins this precision by crushing vascular tissue rather than severing it. Clean cuts are essential to prevent pathogens from entering the plant's xylem and phloem. Mastering the steps for sharpening a garden knife with a file ensures your tools perform with surgical accuracy. This process requires a steady hand and an understanding of metallurgical friction to restore the bevel. A sharp edge preserves the structural integrity of the plant, allowing for rapid callous formation and reducing the risk of opportunistic fungal infections.
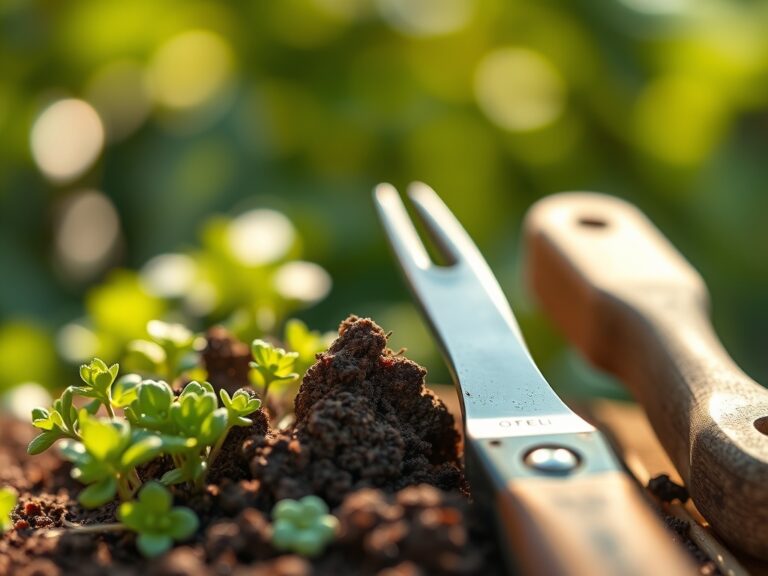
Materials:
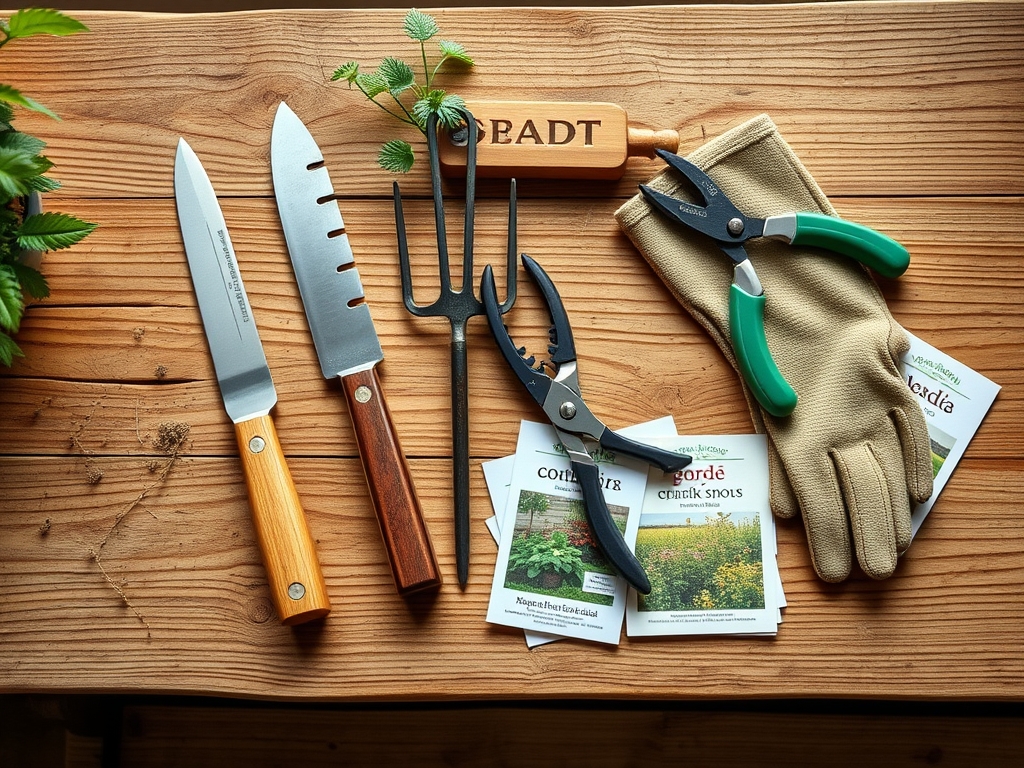
Maintaining a garden knife requires a workspace that mirrors the needs of the plants it services. Just as a **friable loam** with a **pH of 6.5** provides the ideal substrate for root expansion, a clean, stable workbench is the foundation of tool maintenance. Use a **10 inch mill bastard file** for the primary sharpening phase. For the soil environment, ensure your substrate has a Cation Exchange Capacity (CEC) above **15 milliequivalents per 100 grams** to retain essential nutrients. When prepping the area, keep a balanced **10-10-10 NPK fertilizer** nearby if you are transitioning from tool maintenance to bed preparation; the nitrogen supports vegetative growth while phosphorus aids in root development.
Timing:
Sharpening should occur during the dormant season, typically between the first hard frost and the spring thaw. In Hardiness Zones 5 through 7, this window falls between late November and early March. This timing aligns with the plant's biological clock; during senescence, deciduous perennials have retreated into dormancy, reducing the immediate need for pruning. By preparing tools before the transition from the vegetative to the reproductive stage in the spring, you ensure that every cut made during the high-growth period is clean. This prevents the jagged edges that lead to moisture loss and nutrient leaching during peak transpiration.
Phases:
Sowing the Edge
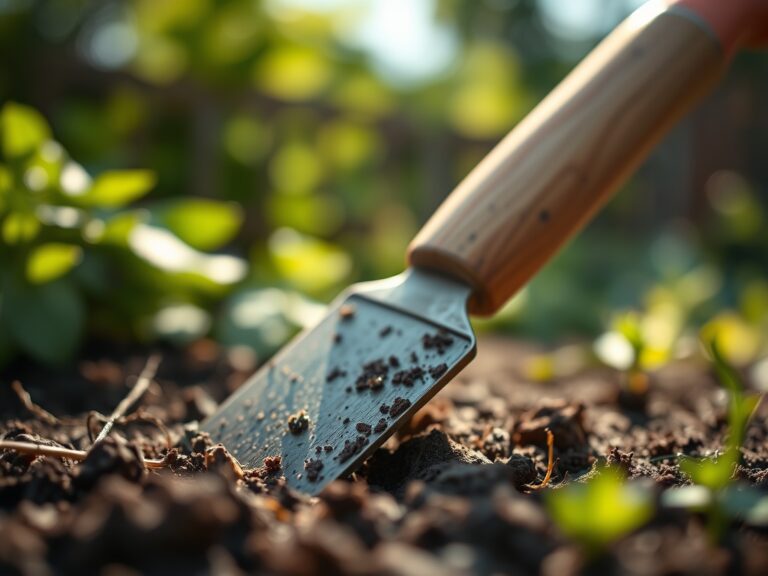
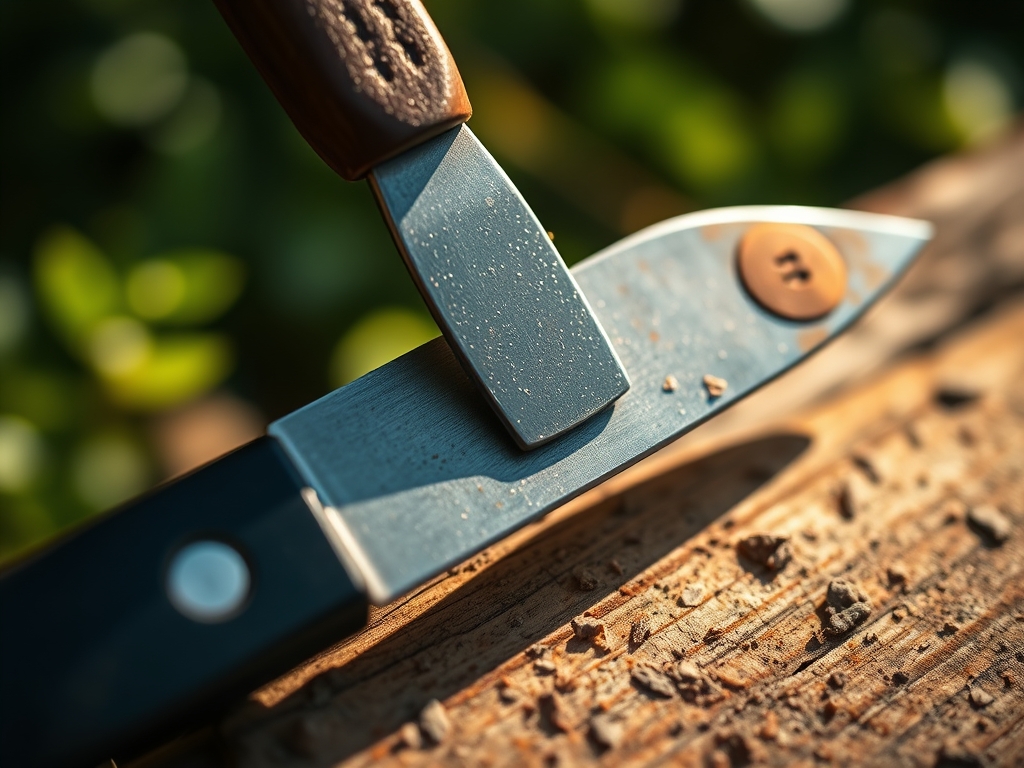
Begin by securing the knife in a vice with the edge facing upward. Position your file at a 20 degree angle relative to the blade. Use long, single-direction strokes moving away from your body. Do not saw back and forth; this creates heat that can temper the steel and soften the edge.
Pro-Tip: Maintaining a consistent angle is vital because it determines the tool's ability to overcome the turgor pressure of plant cell walls. A precise bevel ensures the blade slides through the cellulose without tearing the epidermis.
Transplanting the Burrs
After several passes, a thin wire of metal known as a burr will form on the opposite side of the blade. Flip the knife and repeat the filing process with lighter pressure to "transplant" the edge into a centered position. This ensures the blade is balanced and will not veer during deep cuts into woody stems.
Pro-Tip: Removing the burr is a form of mechanical refinement similar to thinning seedlings. By removing the excess material, you allow the primary structure (the edge) to function without interference, much like reducing competition in the rhizosphere.
Establishing the Finish
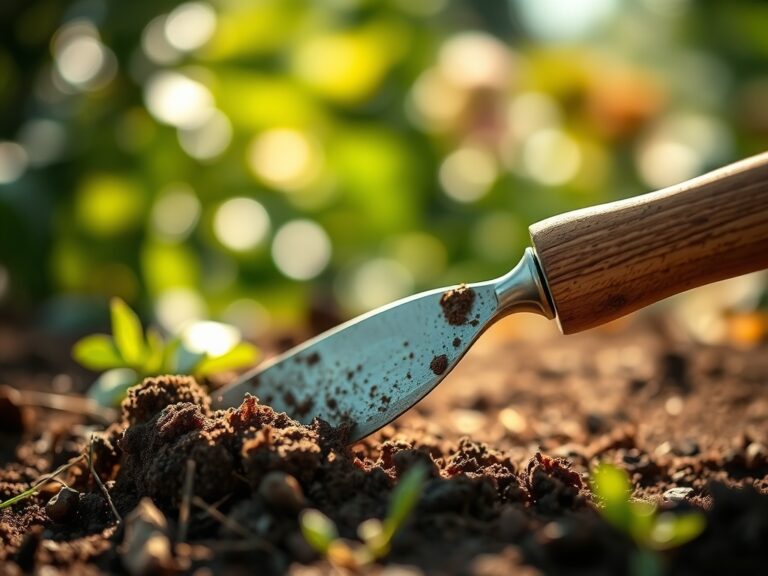
Once the edge is set, use a fine-grit honing stone or a smaller needle file to polish the surface. This final step removes microscopic grooves that can harbor bacteria or fungal spores. Wipe the blade with a light coat of mineral oil to prevent oxidation during storage.
Pro-Tip: A smooth finish reduces friction during the cut, which minimizes the release of auxins at the wound site. Controlling the hormonal response of the plant allows for more predictable regrowth patterns and faster healing.
The Clinic:
Physiological disorders in plants often stem from poor tool hygiene or improper cutting techniques.
- Symptom: Dieback at the tip of pruned branches. Solution: Sharpen the blade to ensure a clean cut. Ragged edges lead to localized necrosis.
- Symptom: Yellowing of lower leaves (Nitrogen chlorosis). Fix-It: Apply a high-nitrogen supplement (NPK 21-0-0) to the soil at a rate of 0.5 pounds per 100 square feet.
- Symptom: Interveinal chlorosis (Magnesium deficiency). Fix-It: Apply Epsom salts to increase magnesium levels without drastically altering the soil pH.
- Symptom: Bacterial ooze from pruning wounds. Solution: Sterilize the knife with 70 percent isopropyl alcohol between every cut to prevent cross-contamination.
Maintenance:
A garden requires consistent monitoring to sustain high yields. Deliver 1.5 inches of water per week at the drip line to ensure deep root penetration. Use a soil moisture meter to verify that the moisture reaches a depth of 6 inches. When harvesting or pruning, always use a hori-hori knife or bypass pruners that have been recently sharpened. Check the blade for nicks after every 50 cuts. If the blade fails to slice through a standard piece of paper without snagging, return to the file. Proper tool maintenance is as critical as monitoring the photoperiod for flowering plants.
The Yield:
Harvesting at the peak of physiological maturity ensures the highest nutrient density. For leafy greens, harvest in the early morning when turgor pressure is at its maximum; this prevents wilting and preserves "day-one" freshness. Use your sharpened knife to sever the stem in one clean motion. Immediately plunge the harvested material into a cold water bath to arrest the metabolic rate and slow down the process of senescence. For root crops, use the blade to trim the foliage to within 0.5 inches of the crown to prevent moisture from being drawn out of the root.
FAQ:
How often should I sharpen my garden knife?
Sharpen the blade every 10 to 15 hours of heavy use. If you notice the blade crushing stems instead of slicing them, immediate sharpening is required. Regular maintenance prevents significant metal loss during heavy grinding.
What angle is best for a garden knife?
A 20 to 25 degree angle is ideal for most garden knives. This provides a balance between a sharp edge for soft tissue and a durable edge for tougher, fibrous stalks or woody stems.
Can I use a round file for sharpening?
No. A flat mill bastard file is necessary to maintain a straight, even bevel. Round files are reserved for serrated edges or chainsaws and will create an uneven, dangerous edge on a standard garden knife.
Why is my knife rusting after sharpening?
Sharpening exposes raw steel to oxygen and moisture. Always apply a thin layer of food-grade mineral oil to the blade after sharpening to create a protective barrier against oxidation and corrosive soil minerals.
Should I sharpen both sides of the blade?
Most garden knives are double-beveled and require sharpening on both sides. If you are using a specialized grafting knife, it may have a single bevel; in that case, only file the angled side and flat-hone the back.