6 Steps to Prepare a Solid Property Garden Deck Site
The smell of damp earth after a cold rain signifies more than just moisture; it indicates the activation of microbial life within the rhizosphere. When you squeeze a handful of soil and it holds its shape before crumbling under slight pressure, the turgor of the surrounding flora is assured. Learning how to prepare a site for a garden deck requires this same level of tactile precision. You are not just building a structure; you are managing the soil compaction and drainage profile of a living ecosystem.
A successful installation begins with the realization that the ground beneath the timber is a dynamic substrate. Improper preparation leads to anaerobic conditions, fungal pathogens, and structural subsidence. To avoid these failures, you must analyze the soil profile to ensure it can support the dead load of the deck while maintaining adequate moisture shedding. This guide details the technical requirements for site stabilization, drainage optimization, and soil health management to ensure your garden deck remains a permanent fixture of the landscape.
Materials:

The substrate beneath your deck should ideally be a friable loam with a balanced Cation Exchange Capacity (CEC) of 15 to 25 meq/100g. This ensures that any surrounding plantings can access essential nutrients even if the deck limits direct rainfall. Before construction, test the soil pH; a range of 6.0 to 7.0 is optimal for most temperate landscape species.
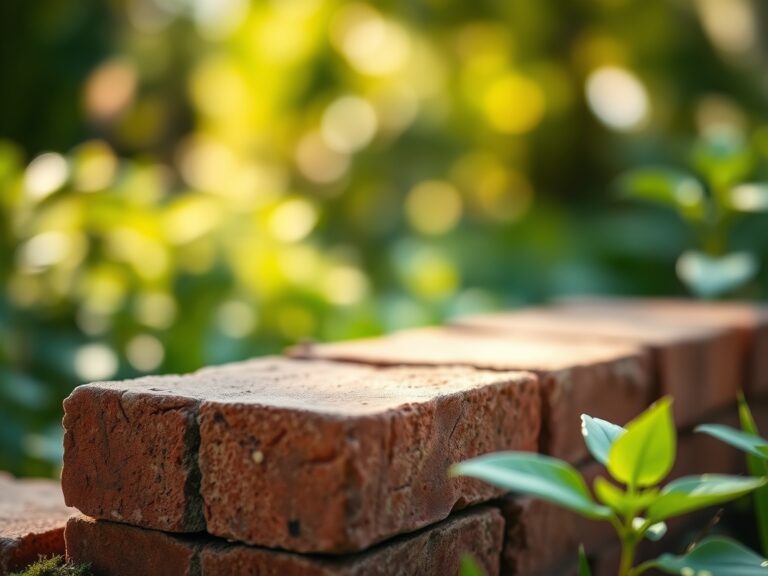
For the perimeter of the deck where vegetation will persist, incorporate a slow-release fertilizer with an NPK ratio of 5-10-5. High phosphorus levels encourage robust root development, which is critical for stabilizing the soil around your footings. The physical texture of the site should be modified with crushed 3/4-inch angular gravel rather than rounded pea stone. Angular stone locks together to provide a stable base while maintaining a high void ratio for drainage. If the soil is heavy clay, integrate expanded shale or coarse sand to increase the macropore space, preventing the saturation that leads to timber rot.
Timing:
Timing is dictated by the Hardiness Zones and the local frost-date window. In Zones 5 through 7, site preparation should commence once the soil temperature consistently reaches 50 degrees Fahrenheit. Working frozen or saturated soil destroys its structure through compaction, leading to a loss of porosity.
The biological clock of the surrounding landscape must be considered. Perform heavy excavation during the dormant season to minimize stress on the root systems of nearby perennials and shrubs. As plants transition from the vegetative stage to the reproductive stage in late spring, their demand for oxygen in the root zone increases. If you compact the soil during this high-respiration period, you risk inducing senescence in established plants. Aim for a window at least four weeks before the first autumn frost or six weeks after the last spring frost to allow the soil to settle and the microbiology to stabilize.
Phases:

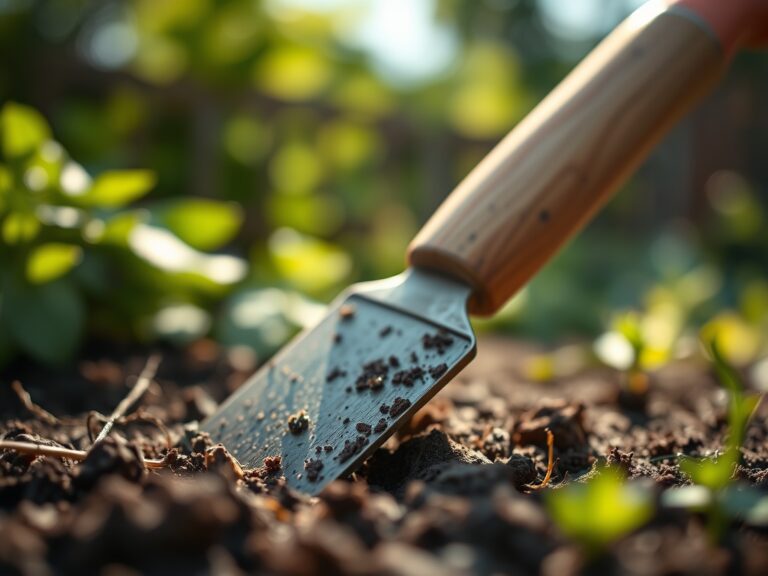
Sowing and Site Clearing
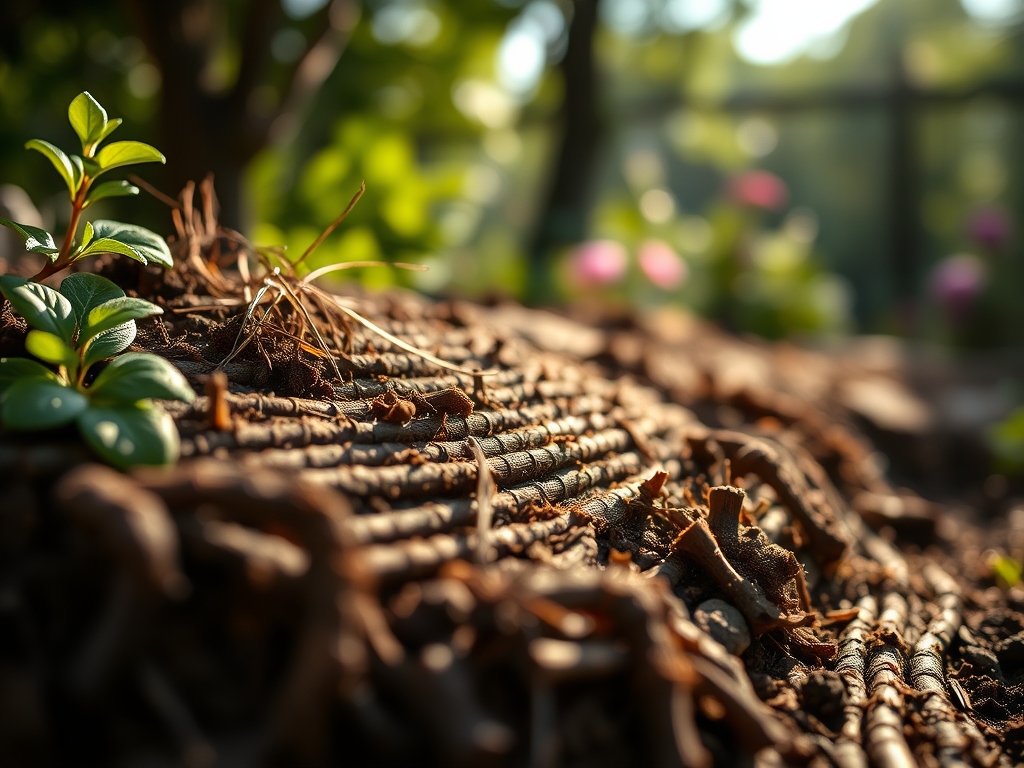
Remove all organic debris and turf from the footprint. Excavate to a depth of 6 inches and replace the topsoil with a non-woven geotextile fabric. This barrier prevents weed emergence while allowing gas exchange between the soil and the atmosphere.
Pro-Tip: Maintaining gas exchange is vital because mycorrhizal symbiosis requires aerobic conditions. These beneficial fungi extend the reach of plant roots; burying them under plastic or compacted clay kills the colony and starves nearby plants of phosphorus.
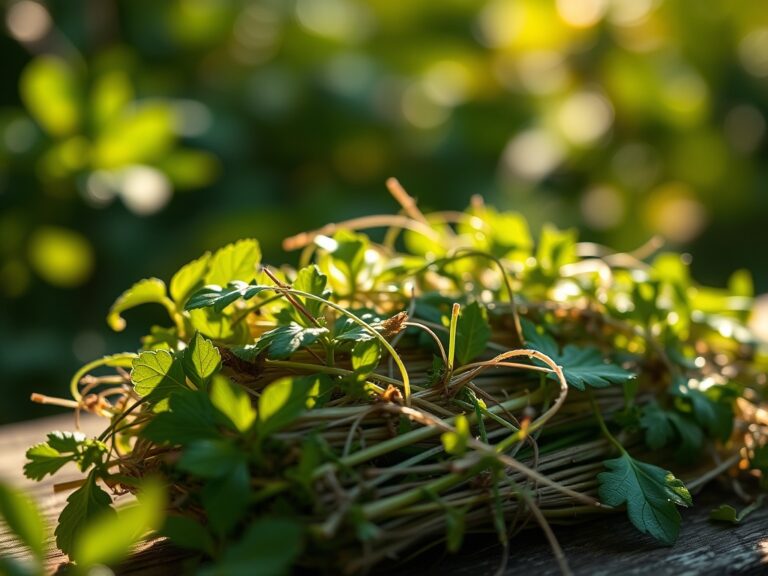
Transplanting and Footing Installation
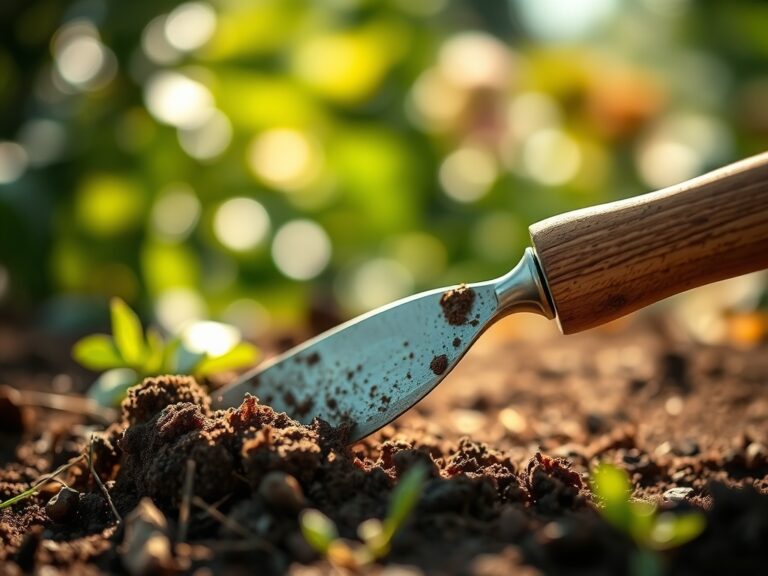
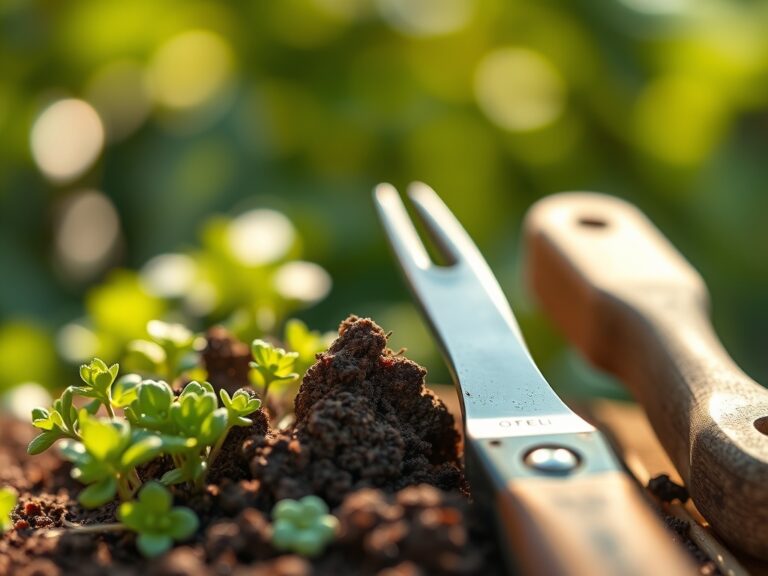
When installing footings, use a post-hole auger to reach below the frost line, which is typically 36 to 48 inches in northern latitudes. If you must move existing plants to accommodate the deck, keep the root ball intact and moist. Use a hori-hori knife to clean up any jagged root tears.
Pro-Tip: Clean cuts on roots prevent the overproduction of auxins, the hormones responsible for growth regulation. Sharp, clean cuts allow the plant to seal the wound quickly, preventing pathogens from entering the vascular system.
Establishing Drainage and Finish
Grade the soil beneath the deck at a 2 percent slope away from the house foundation. Cover the geotextile with a 3-inch layer of gravel. This prevents "splash back" of soil onto the wood and ensures that water moves away from the structural posts.
Pro-Tip: Sloping the site prevents water from pooling, which avoids phototropism issues in nearby shade-loving plants. Standing water reflects light in concentrated bursts, which can scorch the undersides of leaves that are not adapted to high-intensity light exposure.
The Clinic:
Physiological disorders often manifest in the plants surrounding a new deck due to changes in the microclimate.
- Symptom: Interveinal chlorosis (yellowing leaves with green veins).
Solution: This is often a sign of Iron or Magnesium deficiency caused by high pH from concrete leaching. Apply chelated iron or elemental sulfur to lower the pH to 6.5. - Symptom: Leaf wilting despite wet soil.
Solution: This indicates Root Rot (Phytophthora). The soil is likely compacted. Use a garden fork to aerate the soil at the drip line and reduce irrigation. - Symptom: Stunted growth and purple leaf undersides.
Solution: Phosphorus deficiency. This occurs in cold, wet soils. Increase the soil temperature by removing heavy mulch and apply a high-phosphate starter fertilizer.
Fix-It for Nitrogen Chlorosis: If older leaves turn pale yellow, the plant is scavenging nitrogen for new growth. Apply a liquid 10-0-0 fertilizer for immediate uptake, followed by organic compost to rebuild the long-term nitrogen pool.
Maintenance:
A garden deck site requires ongoing monitoring of the surrounding soil. Use a soil moisture meter twice weekly during the first growing season. Most landscape plants require 1.5 inches of water per week delivered at the drip line. Avoid wetting the deck timber; focus irrigation on the soil surface.
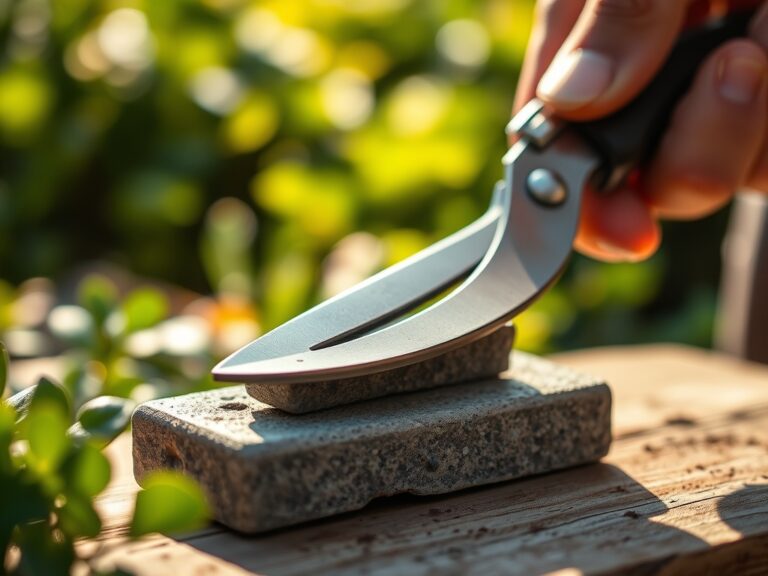
Use bypass pruners to maintain a 12-inch clearance between the deck and any foliage. This promotes airflow, which reduces the humidity that triggers powdery mildew and other fungal spores. Check the integrity of the gravel base annually. If the soil begins to migrate or "wash out," replenish the gravel to maintain the 3-inch depth necessary for weed suppression and drainage.
The Yield:
If your deck incorporates built-in planters for edibles or flowers, harvest timing is essential for peak quality. Harvest leafy greens in the early morning when turgor pressure is highest. This ensures the cell walls are fully hydrated, providing a crisp texture. Use a sharp blade to cut stems, then immediately submerge the base in 40-degree Fahrenheit water to remove field heat and slow the rate of respiration. For woody herbs like rosemary, never harvest more than one-third of the plant at once to avoid hormonal shock.
FAQ:
How deep should I dig for deck footings?
Dig below the local frost line, typically 36 to 48 inches. This prevents "frost heave," where freezing groundwater expands and pushes the footings upward, causing structural misalignment and timber stress.
What is the best way to stop weeds under a deck?
Install a non-woven geotextile fabric covered by 3 inches of crushed angular gravel. This combination blocks the light required for photosynthesis while allowing the soil to breathe and drain effectively.
Can I use plastic sheeting under my deck?
No. Plastic sheeting creates an anaerobic environment by blocking oxygen. This kills beneficial soil microbes and leads to the buildup of hydrogen sulfide, which is toxic to the roots of nearby landscape plants.
How do I fix drainage issues on a flat site?
Excavate a shallow trench, known as a French drain, filled with perforated pipe and gravel. Grade the site at a 2 percent slope to direct water toward a lower point in the yard.
What soil test should I perform before building?
Conduct a Standard Soil Nutrient Test to check pH, CEC, and NPK levels. Also, perform a Percolation Test by filling a hole with water to ensure the site drains at least 1 inch per hour.