8 Natural Steps to Prepare an Organic Soil-Building Garden
The scent of turned earth in early spring signals more than seasonal change. It marks the beginning of biological transformation when dormant microbes awaken and carbon chains begin breaking down into plant-available nutrients. Learning how to prepare a garden for an organic vegetable garden starts months before the first transplant touches soil, requiring deliberate manipulation of texture, biology, and chemistry to create a self-sustaining ecosystem.
Materials
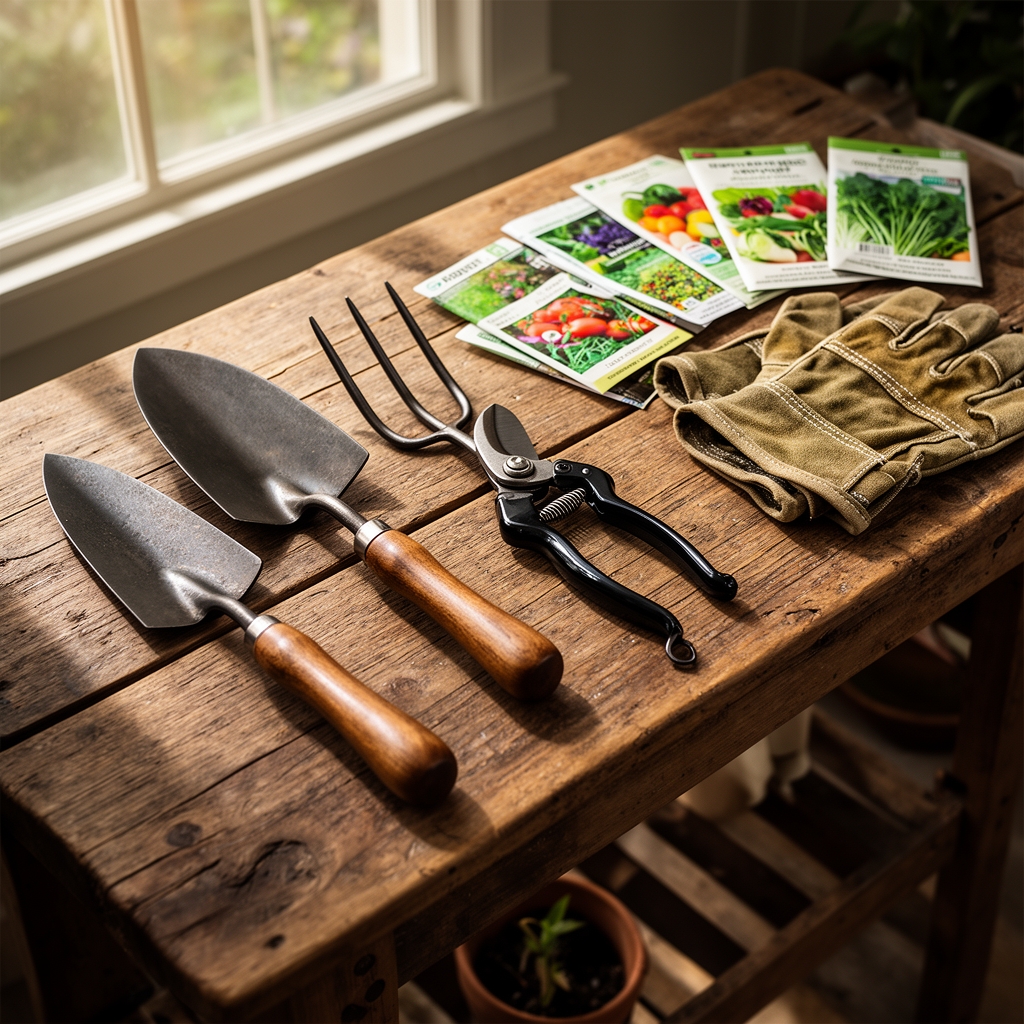
Successful organic preparation demands materials matched to baseline soil conditions. Test pH first. Most vegetables thrive between 6.0 and 7.0, though brassicas tolerate up to 7.5.
For acidic soils (pH below 6.0), apply dolomitic limestone at 50 pounds per 1,000 square feet to raise pH by one full point. Calcitic limestone works when magnesium levels are adequate.
Balanced organic amendments include composted cattle manure (approximate NPK ratio 0.5-0.5-0.5), well-aged leaf mold (0.5-0.3-0.2), and all-purpose organic fertilizer blends (4-4-4 or 5-5-5). These release nutrients slowly through microbial decomposition rather than salt-based dissolution.
For nitrogen-deficient sites, add blood meal (12-0-0) at 10 pounds per 1,000 square feet or feather meal (12-0-0) for slower release over 4 to 6 months. Bone meal (3-15-0) addresses phosphorus deficiency, critical for root establishment. Rock phosphate provides long-term reserves with minimal immediate impact.
Potassium sources include greensand (0-0-3) and Sul-Po-Mag (0-0-22), the latter delivering sulfur and magnesium alongside potassium. Cation exchange capacity increases with organic matter, allowing clay and humus particles to hold nutrients against leaching.
Incorporate mycorrhizal fungi inoculant at transplanting. These symbiotic organisms extend effective root surface area by 100 to 1,000 times, accessing phosphorus beyond the depletion zone.
Timing
Zone-specific preparation windows prevent wasted effort. In USDA Hardiness Zones 3 through 5, begin soil preparation 4 to 6 weeks before the last expected spring frost. Soil temperature must reach 50°F at 4-inch depth before incorporating amendments, or microbial activity remains dormant.
Zones 6 through 8 allow fall preparation from mid-September through October. Winter freeze-thaw cycles break down organic matter and improve aggregation. Apply amendments in autumn, then plant cover crops like winter rye or hairy vetch to prevent erosion and fix atmospheric nitrogen.
Zones 9 through 11 can prepare beds year-round but should avoid disturbing soil during peak heat (above 95°F), which kills beneficial organisms in the top 2 inches.
Spring preparation should conclude 2 weeks before planting to allow soil biology to stabilize after disturbance. Fresh manure requires 90 to 120 days of composting to eliminate pathogens and break down ammonia compounds that burn roots.
Phases
Sowing Phase
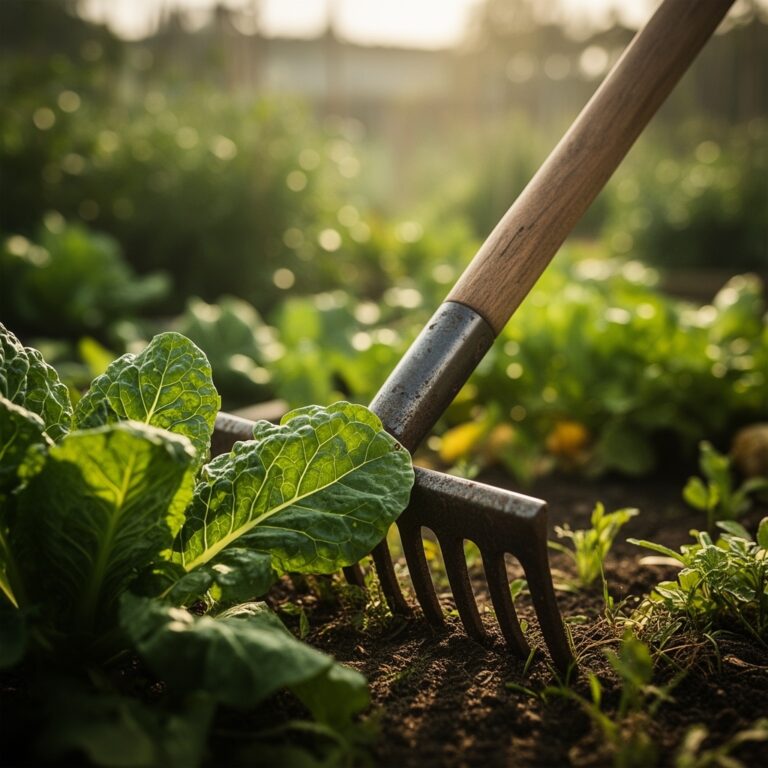
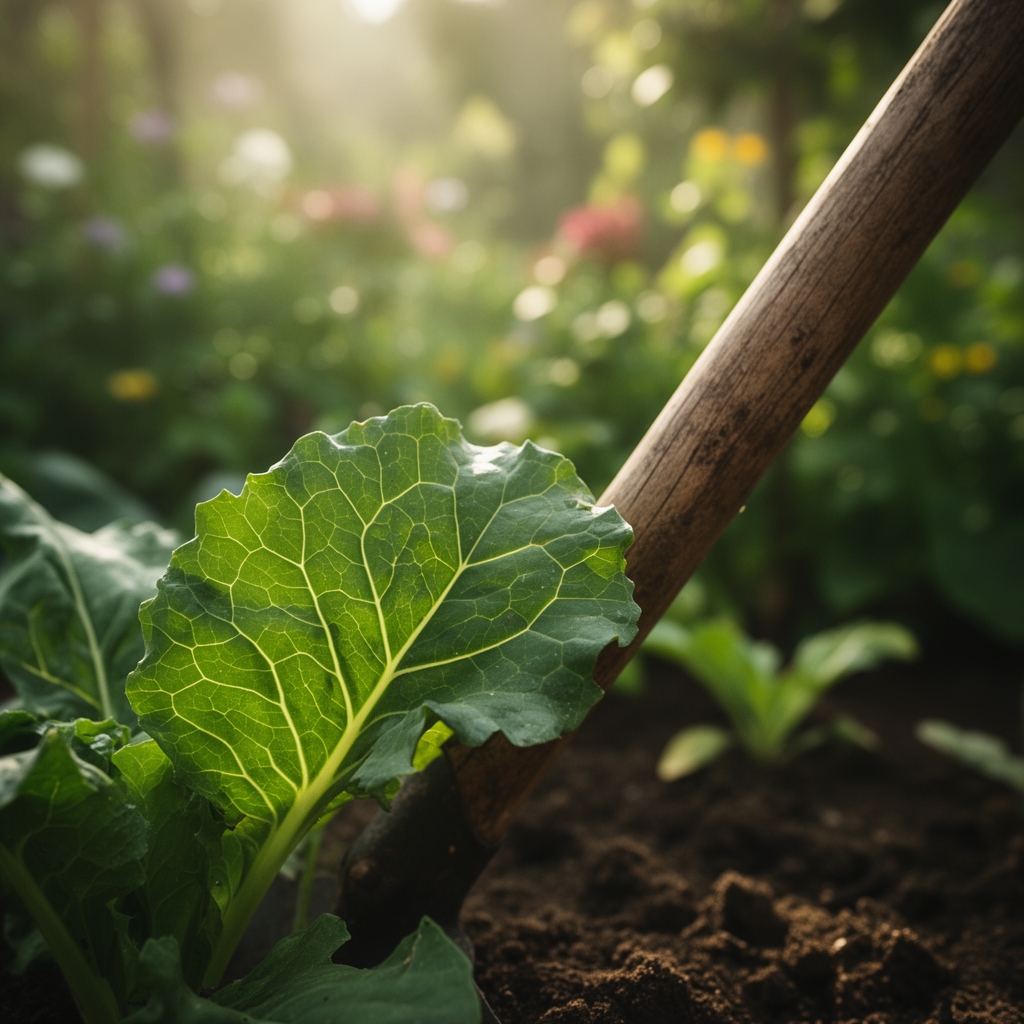
Remove existing vegetation to 1-inch depth using a sharp spade, preserving topsoil structure. Broadfork or double-dig to 12 inches without inverting layers. This aerates compacted zones while maintaining microbial stratification.
Spread 3 to 4 inches of finished compost across the surface. Add measured amendments based on soil test results. Till or fork to 8-inch depth in a single pass. Multiple tillage events destroy aggregates and collapse pore space.
Pro-Tip: Apply Bacillus thuringiensis var. kurstaki (Btk) granules mixed into the top 2 inches if cutworms were present in previous seasons. This biological control remains viable for 30 days.
Transplanting Phase
Level beds with a rake, breaking clods no larger than 1 inch. Create permanent pathways 18 to 24 inches wide to prevent future compaction in growing zones.
Transplant seedlings when soil reaches appropriate temperature: 50°F for brassicas and lettuce, 60°F for tomatoes and peppers, 65°F for cucurbits and beans. Cold soil inhibits auxin distribution, causing stunted root development.
Dig planting holes twice the root ball width. Mix mycorrhizal inoculant directly with backfill soil at the manufacturer's recommended rate, typically 1 tablespoon per plant. Water immediately with 1 quart per transplant to eliminate air pockets.
Pro-Tip: Orient tomato transplants with the first true leaves pointing north-south. This maximizes photosynthetic surface exposure during morning and evening low-angle light.
Establishing Phase
Apply 2 to 3 inches of organic mulch (straw, shredded leaves, or aged wood chips) around transplants after soil warms to target temperature. Mulch applied to cold soil delays warming by 7 to 10 days.
Side-dress heavy feeders (tomatoes, peppers, squash) with 1 cup of 5-5-5 organic fertilizer per plant at flowering. Scratch into the soil surface 6 inches from the stem.
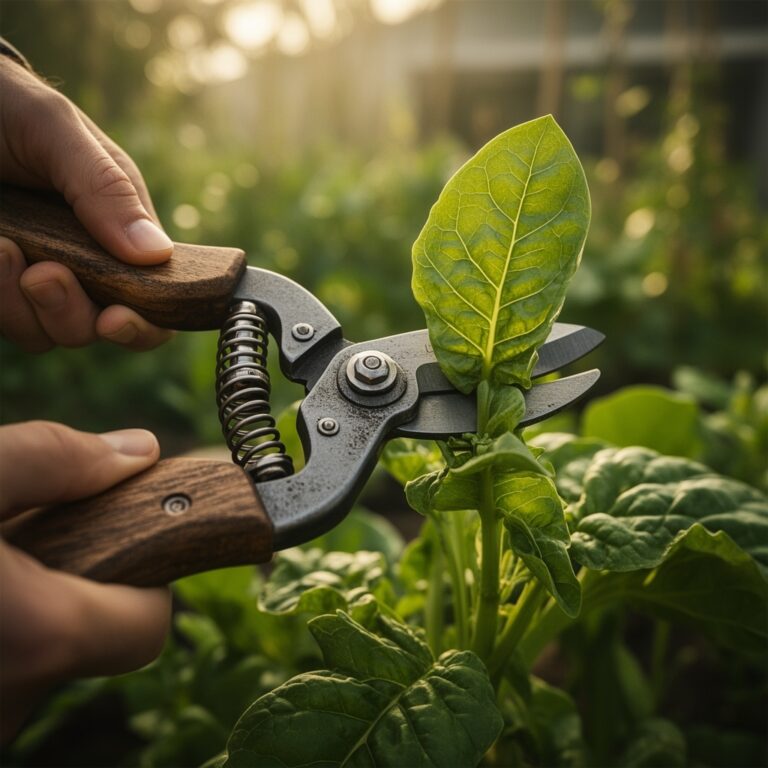
Pro-Tip: Pinch tomato suckers at 45-degree angles rather than pulling. Clean cuts heal faster and reduce disease entry points.
Troubleshooting
Symptom: Yellowing lower leaves with green veins
Solution: Iron or manganese deficiency caused by high pH. Apply chelated iron at 1 tablespoon per gallon as a soil drench. Sulfur reduces pH over 3 to 4 months at 1 pound per 100 square feet.
Symptom: Purple leaf undersides on tomatoes
Solution: Phosphorus deficiency from cold soil (below 55°F). Cover soil with black plastic mulch to increase temperature by 5 to 8°F. Apply liquid fish fertilizer (5-1-1) as foliar spray at 2 tablespoons per gallon weekly.
Symptom: Blossom end rot on tomatoes and peppers
Solution: Calcium deficiency or inconsistent moisture. Maintain soil moisture at field capacity. Side-dress with gypsum (calcium sulfate) at 2 pounds per 10 feet of row.
Symptom: Stunted growth with dark, sparse foliage
Solution: Excess nitrogen relative to phosphorus. Reduce nitrogen inputs. Apply bone meal at 5 pounds per 100 square feet to balance NPK ratio.
Symptom: Flea beetle damage (small holes in leaves)
Solution: Apply diatomaceous earth at 1 pound per 100 square feet around plant bases. Reapply after rain. Plant radishes as trap crops along bed edges.
Maintenance
Water deeply once per week, applying 1 inch measured with rain gauges or straight-sided containers. Frequent shallow watering promotes surface rooting and drought sensitivity. Drip irrigation or soaker hoses reduce foliar disease by keeping leaves dry.
Monitor soil moisture at 4-inch depth using a probe or finger test. Soil should feel like a wrung-out sponge. Sandy soils require more frequent irrigation at 0.5 inch twice weekly.
Reapply mulch mid-season when decomposition reduces depth below 2 inches. This suppresses weeds and moderates temperature fluctuations.
Scout for pests twice weekly. Remove damaged foliage and destroy rather than composting to break disease cycles.
Rotate plant families annually. Solanaceae (tomatoes, peppers) should not occupy the same bed for 3 years. This disrupts soil-borne pathogen accumulation and nutrient depletion patterns.
FAQ
How long does organic soil preparation take?
Active preparation requires 4 to 6 hours per 100 square feet. Amendments need 2 to 4 weeks to integrate biologically before planting.
Can I use fresh grass clippings as mulch?
No. Fresh clippings generate heat during decomposition, reaching 140°F, which damages roots. Age clippings 7 days before applying, or compost first.
What is the minimum compost amount for vegetable gardens?
Apply 1 cubic yard per 100 square feet (3-inch depth) annually. This maintains 5% organic matter in mineral soils.
Do I need to add fertilizer if using compost?
Finished compost provides 0.5-0.5-0.5 NPK equivalent. Heavy feeders require supplemental fertility. Apply balanced organic fertilizer at half the bag rate initially, adjusting based on plant response.
When should I stop amending soil?
Soil with 5% organic matter, neutral pH, and adequate nutrient levels requires only maintenance mulch and cover cropping. Test annually to confirm stability.