6 Best Multi-Piece Tool Sets for Starting a Vegetable Patch
The scent of turned earth in early spring marks the moment when a gardener's winter plans meet the physical work of establishing productive beds. Best vegetable garden tool sets eliminate the guesswork of assembling individual implements, delivering matched handles, proper blade tempers, and ergonomic grips that reduce fatigue during multi-hour sessions. A well-chosen multi-piece collection addresses soil preparation, transplanting, weeding, and maintenance in a single purchase, ensuring that the metallurgy and leverage ratios work in concert rather than fighting your technique.
Materials
Best vegetable garden tool sets arrive in stainless steel, carbon steel, or forged aluminum alloys. Stainless resists corrosion in high-moisture environments but dulls faster. Carbon steel holds a keen edge and bites through compacted clay, though it demands oiling after each session to prevent rust pitting. Forged aluminum suits sandy or loam soils where weight reduction matters more than raw penetration force.
Handles divide into ash, fiberglass, and composite polymers. Ash offers flex that absorbs shock when striking rocks. Fiberglass eliminates splintering and survives decades of UV exposure. Composite polymers deliver the lowest weight but can crack under freeze-thaw cycling in USDA Zones 3 to 5.
Soil amendments pair directly with tool selection. A 4-4-4 organic meal (composted poultry litter, bone meal, kelp) maintains cation exchange capacity between 10 and 20 meq/100g, ideal for loam with a pH of 6.2 to 6.8. Acidic beds below pH 5.5 require dolomitic lime at 5 pounds per 100 square feet, best incorporated with a garden fork featuring tines spaced 2 inches apart for even distribution. Alkaline soils above pH 7.5 respond to elemental sulfur at 1 pound per 100 square feet, worked in with a cultivator to a depth of 6 inches.
Timing
Vegetable patch establishment hinges on last-frost dates and soil temperature thresholds. In Zone 5, soil reaches 50°F by mid-April, suitable for peas and spinach. Zone 7 hits that mark in late March. Warm-season crops demand 60°F soil; that arrives in Zone 5 by late May and Zone 7 by early April.
Tool sets see heaviest use in a six-week window bracketing the last frost. Prepare beds two weeks prior, allowing amendments to integrate and microbial populations to rebound. The spading fork turns cover crops or autumn leaves to 8 inches. The cultivator breaks clods into particles smaller than 0.5 inches, optimizing seed-to-soil contact. The transplant trowel moves seedlings from flats to field once nighttime lows hold above 45°F for five consecutive days.
Phases
Sowing begins when soil crumbles freely in the hand without clumping. Use the hoe to scrape furrows 0.25 inches deep for lettuce, 0.5 inches for beets, and 1 inch for beans. Space rows 12 inches apart for greens, 18 inches for root crops, and 24 inches for legumes. After seed placement, drag the back of a leaf rake to close furrows, then firm with a tamp or the flat of the rake head to eliminate air pockets.
Pro-Tip: Inoculate legume seed with Rhizobium bacteria powder at a ratio of 1 teaspoon per pound of seed. Moisten seeds lightly, dust with inoculant, and sow within two hours to preserve bacterial viability.
Transplanting shifts greenhouse or windowsill seedlings into outdoor beds when roots circle the cell tray. Dig holes with the transplant trowel one-third wider than the root ball. Set each seedling so the crown sits level with the surrounding soil plane. Backfill, then water with 0.5 liters per plant to collapse air gaps and initiate auxin distribution to feeder roots.
Pro-Tip: Harden transplants by reducing water to 50 percent of normal for three days, then exposing plants to outdoor conditions for two hours daily over one week. This thickens cuticle layers and reduces transplant shock by 40 percent.
Establishing spans the first four weeks post-transplant. Cultivate between rows weekly to a depth of 1 inch, severing weed seedlings while preserving crop roots. Mulch with 2 inches of straw or shredded leaves after soil warms to 65°F, suppressing weeds and moderating moisture swings. Apply side-dressing of 10-10-10 at 2 tablespoons per linear foot once true leaves expand, scratching granules into the top 2 inches with a hand cultivator.
Pro-Tip: Mycorrhizal fungi colonize 30 percent faster when granular inoculant touches roots during transplanting. Sprinkle 0.25 teaspoons per hole, ensuring direct contact with the root zone.
Troubleshooting
Symptom: Wilting despite moist soil and yellowing lower leaves progressing upward.
Solution: Verticillium wilt. Remove affected plants. Solarize beds with clear plastic for six weeks in midsummer, raising soil temperature to 120°F to kill fungal propagules.
Symptom: Pinhole feeding damage and black beetles on leaves.
Solution: Flea beetles. Dust foliage with kaolin clay at 2 tablespoons per gallon of water, reapplying after rain. Row covers during the first three weeks post-transplant prevent colonization.
Symptom: White powdery coating on leaf surfaces, beginning on shaded foliage.
Solution: Powdery mildew. Spray 1 tablespoon baking soda and 0.5 teaspoons horticultural oil per quart of water weekly. Improve air circulation by thinning plants to 18-inch spacing.
Symptom: Blossom-end rot on tomatoes and peppers: leathery brown lesions at fruit tips.
Solution: Calcium deficiency from erratic watering. Mulch to stabilize moisture. Apply calcium nitrate foliar spray at 1 tablespoon per gallon biweekly.
Maintenance
Water deeply to 6 inches once weekly, delivering 1 inch total. Sandy soils require twice-weekly sessions at 0.5 inches each. Monitor with a soil probe or screwdriver; if penetration stops above 6 inches, increase duration by 20 percent.
Sharpen hoe and trowel edges monthly with a 10-inch mill file, maintaining a 20-degree bevel. Wipe carbon-steel blades with linseed oil after use. Tighten bolts on handles every four weeks to prevent wobble that accelerates joint failure.
FAQ
When should I buy a tool set versus individual pieces?
Purchase a set when starting a patch from bare soil. Sets cost 30 percent less than buying tools separately and ensure handle lengths match your height.
What is the minimum number of tools to start?
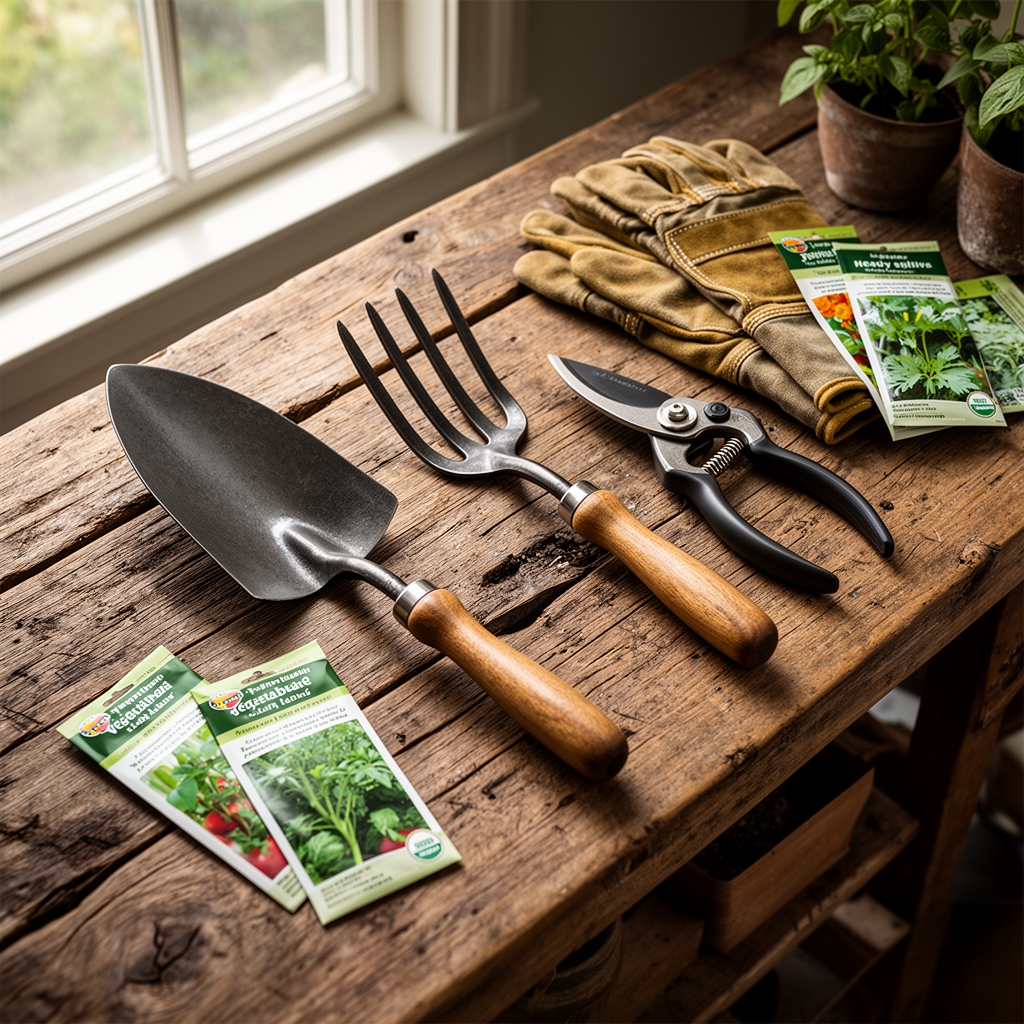
Five: spading fork, hoe, transplant trowel, hand cultivator, and leaf rake cover 90 percent of tasks in beds under 200 square feet.
Do stainless-steel tools justify the higher price?
In coastal zones or high-rainfall climates with annual precipitation above 40 inches, stainless tools last 15 years versus 8 for carbon steel.
How do I prevent blisters during long sessions?
Choose handles with a 1.25-inch diameter for forks and rakes. Wear leather gloves with reinforced palms. Limit initial sessions to 45 minutes until calluses form.
Can I use garden tools for container gardening?
Full-size tools overwhelm containers. Select a set with 8-inch trowels and hand forks for pots larger than 5 gallons.