6 Best Multi-Piece Tool Sets for Starting a Vegetable Patch
The first turn of a spade into untilled soil marks the beginning of vegetable cultivation, yet without proper implements, even experienced gardeners face compacted earth, damaged transplants, and inefficient planting rows. Best vegetable garden tool sets equip beginners and veterans alike with the essential implements to prepare beds, amend soil structure, and establish productive crops from bare ground. A comprehensive multi-piece collection eliminates the need for piecemeal purchases and ensures compatibility across handles, blades, and ergonomic design.
Materials
Quality tool sets begin with forged carbon steel heads rather than stamped sheet metal. Carbon content between 0.6% and 0.8% delivers optimal hardness while maintaining edge retention through repeated contact with clay and root systems. Handles of ash or hickory absorb vibration better than fiberglass, reducing hand fatigue during extended soil preparation.
Soil amendments require specific timing relative to tool use. Before initial digging, broadcast 2-3 inches of aged compost with an approximate NPK ratio of 1-1-1, providing balanced macro-nutrients without risk of nitrogen burn. For acidic-soil crops like potatoes and blueberries, target a pH of 5.0-5.5 by incorporating elemental sulfur at 1 pound per 100 square feet. Brassicas and alliums prefer pH 6.5-7.0, achieved through dolomitic limestone application at 5 pounds per 100 square feet in clay soils with low cation exchange capacity.
Organic meals supplement base fertility. Alfalfa meal (3-1-2) stimulates auxin distribution and accelerates vegetative growth when side-dressed at 2 cups per 10 row-feet. Kelp meal (1-0.5-2) introduces over 60 trace elements and natural cytokinins, applied at 1 cup per 25 square feet during bed preparation. Bone meal (4-12-0) supports phosphorus demands of fruiting crops, broadcast at 3 pounds per 100 square feet and worked into the root zone before transplanting.
Timing
Tool deployment aligns with USDA Hardiness Zone frost dates and soil temperature thresholds. Zone 5 gardeners begin soil preparation 2-3 weeks before the last average frost date (typically May 1-15), once ground temperature reaches 45°F at 4-inch depth. Zone 7 allows field work by mid-March, with soil workability achieved when a compressed handful crumbles rather than forming a muddy ribbon.
Cold-season crops tolerate direct seeding when soil reaches 40°F: peas, spinach, and broad beans establish root systems during 6-8 week spring windows. Warm-season transplants require 60°F soil temperature and nighttime air above 50°F. Tomatoes, peppers, and eggplants suffer chilling injury and impaired mycorrhizal colonization below these thresholds, delaying fruit set by 2-3 weeks.
Phases
Sowing: Spading forks penetrate compacted subsoil to 12-inch depth, fracturing hardpan layers that restrict root penetration and create anaerobic conditions. Work across beds in parallel passes, inverting soil to expose weed seeds and incorporate surface amendments. Garden rakes level beds to within 0.5-inch tolerance, preventing water pooling and uneven germination.
Pro-Tip: Inoculate legume seeds with Rhizobium bacteria immediately before sowing. Mix 1 teaspoon of inoculant powder per 1 pound of seed in a bowl with 2 tablespoons of milk as adhesive. Air-dry for 15 minutes before planting to achieve nodulation rates above 80%.
Transplanting: Trowels with depth markings eliminate guesswork in hole excavation. Dig to 1.5x root ball diameter, positioning transplants so the crown sits 0.25 inches above grade to prevent stem rot from capillary moisture. Hand cultivators break sidewall glazing in clay soils, encouraging lateral root expansion during the first 14 days.
Pro-Tip: Prune tomato transplants at a 45-degree angle, removing lower leaves to the first true flower truss. Bury stems horizontally in 3-4 inch trenches to stimulate adventitious root formation along buried nodes, increasing water and nutrient uptake capacity by 40%.
Establishing: Hoes with sharp, thin blades sever annual weeds at soil level during the white thread stage, before cotyledons expand and tap photosynthetic reserves. Cultivate to 0.5-inch depth in a 3-inch band beside crop rows, maintaining this zone weed-free to eliminate competition during the first 6 weeks post-transplant. Water cans with rose heads deliver 1 gallon per 4 square feet without soil displacement or root exposure.
Pro-Tip: Apply water at dawn to reduce evaporative loss and allow foliage to dry before nightfall, minimizing foliar disease pressure from Phytophthora and Alternaria species. Target 1 inch per week, measured with rain gauges calibrated to 0.1-inch increments.
Troubleshooting
Symptom: Interveinal chlorosis on youngest leaves, pH above 7.5.
Solution: Chelated iron (Fe-EDDHA) foliar spray at 0.5 ounce per gallon weekly for 3 applications. Incorporate sulfur to lower substrate pH over 8-12 weeks.
Symptom: Blossom end rot on tomatoes and peppers, dark leathery lesions at fruit apex.
Solution: Calcium deficiency from irregular moisture, not soil depletion. Maintain consistent 1-inch weekly irrigation. Foliar calcium chloride (0.5%) provides temporary symptom suppression but does not address root cause.
Symptom: Cutworm damage, severed seedlings at soil line.
Solution: Cardboard collars 3 inches tall, pressed 1 inch into soil around each transplant. Steinernema carpocapsae nematodes applied at dusk, 1 million per 1,600 square feet, parasitize larvae within 48 hours.
Symptom: Powdery mildew, white fungal coating on cucurbit leaves.
Solution: Potassium bicarbonate spray (1 tablespoon per gallon) raises leaf surface pH above 8.0, inhibiting Podosphaera xanthii spore germination. Apply weekly, rotating with horticultural oil (2%) to prevent resistance.
Maintenance
Sharpen tool edges every 10 hours of soil contact using a 10-inch mill bastard file at a 20-degree bevel angle. Maintain cutting geometry to reduce penetration force by 30%, extending handle life and reducing repetitive strain. Remove soil residue after each use, then wipe metal surfaces with linseed oil to displace moisture and prevent oxidation.
Store tools in a dry shed with relative humidity below 60%. Hang implements on wall racks to prevent ground contact and handle warping. Replace ash handles showing grain separation or compression fractures exceeding 0.5 inches. Inspect rivets and ferrules annually, tightening or replacing fasteners to prevent head wobble during use.
FAQ
What distinguishes professional-grade from consumer tool sets?
Professional sets use forged heads with tangs extending 6-8 inches into handles, compared to 2-inch socket joints in consumer models. This construction transfers force efficiently and resists loosening under torque loads exceeding 150 foot-pounds.
How many tools does a beginner require?
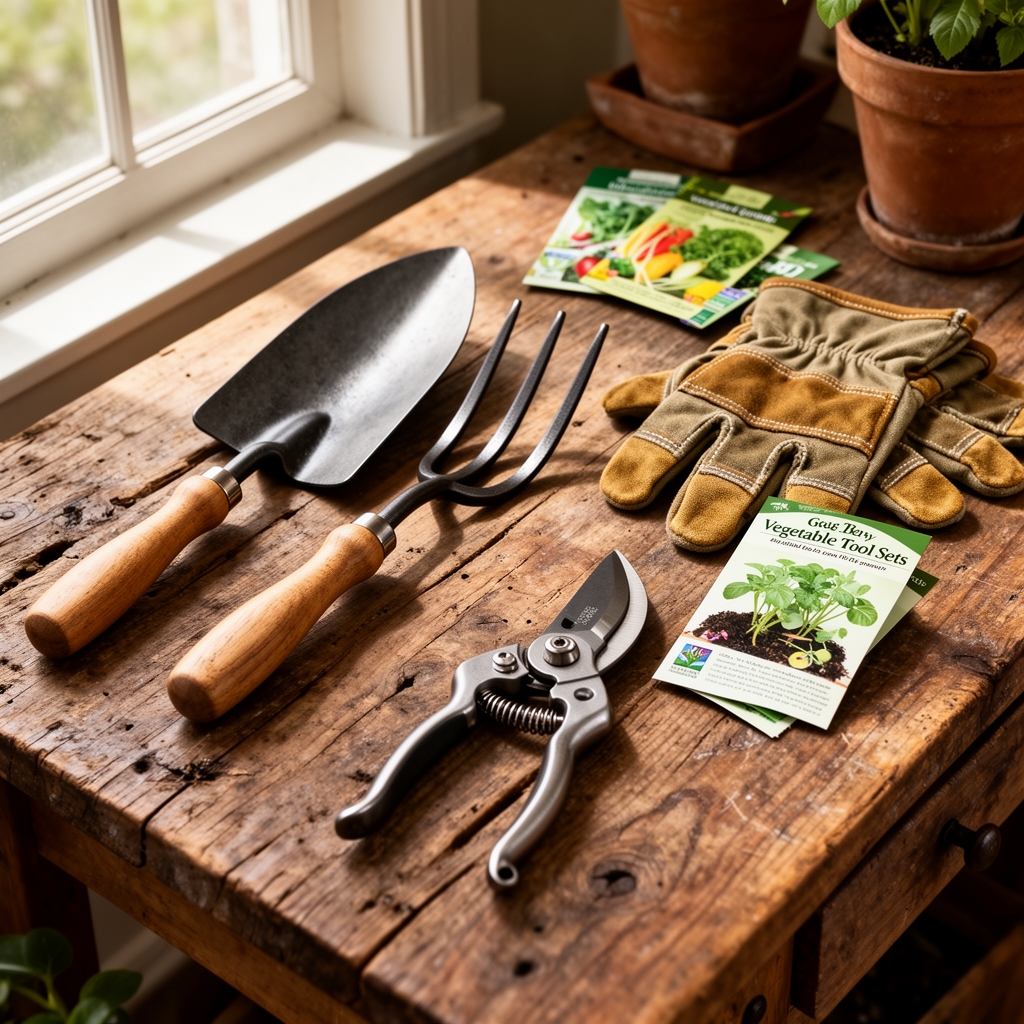
Six implements cover 95% of tasks: spading fork, garden rake, hoe, trowel, hand cultivator, and bypass pruners. Specialized tools like broadforks and stirrup hoes add efficiency but are not essential for initial bed establishment.
Should I choose stainless steel or carbon steel?
Carbon steel holds sharper edges and costs 40% less, but requires rust prevention. Stainless steel suits coastal climates with salt exposure but dulls faster and demands more frequent sharpening.
What handle length optimizes leverage?
Long-handled tools should reach the user's ear when standing upright, typically 54-60 inches for adults 5'6"-6'2" tall. This length maximizes leverage while maintaining spine alignment during lifting motions.
When do tools require replacement versus repair?
Replace heads when metal thickness drops below 2mm at the cutting edge or cracks propagate beyond weld points. Handles are replaceable when ferrules remain intact and thread engagement exceeds 1.5 inches.