6 Shading Steps to Build a Leafy Vegetable Garden Pergola
The first time sun-warmed lettuce leaves brush against your knuckles inside a shaded pergola, you understand why commercial growers invest in controlled-light structures. A well-designed pergola filters harsh afternoon rays while maintaining photosynthetically active radiation between 400 and 700 nanometers, the spectrum leafy greens require. Following precise steps for building a vegetable garden pergola transforms a heat-scorched bed into a production zone where arugula, spinach, and mustard greens thrive through summer. Each structural decision affects soil temperature, evapotranspiration rates, and pest pressure.
Materials
Begin with pressure-treated 4×4 posts rated for ground contact, minimum 8 feet in length. Cedar or black locust heartwood offers natural rot resistance without chemical treatment. For the crossbeam framework, select 2×6 boards kiln-dried to 15% moisture content to prevent warping. Galvanized joist hangers (10-gauge steel) and 3-inch structural screws provide connections capable of withstanding 60-pound-per-square-foot snow loads.
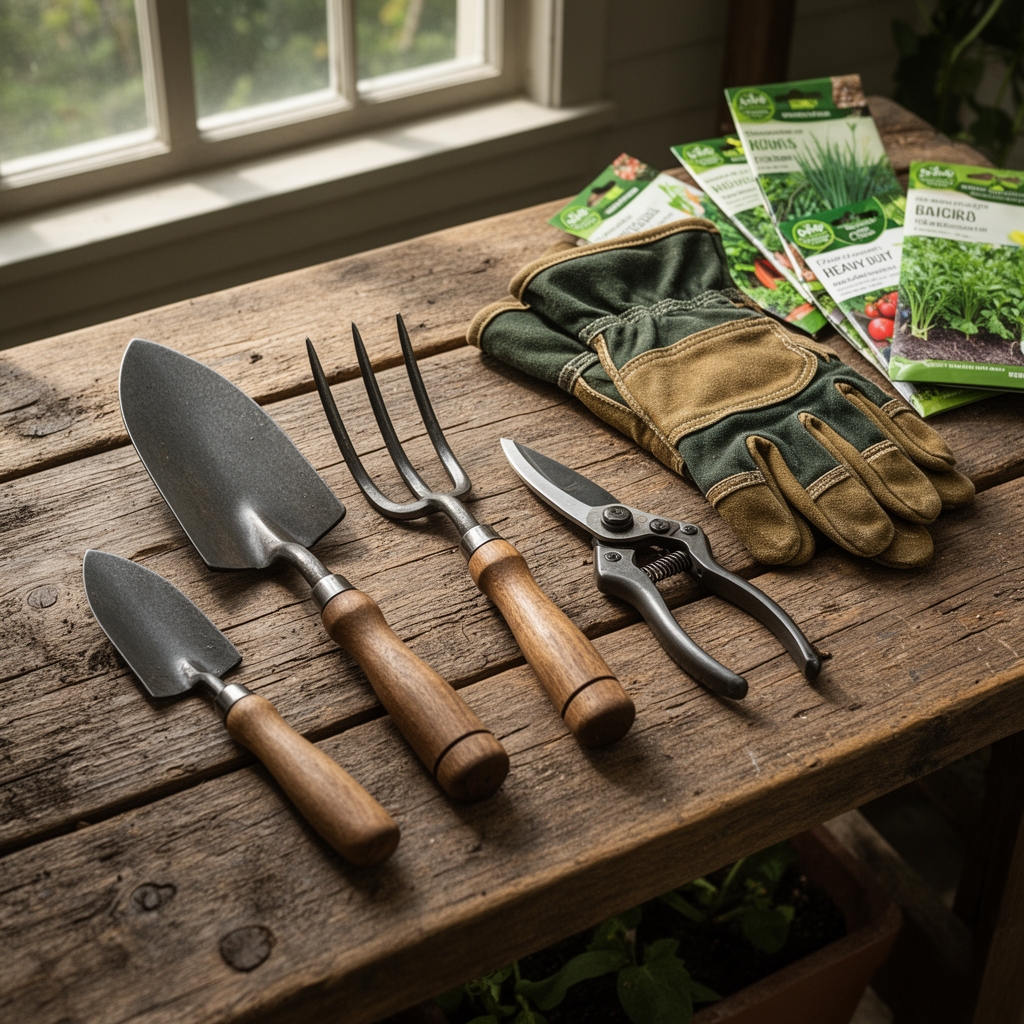
Shade cloth requires careful selection by percentage. Fifty-percent knitted polyethylene fabric reduces light intensity while maintaining air circulation, critical for preventing fungal colonization of leaf surfaces. For soil amendments beneath the structure, prepare a base blend: composted pine bark (pH 5.8–6.2), Canadian sphagnum peat (cation exchange capacity of 110–130 meq/100g), and perlite at a 2:1:1 ratio. Incorporate 4-4-4 organic fertilizer (derived from feather meal, bone meal, and sulfate of potash) at 3 pounds per 100 square feet to establish baseline macronutrients. A mycorrhizal inoculant containing Rhizophagus irregularis at 150 propagules per gram colonizes transplant roots within 14 days, increasing phosphorus uptake by 40%.
Timing
Hardiness zones 6–9 provide optimal construction windows between late March and mid-April, after final frost dates when soil temperature stabilizes above 50°F. This timing allows establishment before transplanting warm-weather lettuce varieties in early May. In zones 3–5, delay construction until mid-April when freeze-thaw cycles cease and post holes remain stable. Southern zones 10–11 can build year-round but should prioritize October through February installation to avoid monsoon season ground saturation.
Coordinate your build schedule with nursery transplant availability. Most suppliers ship vegetable starts when they reach the four-true-leaf stage, approximately 21 days after germination. Your pergola should be complete and shade cloth installed seven days before transplanting to allow structure settlement and soil temperature moderation.
Phases
Foundation and Post Installation
Excavate post holes to 30 inches depth, extending below the frost line for your zone. Pour 4 inches of crushed gravel base for drainage. Set posts plumb using a 48-inch level, checking on perpendicular axes. Backfill with tamped soil in 6-inch lifts, compacting each layer to 90% density. Posts should extend 84 inches above grade for adequate head clearance and vegetable trellis attachment.
Pro-Tip: Apply copper naphthenate wood preservative to the below-grade portion of untreated posts. This fungicide prevents Serpula lacrymans colonization in humid climates where decay fungi remain active year-round.
Beam and Cross-Member Assembly
Attach horizontal beams to post tops using through-bolted connections (½-inch galvanized carriage bolts with washers). Space cross-members at 16-inch intervals running perpendicular to the beam span. This spacing supports shade cloth tension without sagging while allowing snow to slide off at angles exceeding 30 degrees. Miter corners at 45-degree angles for water runoff.
Pro-Tip: Orient the long axis of your pergola north-south. This alignment provides morning sun exposure to activate photosystem II in chloroplasts, then afternoon shading when temperatures exceed the 75°F optimal range for Lactuca sativa.
Shade Cloth Installation and Bed Preparation
Secure shade cloth to the top cross-members using UV-resistant zip ties every 12 inches. Maintain fabric tension to prevent flapping, which abrades leaf margins and creates entry points for bacterial soft rot. Leave 6-inch gaps at the perimeter for air circulation. Below the structure, till soil to 8-inch depth and incorporate amendments. Form raised beds 6 inches high to improve drainage and warm root zones 3°F above ambient soil temperature.
Pro-Tip: Install drip irrigation before mulching. Position emitters 4 inches from transplant stems at 0.6 gallon-per-hour flow rates. This volume delivers 1 inch of water per week to a 3-foot-wide bed without promoting foliar disease.
Troubleshooting
Symptom: Interveinal chlorosis on older leaves, purple pigmentation on stems.
Solution: Phosphorus deficiency common in cold soils (below 55°F). Apply monoammonium phosphate (11-52-0) as side-dress at 1 tablespoon per plant. Mycorrhizal colonization improves phosphorus availability within 10 days.
Symptom: Wilting at midday despite adequate soil moisture, leaf edges browning.
Solution: Increase shade cloth density to 60% or add a second layer during heat waves exceeding 88°F. High vapor pressure deficit causes stomatal closure and halts auxin distribution to growing points.
Symptom: Circular lesions with yellow halos expanding on mature leaves.
Solution: Pseudomonas cichorii bacterial leaf spot. Remove infected foliage, increase air circulation by pruning lower leaves, and avoid overhead watering. Copper hydroxide spray (1.5 pounds per 100 gallons) applied at 7-day intervals provides protectant activity.
Symptom: Seedlings elongating with pale, spindly stems.
Solution: Insufficient photosynthetically active radiation below the canopy. Reduce shade cloth to 40% or remove every other cross-member to increase light penetration by 25%.
Maintenance
Apply 1 inch of water weekly through drip emitters, measuring output with rain gauges placed at bed level. In clay soils with low infiltration rates (0.2 inches per hour), split irrigation into two 30-minute sessions to prevent runoff. Side-dress with calcium nitrate (15.5-0-0) at 2 tablespoons per 10 feet of row when plants reach 6 inches height. This soluble nitrogen source promotes leaf expansion without excess vegetative growth that attracts aphids.
Prune shade cloth attachment points every 30 days, replacing degraded zip ties before failure. Clean fabric annually with diluted hydrogen peroxide solution (3%) to remove algae that reduce light transmission by 15%. Inspect structural bolts each spring, tightening to 25 foot-pounds torque.
FAQ
When should I replace shade cloth?
Replace after three seasons or when light transmission increases by more than 10% due to UV degradation. Test with a quantum sensor measuring micromoles per square meter per second.
Can I grow fruiting vegetables under a pergola?
Tomatoes and peppers require full sun (8+ hours). Limit pergola plantings to leafy greens with lower light compensation points between 200–400 μmol/m²/s.
What spacing prevents overcrowding?
Allow 8 inches between lettuce heads, 6 inches for spinach, and 4 inches for arugula. Adequate spacing maintains air movement and reduces downy mildew incidence.
How deep should the gravel footer extend?
Four inches provides sufficient drainage. Deeper footers create thermal mass that delays spring soil warming by 7–10 days.
Do I need building permits?
Structures under 120 square feet typically exempt in most jurisdictions, but verify local codes before construction begins.