9 Water-Wise Steps to Prepare a Xeriscape Vegetable Garden
Xeriscaping transforms traditional vegetable gardens into drought-resistant systems that conserve water while producing reliable yields. Learning how to prepare a garden for a xeriscape vegetable garden requires understanding soil structure, mulch depth, and plant selection tailored to arid conditions. The process begins months before the first transplant enters the ground, with amendments that improve cation exchange capacity and moisture retention at root depth.
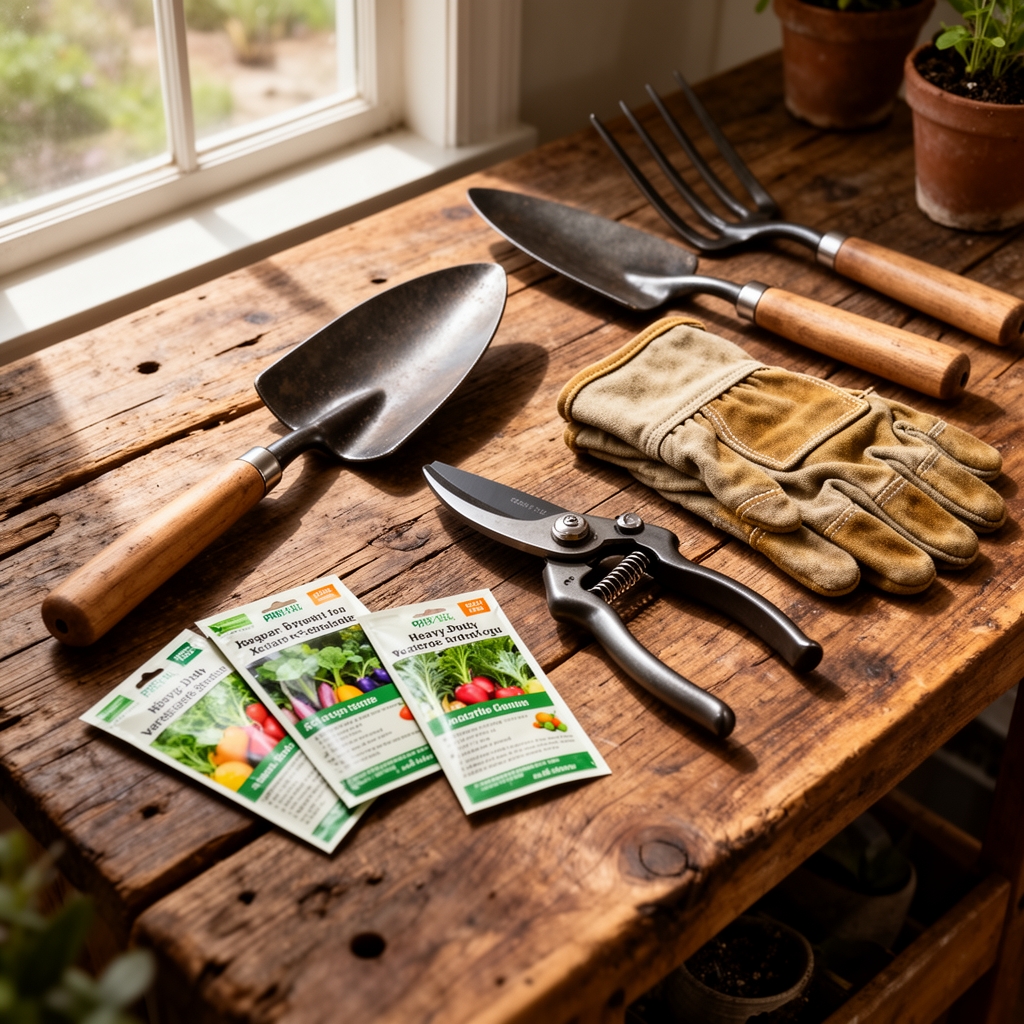
Materials
Soil amendments form the foundation. Begin with 2-4 inches of aged compost (pH 6.2-6.8) tilled to 12 inches deep. Add a balanced organic fertilizer at 4-4-4 NPK ratio, applying 2 pounds per 100 square feet. For clay-dominant soils, incorporate coarse sand and perlite in a 3:1:1 ratio with native soil to prevent waterlogging.
Mycorrhizal inoculant powder contains beneficial fungi that extend root surface area by 100-1,000 times, improving drought tolerance. Purchase formulations with Glomus intraradices and Glomus aggregatum at 10 spores per gram minimum concentration.
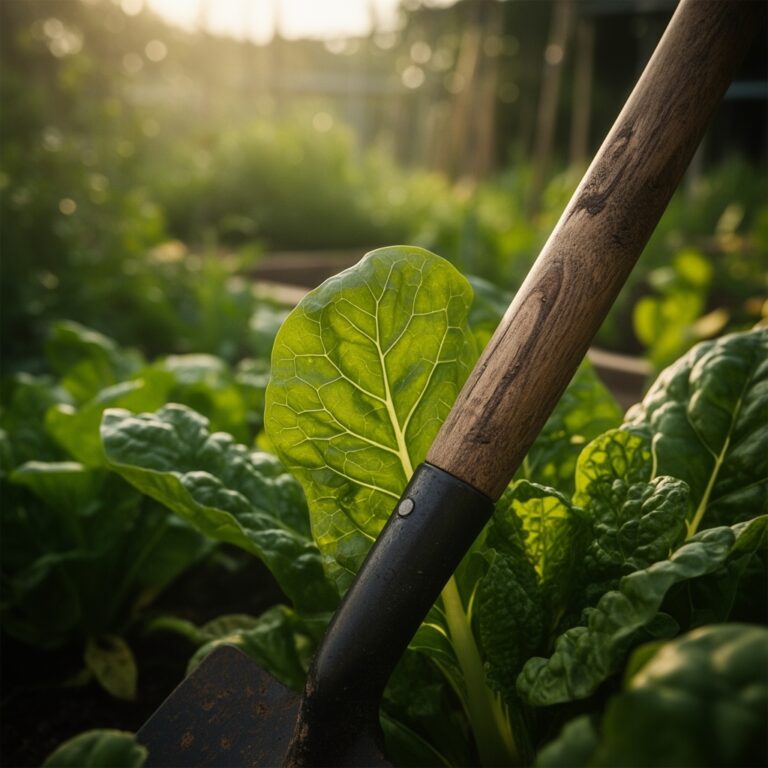
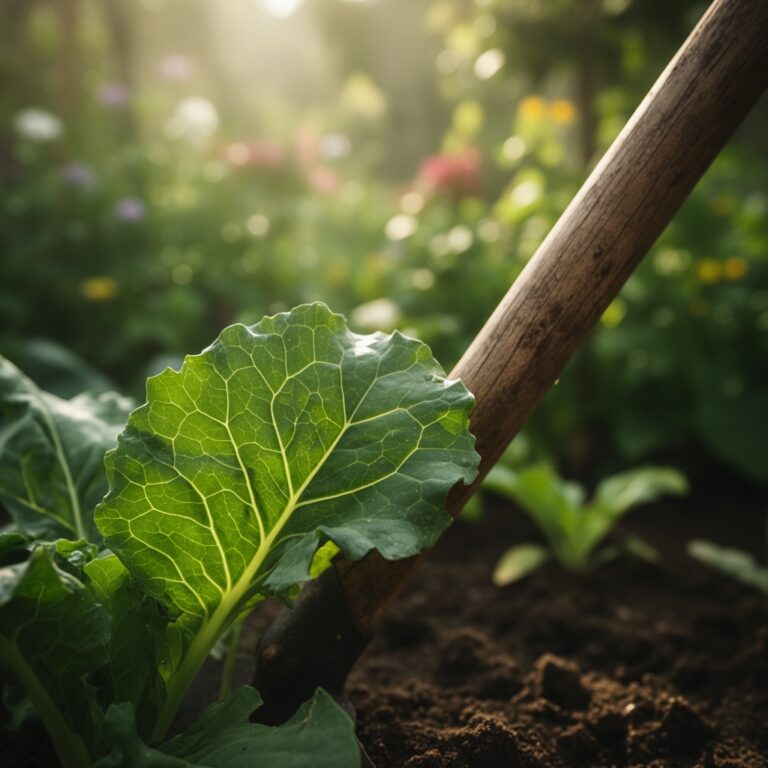
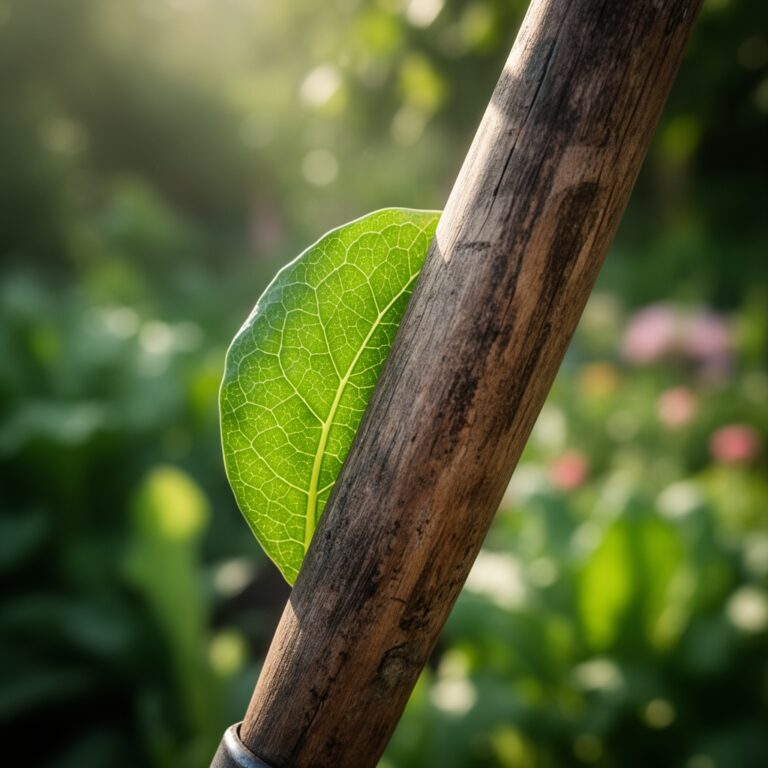
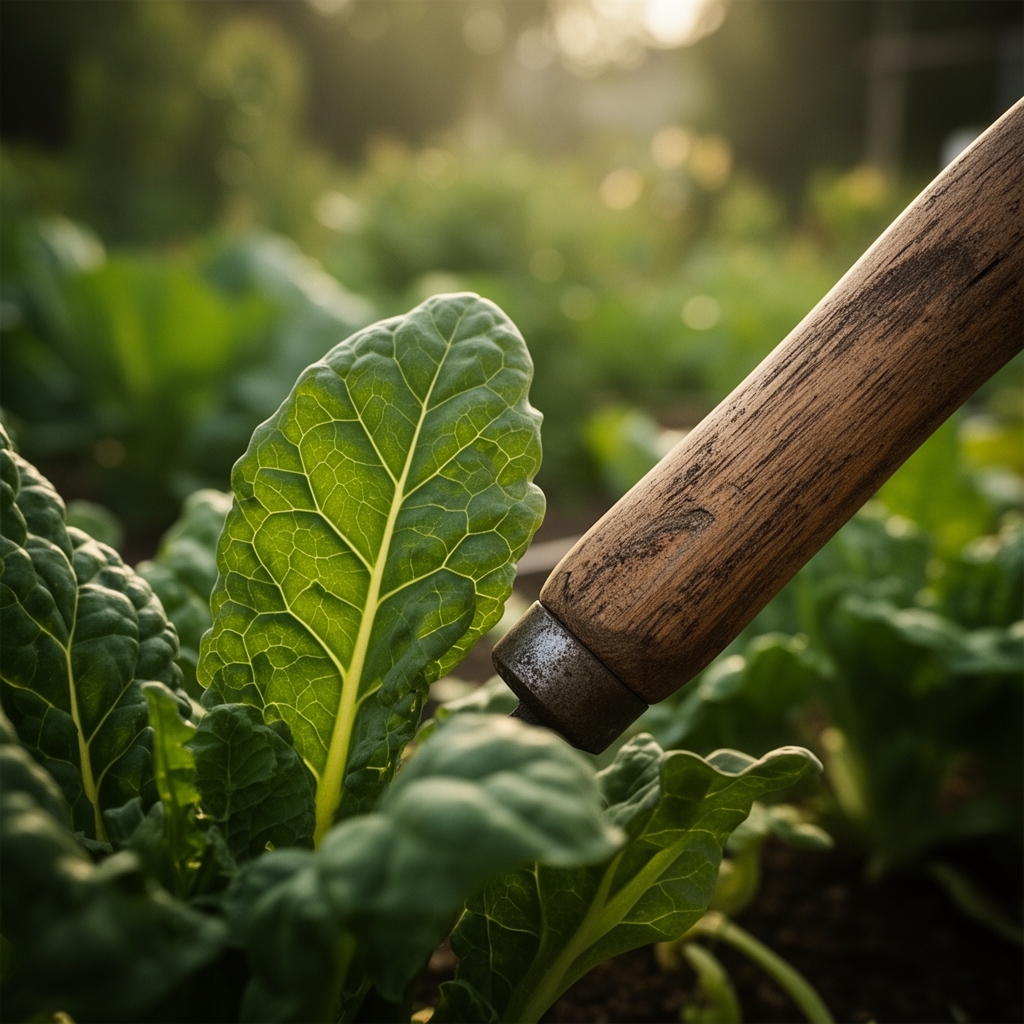
Wood chip mulch should measure 4-6 inches deep once settled. Avoid dyed chips; select aged hardwood pieces 1-3 inches in diameter. For pathways, use decomposed granite at 3-inch depth to suppress weeds while allowing water infiltration.
Irrigation components include 1/2-inch drip tubing, inline emitters rated at 0.5 gallons per hour, and pressure-compensating devices for slopes. Install a backflow preventer and 200-mesh filter at the water source. A programmable timer with rain sensor integration prevents overwatering during monsoon events.
Timing
Hardiness zones 7-10 accommodate year-round xeriscape vegetable production with strategic planting windows. In zones 7-8, prepare beds 6-8 weeks before the last spring frost (typically March 15-April 15). Fall preparation begins in August for cool-season crops that mature before the first frost.
Zones 9-10 require heat-adapted varieties planted after soil temperatures drop below 85°F, usually late September through October. Soil amendment occurs in August when temperatures remain above 75°F, allowing beneficial microorganisms to establish before transplanting.
Test soil pH and nutrient levels in early February or late August. Allow 3-4 weeks for lime or sulfur amendments to adjust pH before adding compost and fertilizer. Mycorrhizal inoculation happens within 24 hours of transplanting for maximum colonization efficiency.
Phases
Sowing Phase
Direct-seed drought-tolerant vegetables 1/4 inch deep in prepared beds. Carrots, beets, and turnips establish taproots that access moisture at 18-24 inch depths. Water daily for 10 minutes until germination, then reduce to every third day.
Space seeds at final spacing to avoid transplant shock. Thin only if germination exceeds 80%. Thinned seedlings disrupt adjacent root systems and waste water resources.
Pro-Tip: Dust seeds with mycorrhizal powder before sowing. The coating bonds to the seed coat and colonizes the radicle within 72 hours of germination.
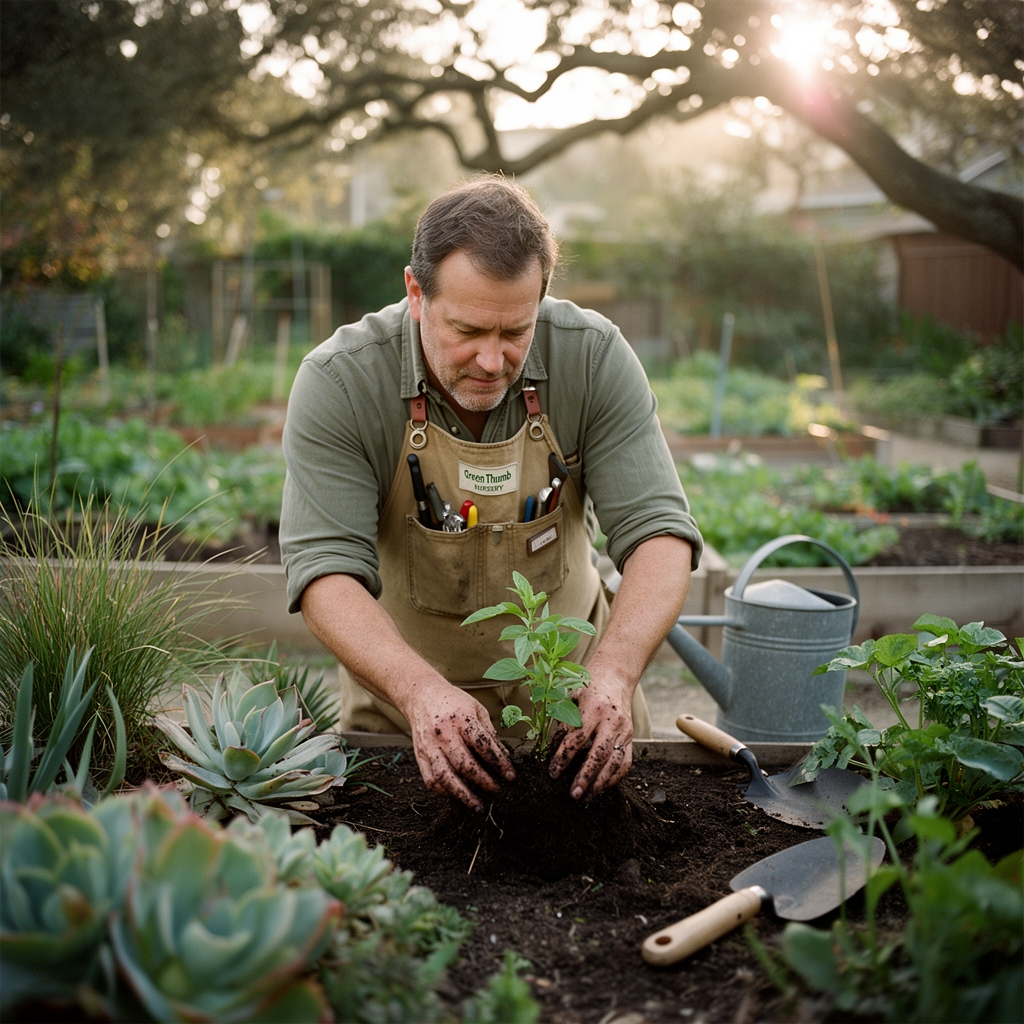
Transplanting Phase
Harden off seedlings for 7-10 days before transplanting. Move containers outdoors for increasing intervals: 2 hours on day one, 4 hours on day two, building to full sun exposure by day seven. This process thickens cuticle layers and reduces transpiration rates.
Dig planting holes 1.5 times the root ball diameter. Add 1 teaspoon mycorrhizal inoculant directly to the hole bottom. Set transplants at the same depth as container soil line. Deeper planting suffocates feeder roots and delays auxin distribution to shoot tips.
Water transplants with 1 gallon per plant immediately after backfilling. Apply liquid kelp solution at 1 tablespoon per gallon to stimulate root development.
Pro-Tip: Transplant during evening hours or on overcast days. Leaf stomata close partially in low light, reducing water loss during the critical 48-hour establishment window.
Establishing Phase
Monitor soil moisture at 6-inch depth using a probe or finger test. Water when soil feels barely damp, not bone-dry. This trains roots to grow deeper rather than forming shallow mats beneath the mulch layer.
Apply supplemental calcium as gypsum at 1 pound per 100 square feet four weeks after transplanting. Calcium strengthens cell walls and improves drought resistance in tomatoes, peppers, and squash.
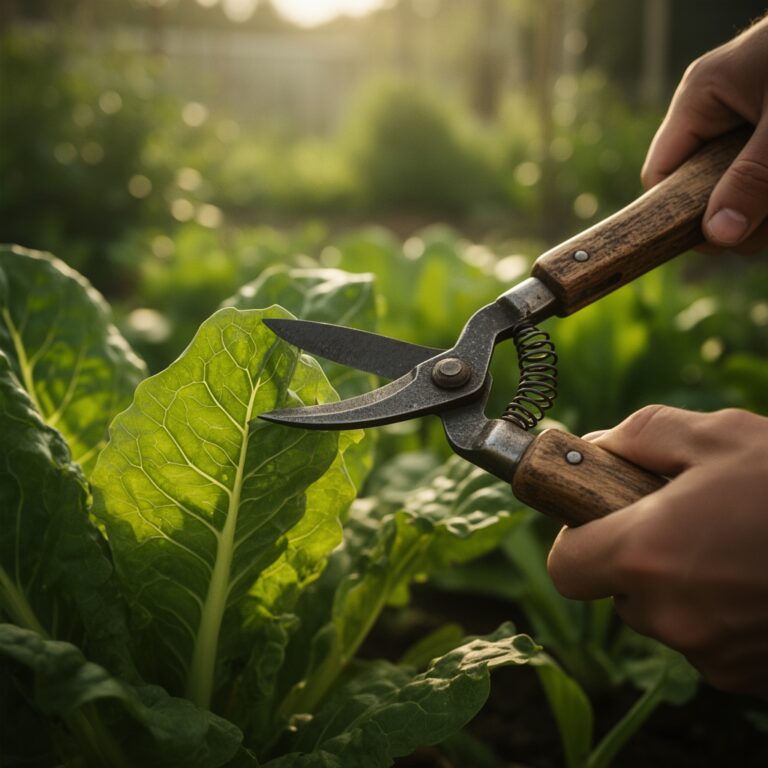
Remove lower leaves that touch mulch surfaces to prevent fungal spores from splashing onto foliage during irrigation. Strip foliage up to the first fruiting branch on determinate tomatoes.
Pro-Tip: Install shade cloth rated at 30% density over newly transplanted crops during heat waves exceeding 95°F. Remove once plants reach 12 inches tall and develop secondary root systems.
Troubleshooting
Symptom: Wilting during morning hours despite adequate soil moisture
Solution: Examine roots for rootknot nematodes. These microscopic roundworms create galls that block xylem transport. Solarize soil for 6-8 weeks using clear plastic sheeting during peak summer. Rotate to resistant varieties like 'Nematex' tomatoes.
Symptom: Leaf margins turning brown and crispy
Solution: Salt accumulation from excessive fertilization or poor-quality irrigation water. Leach soil with 2 inches of water weekly for three weeks. Test water for total dissolved solids; levels above 500 ppm require reverse osmosis filtration.
Symptom: Blossom end rot on tomatoes and peppers
Solution: Calcium deficiency caused by irregular watering. Maintain consistent soil moisture at 60-70% field capacity. Foliar spray with calcium chloride at 1 tablespoon per gallon every 10 days during fruit set.
Symptom: Stunted growth with purple-tinged leaves
Solution: Phosphorus lockout in alkaline soils above pH 7.5. Apply sulfur at 1 pound per 100 square feet. Retest pH after 4 weeks. Add rock phosphate at 5 pounds per 100 square feet once pH drops to 6.5-7.0.
Symptom: White powdery coating on leaf surfaces
Solution: Powdery mildew thrives in low humidity with poor air circulation. Space plants 18-24 inches apart. Spray with potassium bicarbonate at 1 tablespoon per gallon weekly. Remove infected leaves immediately.
Maintenance
Apply 0.5 inches of water twice weekly during establishment (weeks 1-8). Transition to 1 inch weekly once plants reach mature size. Use a rain gauge to measure application rates. Adjust for rainfall; skip irrigation if natural precipitation provides 0.5 inches or more.
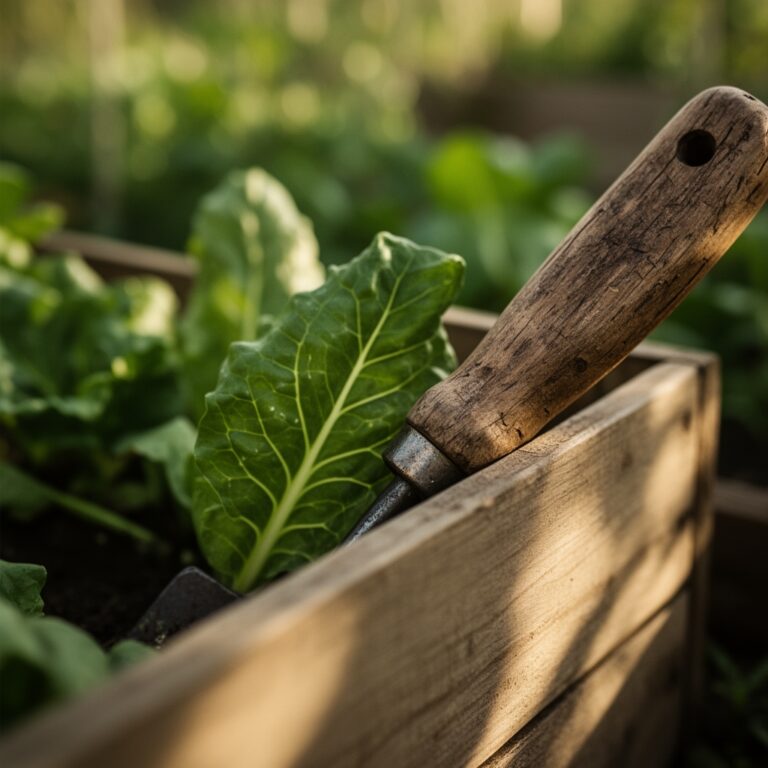
Replenish mulch layers every 8-10 weeks as wood chips decompose. Maintain 4-inch minimum depth to suppress weeds and moderate soil temperature. Pull mulch 3 inches away from plant stems to prevent crown rot.
Side-dress with compost at 1 inch depth around plant drip lines every 6 weeks. Avoid high-nitrogen fertilizers after fruit set; excess nitrogen diverts energy to foliage production rather than fruit development.
Prune indeterminate tomatoes to single leaders by removing all suckers below the fourth flower cluster. This concentrates auxin distribution and reduces water demand by 30%.
Harvest vegetables at peak ripeness to signal continued production. Overripe fruits left on plants trigger ethylene production that stops new flowering.
FAQ
What vegetables work best in xeriscape gardens?
Tepary beans, Armenian cucumber, cherry tomatoes, and New Mexico peppers show exceptional drought tolerance. These species evolved in arid climates and maintain productivity with 40-50% less water than conventional varieties.
How deep should xeriscape vegetable beds be?
Prepare beds to 18-inch depth minimum. Deep tillage breaks hardpan layers and encourages taproot development. Shallow beds restrict roots to the top 6 inches where moisture fluctuates rapidly.
Can I use greywater for xeriscape vegetables?
Yes, if sodium levels remain below 50 ppm. Filter greywater through mulch basins rather than applying directly to foliage. Avoid water containing bleach, borax, or antibacterial soaps that harm soil microorganisms.
When should I stop watering before harvest?
Reduce irrigation by 50% when fruits reach full size but remain green. This concentrates sugars and improves flavor. Resume normal watering if leaf wilting persists past 9 AM.
Do xeriscape gardens need fertilizer?
Apply half the nitrogen recommended for conventional gardens. Excess fertility stimulates rapid growth with weak cell walls that increase water demand. Slow growth produces more drought-resistant tissues.