9 Steps to Install a Decorative Edible Focal Point Statue
The first frost has melted from the raised beds. Cold-tolerant kale and chard leaves glisten in early light, their ribs tracing veins around a focal point that doubles as art and harvest. Steps for installing a vegetable garden statue require matching structural permanence with edible purpose, a design philosophy where sculpture meets soil biology. The result transforms production space into layered composition, guiding the eye while feeding mycorrhizal networks that support adjacent crops.
Materials
Foundation components demand attention to cation exchange capacity and drainage. Procure 2 cubic feet of coarse sand (pH 6.5–7.0) for base stabilization. Add 1 cubic foot of aged compost with a tested NPK ratio near 1-1-1 to buffer pH swings. Select a statue crafted from food-safe resin, glazed ceramic, or sealed terracotta; avoid lead-based paints or galvanized metals that leach zinc into root zones.
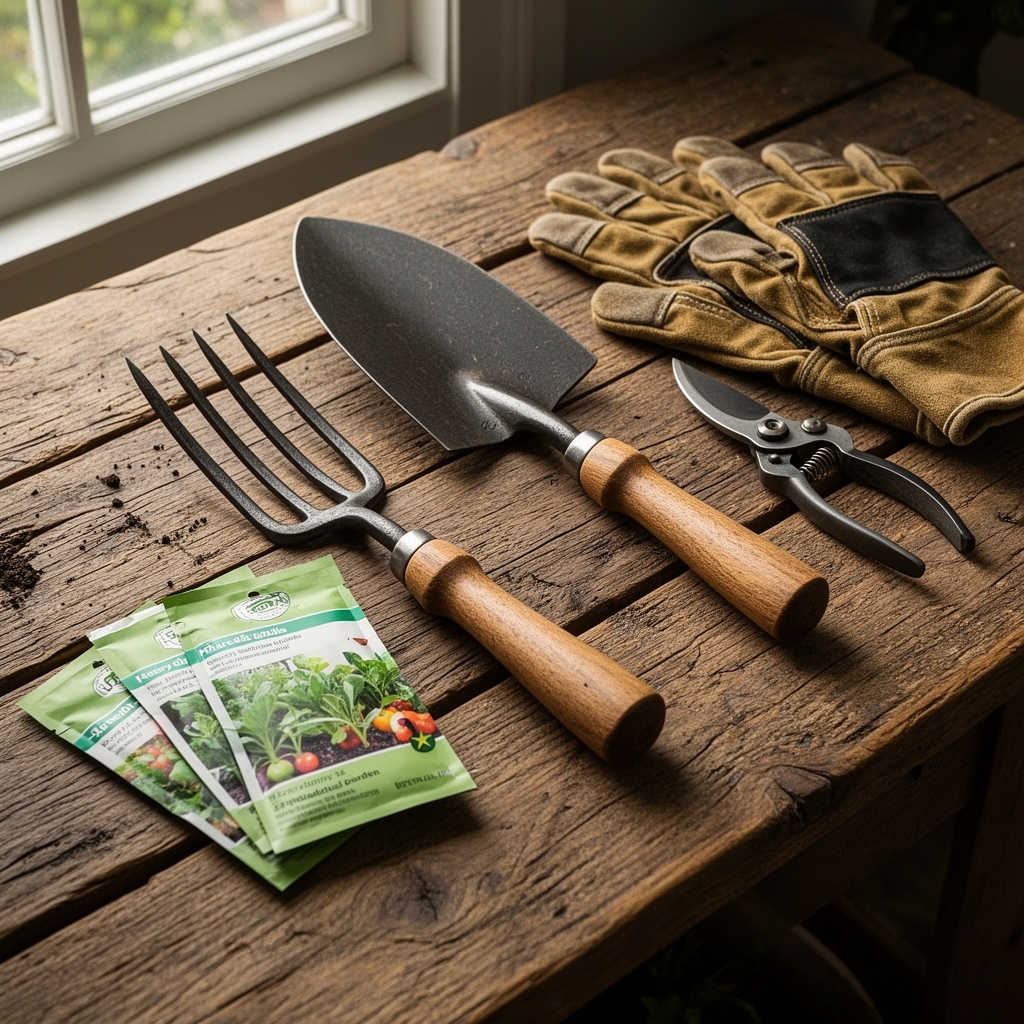
For edible integration, source transplants or seeds of compact cultivars: 'Tom Thumb' lettuce, 'Spicy Globe' basil, or 'Jewel Mix' nasturtiums. Acquire a 4-4-4 organic fertilizer blend containing feather meal and bone meal to sustain steady auxin distribution during establishment. Include a roll of landscape fabric rated for 3-year longevity, 8-inch galvanized landscape staples, and a 5-gallon bucket for soil mixing. A digital soil thermometer and pH test strips (0.2 precision) complete the toolkit.
Timing
Install the statue during the shoulder season appropriate to your USDA Hardiness Zone. Zones 3–5 benefit from late April through mid-May placement, two weeks after the last frost date when soil temperatures stabilize above 50°F at 4-inch depth. Zones 6–8 permit installation from mid-March through early April or again in September for fall edibles. Zones 9–11 enjoy flexibility from October through February, avoiding summer heat stress that disrupts root colonization by beneficial fungi.
Coordinate installation with moon phase for traditional growers: waxing moon periods correlate with increased sap flow and faster transplant recovery. Modern soil science attributes this effect to gravitational influence on soil moisture distribution rather than mysticism.
Phases
Sowing the Foundation
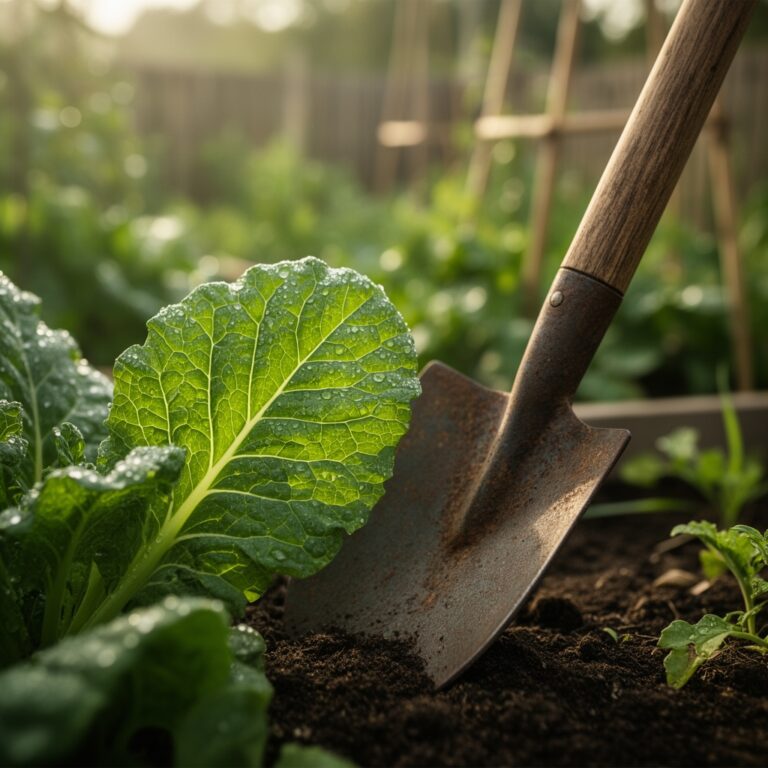
Clear a 36-inch diameter circle to 6-inch depth. Test native soil pH; amend acidic soils (below 6.0) with dolomitic lime at 5 pounds per 100 square feet, or alkaline soils (above 7.5) with elemental sulfur at 1 pound per 100 square feet. Spread landscape fabric across the cleared zone, securing edges with staples at 12-inch intervals. Cut a central X-pattern opening sized to the statue base perimeter.
Mix sand and compost in the 5-gallon bucket at 2:1 ratio. Pour this blend into the fabric opening, tamping every 2 inches to eliminate air pockets that disrupt capillary action. Set the statue atop the compacted mix, checking level with a 24-inch spirit level. Backfill gaps with remaining sand-compost blend.
Pro-Tip: Introduce 2 tablespoons of mycorrhizal inoculant (Glomus intraradices species) into the planting pockets. Direct hyphal contact with transplant roots increases phosphorus uptake by 40 percent.
Transplanting Edibles
Create four planting pockets around the statue perimeter at 90-degree intervals, each 8 inches from the base. Dig pockets to 6-inch depth and 4-inch diameter. Fill each with pure compost enriched with 1 teaspoon of 4-4-4 fertilizer.
Transplant seedlings at the same depth they occupied in nursery pots; deeper placement invites crown rot in humid climates. Firm soil around root balls to eliminate gaps. Water each pocket with 16 ounces of room-temperature water to activate microbial populations.
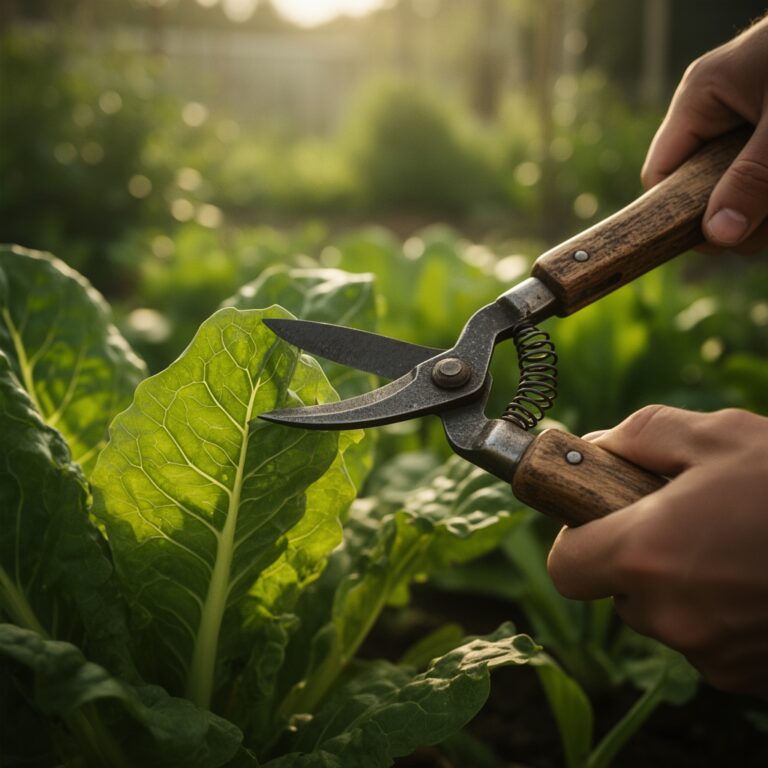
Pro-Tip: Prune transplant foliage by 20 percent at a 45-degree angle above outward-facing nodes. This redirects auxin to root development rather than leaf expansion during the critical first week.
Establishing the System
Apply a 2-inch mulch layer of shredded straw or aged wood chips in a donut pattern, keeping mulch 3 inches away from plant stems and statue base. Mulch moderates soil temperature fluctuations of up to 15°F and suppresses annual weed germination by blocking photosynthetically active radiation.
Water every 48 hours for the first two weeks, delivering 1 inch total per week measured with a rain gauge. Reduce frequency to every 72 hours once new leaf growth appears, signaling active root exploration.
Pro-Tip: Install a 12-inch diameter saucer beneath the statue if it features drainage holes. This creates a micro-reservoir that sustains adjacent edibles during brief drought periods.
Troubleshooting
Symptom: Chlorotic leaf margins with interveinal yellowing on transplants within five days.
Solution: Indicates nitrogen immobilization by high-carbon mulch. Side-dress with blood meal (12-0-0) at 1 tablespoon per plant, scratched into the top inch of soil.
Symptom: Statue tilting more than 5 degrees within three weeks.
Solution: Subsurface settling from inadequate tamping. Excavate one side to 8-inch depth, add crushed gravel in 1-inch lifts while tamping, then reset level.
Symptom: Slug trails and irregular holes on lettuce leaves near the statue base.
Solution: Stone and ceramic surfaces retain moisture, attracting mollusks. Apply diatomaceous earth in a 4-inch band around the perimeter. Reapply after rain events exceeding 0.5 inches.
Symptom: Stunted growth with bronze leaf tinting despite adequate water.
Solution: Phosphorus lockout in alkaline soils above pH 7.8. Drench root zones with a solution of 1 tablespoon aluminum sulfate per gallon of water to temporarily acidify the rhizosphere.
Maintenance
Deliver 1 inch of water weekly during active growth, measured at soil level rather than canopy. Split this into two 0.5-inch applications spaced 72 hours apart to optimize oxygen diffusion between irrigation events. Side-dress with 1 tablespoon of 4-4-4 fertilizer per plant every four weeks, distributed in a 6-inch radius circle.
Inspect the statue monthly for drainage blockages or algae accumulation. Scrub surfaces with a solution of 1 part white vinegar to 10 parts water to remove biofilm without harming edibles. Harvest outer leaves of cut-and-come-again crops at 45-degree angles, leaving three innermost leaves to sustain photosynthetic capacity.
FAQ
How deep should the statue base sit?
Set the base 4 to 6 inches below finished soil grade to prevent frost heave in Zones 3–6. Shallower placement suffices in frost-free regions.
Can I plant root vegetables around the statue?
Avoid taprooted crops like carrots within 18 inches of the base. Compacted fill layers and landscape fabric inhibit downward root penetration beyond 8 inches.
What is the ideal statue height for a 4×8 raised bed?
Select sculptures 18 to 24 inches tall. This scale prevents shading of adjacent plants while remaining visible from typical viewing angles 10 feet away.
How often should I replace mycorrhizal inoculant?
Single application suffices. Hyphal networks persist for multiple growing seasons if soil disturbance remains minimal and fungicide use is avoided.
Does statue material affect soil temperature?
Dark-colored ceramic absorbs solar radiation, raising adjacent soil temperature by 3 to 5°F. Light-colored resin reflects heat, maintaining cooler root zones preferred by lettuce and spinach.