9 Seasonal Tips to Use Garden Shears for Trimming
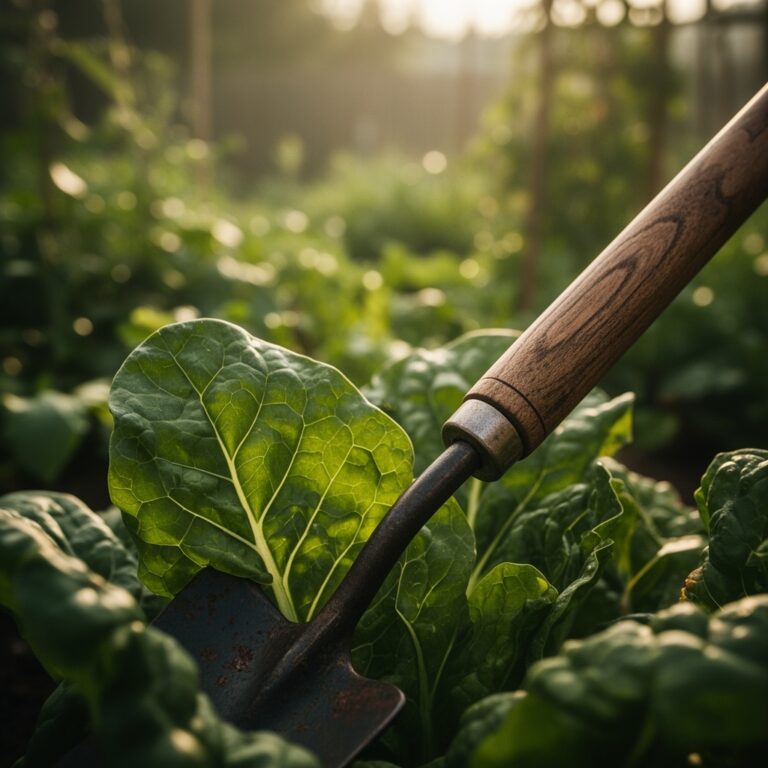
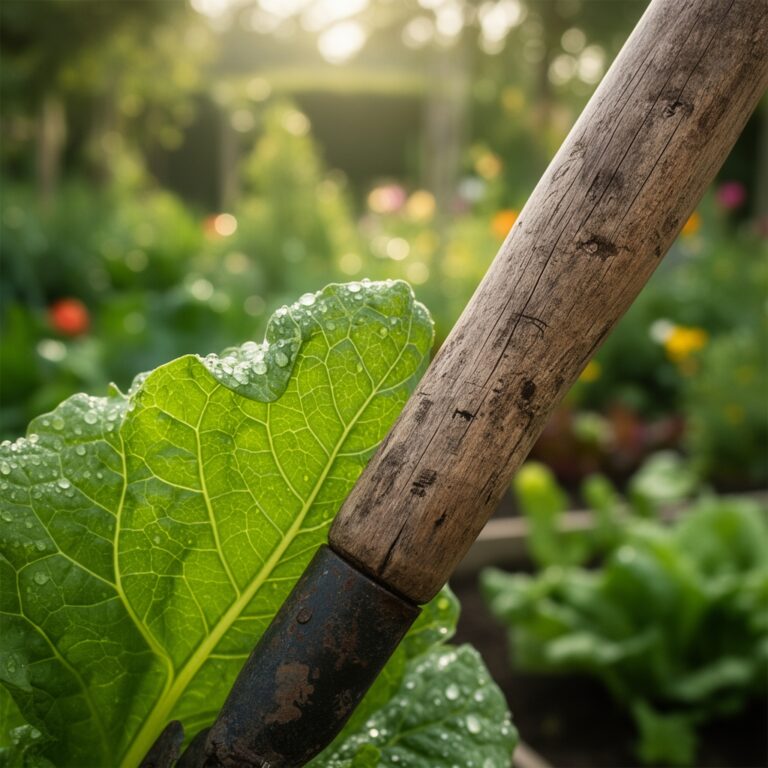
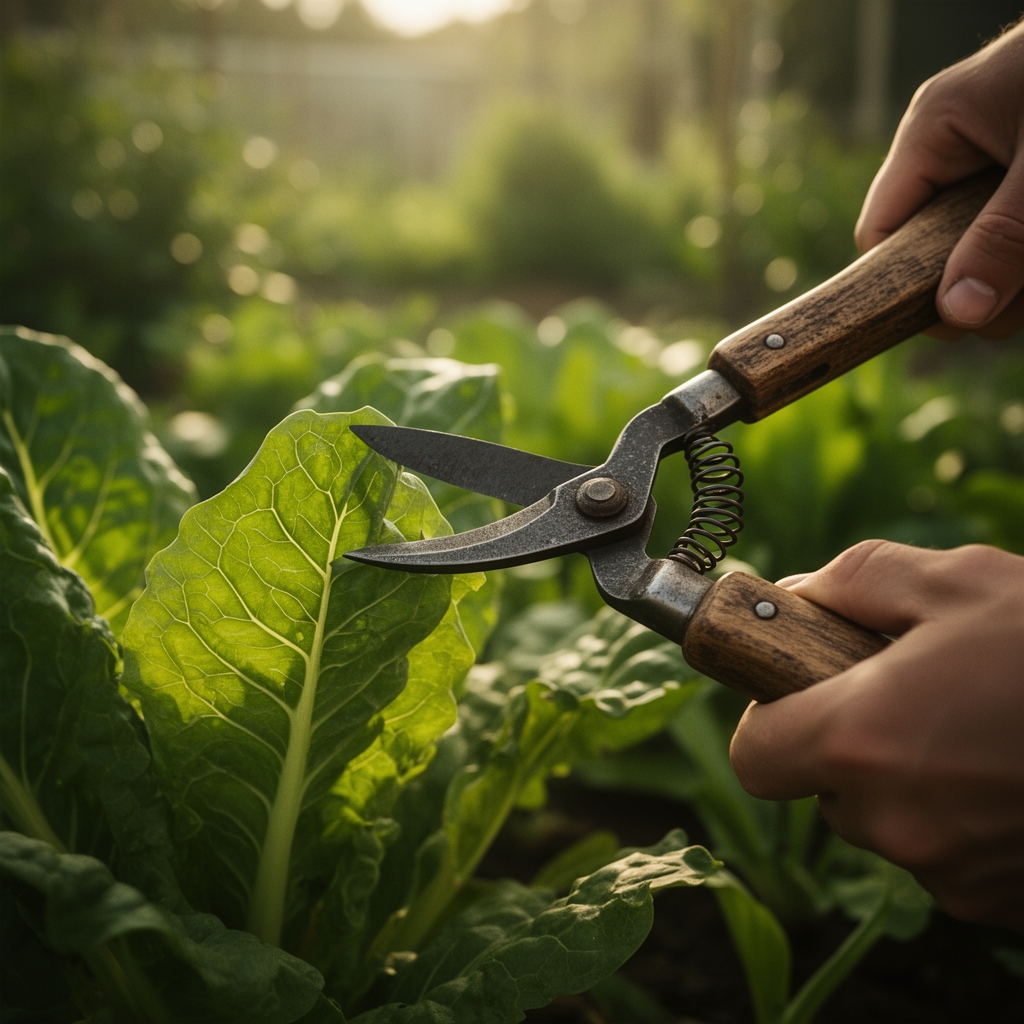
The scent of crushed tomato foliage clings to your fingers as you push through late-summer rows, vines tangled with spent blossoms and swollen fruit. Using a garden shears for vegetable trimming transforms chaos into productivity, removing diseased leaves before fungal spores colonize, opening canopies to light, and redirecting auxin distribution toward ripening rather than excessive vegetative sprawl. Sharp, angled cuts heal faster than ragged tears from hand-pulling, reducing pathogen entry points and preserving vascular integrity in the remaining tissue.
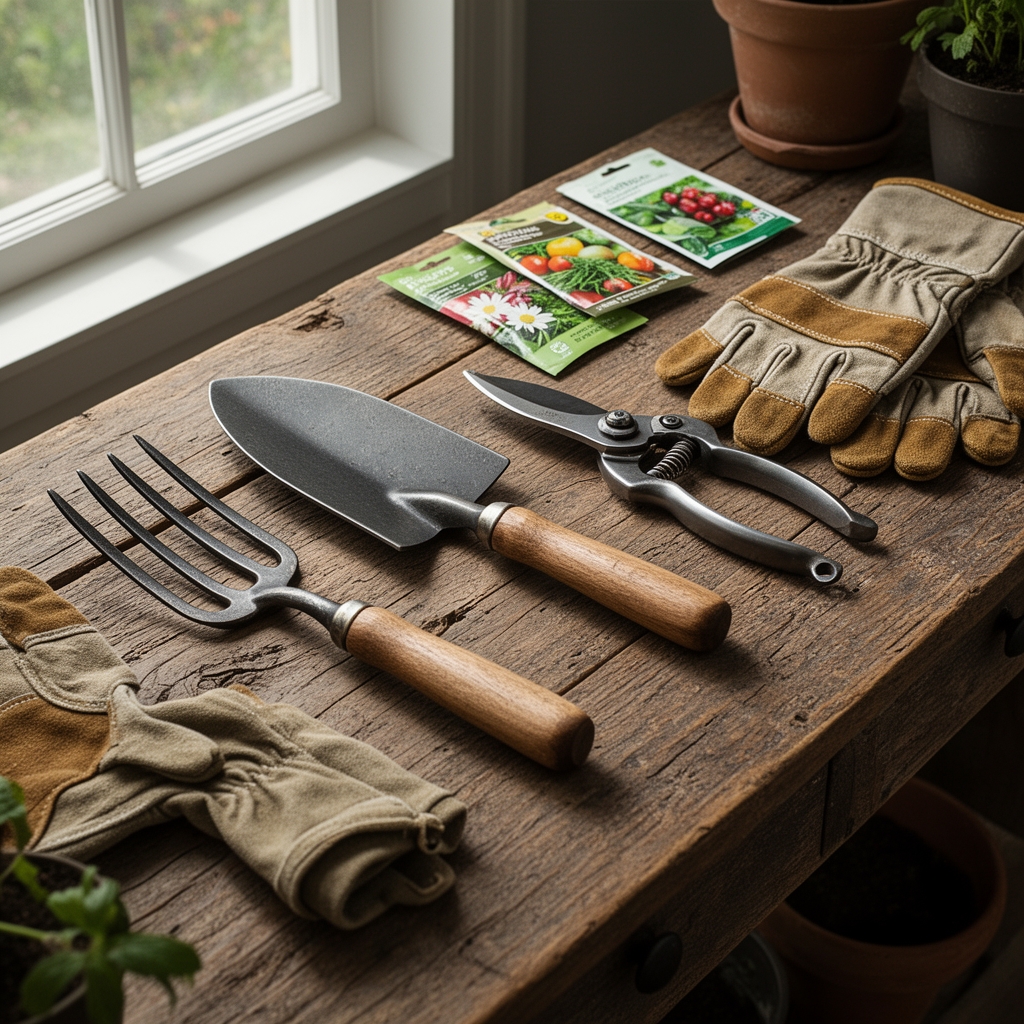
Materials
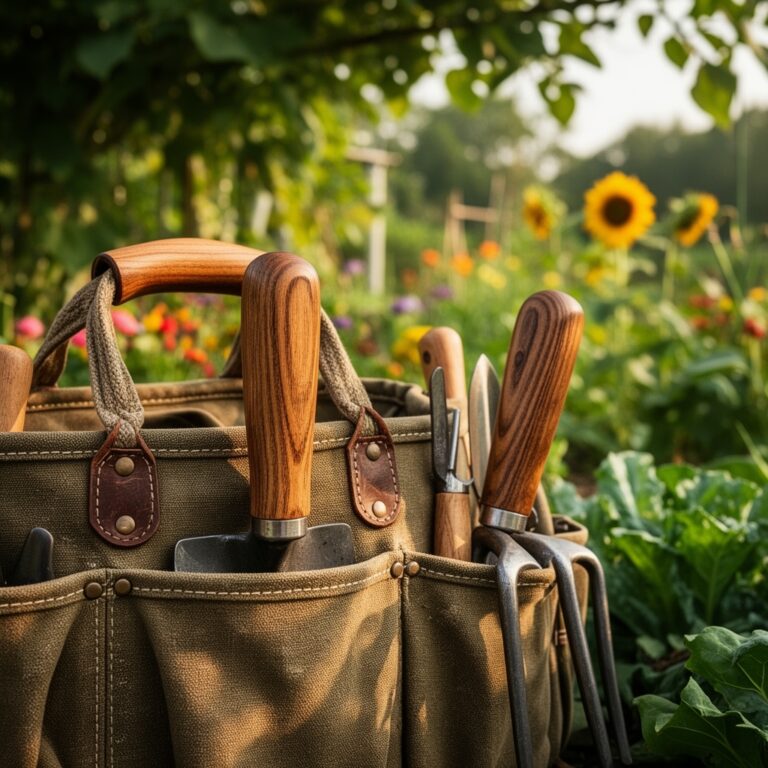
Professional trimming requires tools matched to tissue density and disease pressure. Select bypass shears with hardened steel blades (55+ Rockwell hardness) for clean cuts on stems up to 3/4 inch diameter. Keep a 10% bleach solution or 70% isopropyl alcohol in a wide-mouth jar for blade sterilization between plants, essential when bacterial spot or mosaic virus threatens the row. For heavy brassica stalks at season's end, upgrade to ratcheting loppers that multiply cutting force without straining wrist tendons.
Soil pH dictates nutrient availability to plants recovering from trimming stress. Maintain vegetable beds between 6.2 and 6.8 for optimal cation exchange capacity. Apply balanced organic amendments (4-4-4 feather meal blends or composted manure at 5-5-5 analysis) six weeks before heavy trimming periods to ensure nitrogen reserves support regrowth. Avoid high-nitrogen synthetic formulas (20-10-10 or greater) immediately after pruning; excess vegetative push during recovery invites aphid colonization and delays fruit set.
Timing
Frost-date windows determine trimming intensity across hardiness zones. In Zones 7-9, begin light sucker removal on indeterminate tomatoes in late May, escalating to aggressive lower-canopy defoliation by mid-July when fungal pressure peaks. Zones 4-6 gardeners must compress the same cycle into a narrower window, starting June 10 and completing final thinning by August 15 to allow fruit maturation before first frost (typically September 20-October 10).
Morning sessions minimize disease transmission. Stomates close slightly after dawn, reducing moisture on leaf surfaces that facilitates bacterial transfer between cuts. Avoid trimming within 48 hours of rain or overhead irrigation; wet tissue tears rather than shears cleanly, and film moisture carries pathogens from blade to wound. Schedule heavy defoliation during waxing moon phases if following biodynamic protocols, though peer-reviewed evidence remains limited.
Phases
Spring establishment trimming differs fundamentally from mid-season maintenance and autumn cleanup. Each phase addresses distinct physiological needs and pest pressures.

Sowing Phase (Weeks 1-4): Trim cotyledons only if fungal damping-off appears as water-soaked lesions at soil line. Remove affected seedlings entirely, cutting 1 inch below soil surface to extract infected crown tissue. Sterilize blades after each cut. Thin direct-seeded crops (carrots, beets, lettuce) to final spacing using shears rather than pulling; this preserves root systems of neighboring plants and prevents soil compaction.
Pro-Tip: Inoculate root zones with Trichoderma harzianum at transplanting. This beneficial fungus colonizes cut stem tissue within 72 hours, outcompeting Pythium and Rhizoctonia pathogens.
Transplanting Phase (Weeks 5-8): Pinch terminal buds on basil and other herbs at 6 inches tall to force lateral branching. Use shears to make 45-degree cuts 1/4 inch above a node pair. Remove lower leaves from tomato and pepper transplants up to the first flower cluster; this improves air circulation and eliminates splash-zone contact with soil-borne pathogens. Strip squash and cucumber plants of damaged leaves from transplant shock, focusing on yellowed or spotted foliage that drains carbohydrate reserves.
Pro-Tip: Angle cuts away from remaining buds. Water runoff then drains off the wound rather than pooling near emerging growth points.
Establishing Phase (Weeks 9-16): Execute aggressive sucker removal on indeterminate tomatoes every 5-7 days. Prune when suckers reach 2-4 inches; larger removal shocks the plant and creates wound gates exceeding 1 inch diameter. Thin fruit clusters to 4-6 tomatoes per truss for uniform sizing and earlier ripening. Remove all foliage below the lowest ripening fruit cluster by week 12 to eliminate early blight reservoirs.
Pro-Tip: Leave 1/2 inch of sucker stem rather than cutting flush. The stub seals faster and protects the main stem cambium from accidental blade damage.
Troubleshooting
Symptom: White, cottony fungal growth appearing within 48 hours of trimming cuts.
Solution: Sclerotinia (white mold) infection indicates excessive humidity and insufficient air movement. Increase plant spacing, prune more aggressively to open canopy, and avoid trimming when relative humidity exceeds 80%. Apply Bacillus subtilis biological fungicide to cut surfaces in high-risk periods.
Symptom: Brown, sunken cankers developing around pruning wounds on tomato stems.
Solution: Bacterial canker (Clavibacter michiganensis) enters through fresh cuts. Sterilize blades between every plant, not just diseased specimens. Remove infected plants entirely, roots included. Rotate tomato family crops to different beds for 3 years minimum.
Symptom: Yellowing leaves with green veins appearing above trimming sites within one week.
Solution: Iron chlorosis from transplant shock or compacted soil restricts micronutrient uptake. Apply chelated iron foliar spray (1 tablespoon per gallon) and incorporate sulfur to lower pH if above 7.2. Avoid heavy pruning until new growth returns to normal color.
Symptom: Fruit set failure following aggressive pruning of flowering plants.
Solution: Excessive vegetative removal redirects auxin away from reproductive structures. Limit trimming to 25% of total canopy during bloom. Hand-pollinate if bee activity remains low post-pruning.
Maintenance
Apply 1 inch of water per week during active growth, delivered through drip irrigation to keep foliage dry. Increase to 1.5 inches weekly for plants recovering from heavy trimming. Mulch with 3 inches of aged wood chips around bases after final spring pruning to suppress soilborne pathogen splash and moderate root-zone temperature swings.
Sharpen bypass shears every 4 hours of cutting time using a 300-grit diamond file, maintaining the factory bevel angle (typically 20-25 degrees). Disassemble and oil pivot points monthly. Replace blades when edge chips exceed 1 mm or cutting requires more than one squeeze.
FAQ
When should I stop trimming tomatoes before frost?
Cease all pruning 4 weeks before average first frost date. Trimming stimulates new growth that will not mature, wasting plant energy needed to ripen existing fruit.
Can I compost diseased trimmings?
No. Home compost piles rarely exceed 131°F, the threshold for pathogen destruction. Bag and dispose of diseased material in municipal waste to prevent reintroduction.
How much foliage can I safely remove at once?
Limit each session to 25% of total leaf area. Excessive removal crashes photosynthetic capacity and stresses plants, inviting opportunistic pest and disease attacks.
Do determinate tomatoes need trimming?
Minimal. Remove only diseased leaves and foliage touching soil. Determinates set all fruit simultaneously and require maximum leaf area for production.
Should I trim vegetables during flowering?
Light maintenance only. Removing suckers and diseased leaves continues, but avoid heavy defoliation near flowers, which can disrupt pollinator navigation and hormone signaling.