8 Custom Steps to Build a Wooden Vegetable Planter Box
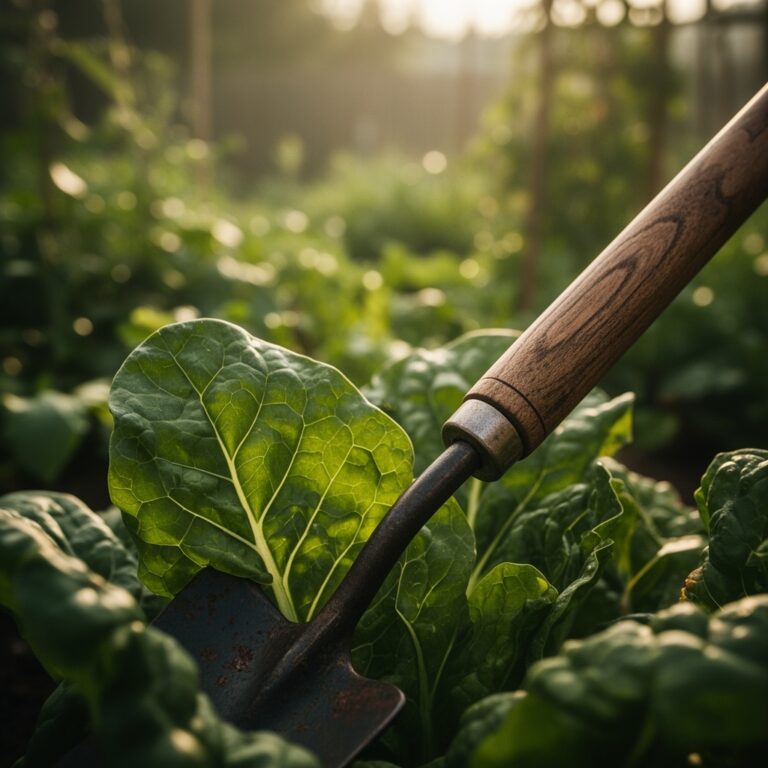
Growing vegetables in a raised wooden planter transforms limited space into a productive microclimate where soil temperature, drainage, and root depth are fully under your control. The steps for building a vegetable garden planter begin with selecting rot-resistant lumber and end with a self-contained ecosystem that extends your growing season by two to three weeks in most hardiness zones. Cedar and redwood contain natural phenolic compounds that resist decay for eight to twelve years without chemical treatment. Properly constructed planters elevate the root zone above compacted clay or contaminated urban soil while allowing precise amendments tailored to crop-specific nutritional demands.
Materials
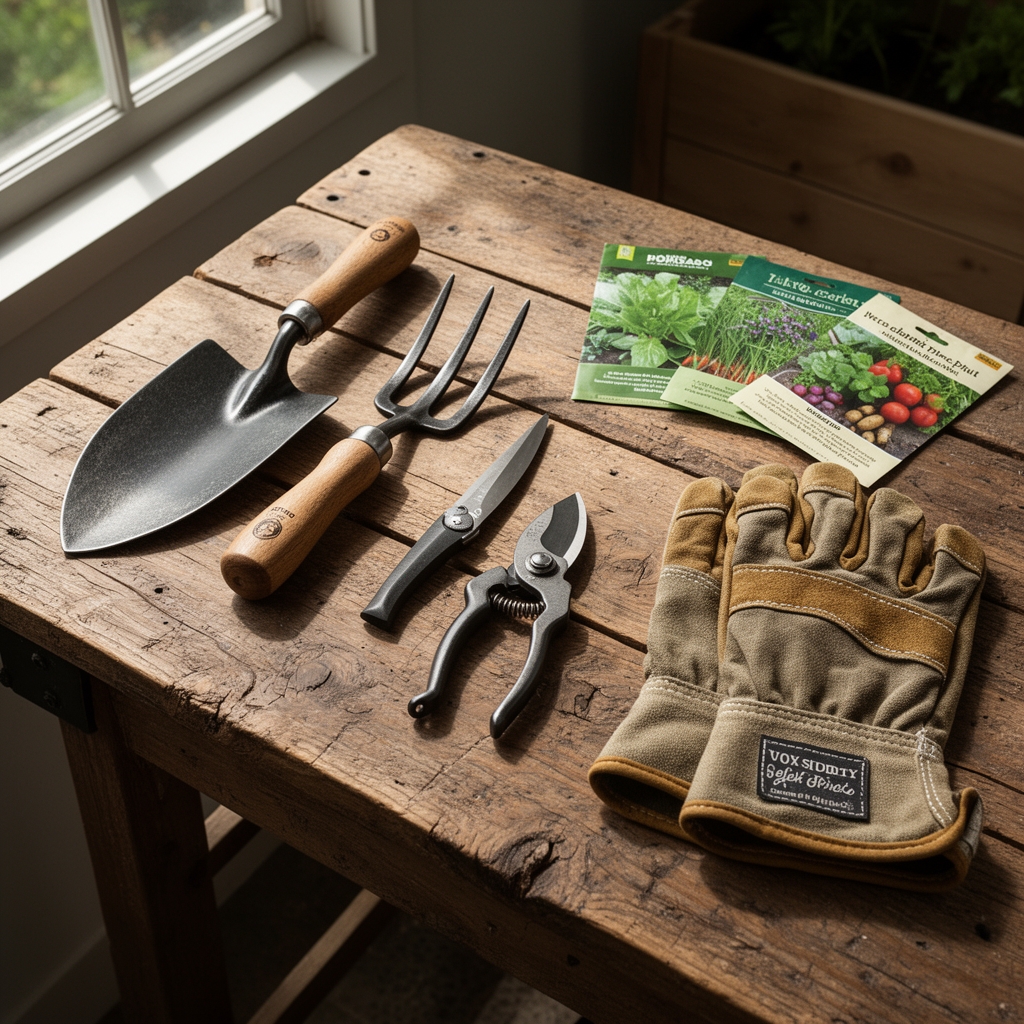
Lumber and Fasteners
Use untreated cedar or redwood boards, 2 inches thick and 10 to 12 inches wide. Avoid pressure-treated lumber containing copper azole or alkaline copper quaternary, which leach into root zones and disrupt mycorrhizal colonization. Galvanized deck screws (3-inch) provide corrosion resistance. Corner braces cut from 4×4 posts anchor joints and prevent lateral bowing under soil weight.
Soil Substrate and Amendments
Blend equal parts peat moss (pH 3.5-4.5), coconut coir (pH 5.5-6.8), and aged compost (pH 6.0-7.5) to achieve a target pH of 6.2-6.8 for most vegetables. Incorporate a 4-4-4 organic all-purpose fertilizer at 2 pounds per cubic yard to establish baseline macronutrients. Add perlite or coarse sand at 10 percent by volume to increase cation exchange capacity and aeration. Inoculate with endomycorrhizal fungi (Glomus species) at 1 ounce per 10 square feet to enhance phosphorus uptake.
Drainage and Liner Components
Line the base with hardware cloth (half-inch mesh) to exclude burrowing rodents. Install landscape fabric between soil and lumber to prevent direct wood contact while allowing water egress. Drill drainage holes every 6 inches along the bottom perimeter, each 3/4 inch in diameter.
Timing
In USDA Hardiness Zones 5-7, construct planters four to six weeks before the last expected spring frost. This window allows soil microbiomes to establish and organic matter to begin mineralization. In Zones 8-10, late winter construction (January to February) permits early spring planting of cool-season crops such as lettuce and brassicas. Elevated planter soil warms 8 to 12 degrees Fahrenheit faster than ground-level beds, advancing germination by seven to ten days.
Phases
Step 1: Cut Lumber to Dimension
Measure and cut four side panels to create a rectangular frame. A standard 4-foot by 8-foot footprint provides 32 square feet of planting area. Cut four corner posts from 4×4 stock, each 12 inches tall. These posts anchor the frame and provide structural rigidity.
Step 2: Assemble the Frame
Position corner posts at each vertex. Attach side panels to posts using three galvanized screws per joint, pre-drilling pilot holes to prevent splitting. Ensure 90-degree angles by measuring diagonals; equal diagonal measurements confirm square geometry.
Step 3: Install Hardware Cloth Base
Staple hardware cloth across the bottom interior surface, overlapping seams by 2 inches. This barrier excludes voles and moles without impeding drainage. Trim excess mesh flush with exterior edges.
Step 4: Drill Drainage Perforations
Create drainage holes every 6 inches along the bottom perimeter. Angle each hole slightly downward toward the exterior to promote gravity-fed drainage and prevent waterlogging that reduces soil oxygen to anaerobic levels.
Pro-Tip: Score interior lumber surfaces with a rasp before assembly. This increases surface area for beneficial Trichoderma fungi colonization, which outcompetes damaging Fusarium species.
Step 5: Position and Level Planter
Place the frame on level ground or a gravel pad. Use a 4-foot level to verify plane accuracy. Shim with flat stones if necessary. An unlevel planter creates uneven moisture distribution and localized nutrient deficiencies.
Step 6: Line Interior Walls
Staple landscape fabric to interior walls, leaving the base open for root penetration into subsoil in well-drained locations. This liner extends lumber lifespan by 30 to 40 percent while maintaining capillary water movement.
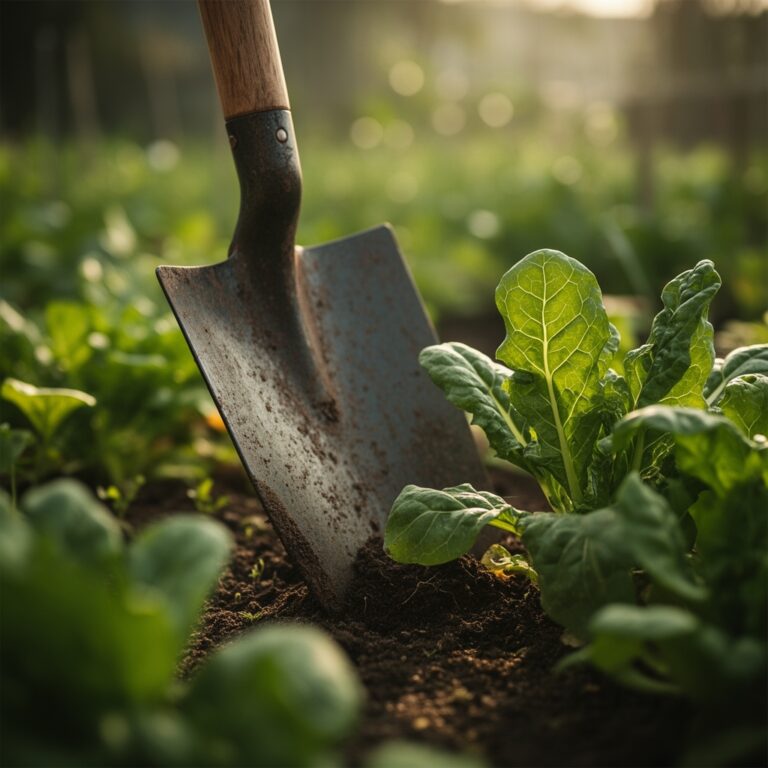
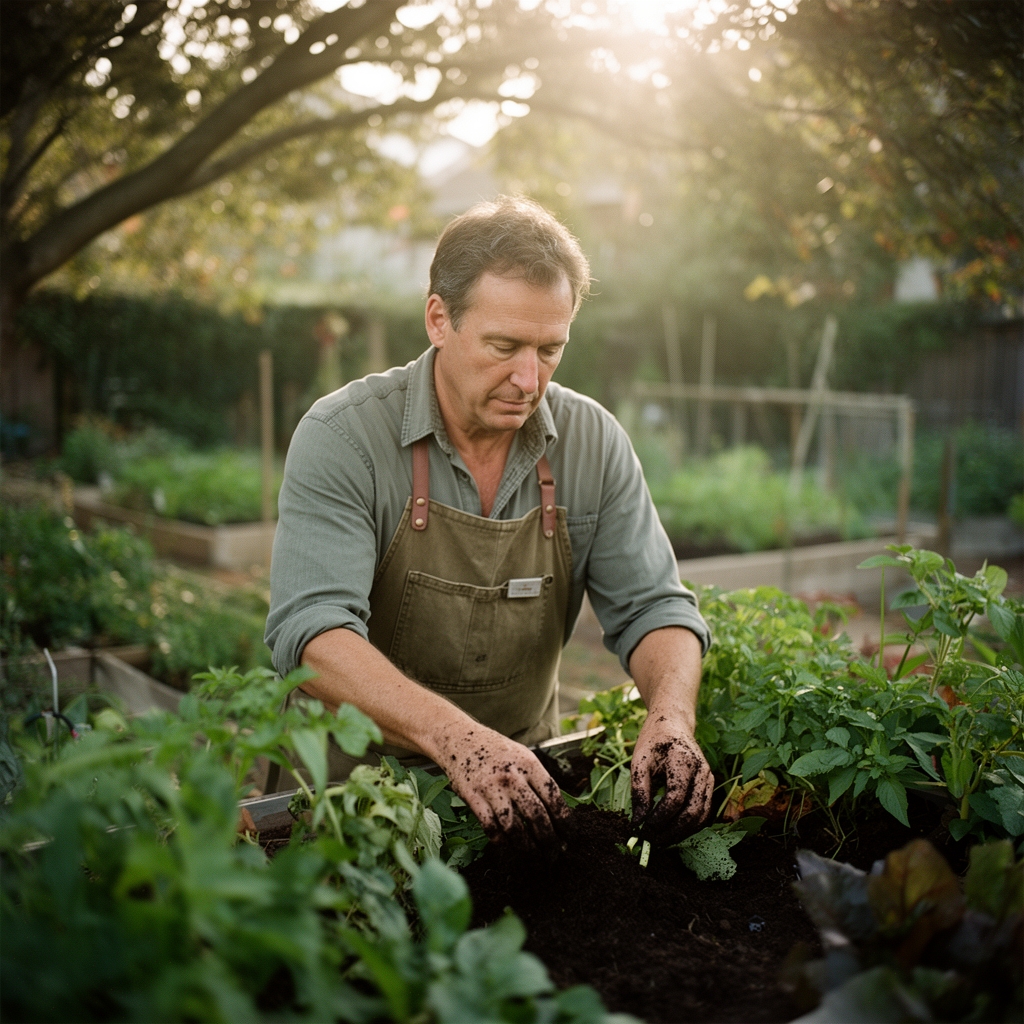
Step 7: Fill with Amended Substrate
Add soil blend to within 2 inches of the rim. Moisten lightly to settle particles without compaction. This air-filled porosity supports aerobic microbial respiration and root hair elongation driven by auxin distribution in apical meristems.
Pro-Tip: Incorporate biochar at 5 percent by volume during filling. Biochar's porous structure holds 2.5 times its weight in water and provides long-term habitat for nitrifying bacteria that convert ammonium to nitrate.
Step 8: Mulch Surface Layer
Apply 2 inches of shredded hardwood bark or straw mulch. Mulch moderates diurnal temperature swings by 10 to 15 degrees Fahrenheit and reduces evapotranspiration by 25 to 35 percent.
Troubleshooting
Symptom: Yellowing lower leaves with interveinal chlorosis.
Solution: Magnesium deficiency common in high-potassium soils. Apply Epsom salt (magnesium sulfate) as a foliar spray at 1 tablespoon per gallon weekly for three weeks.
Symptom: Blossom end rot on tomatoes and peppers.
Solution: Calcium translocation failure caused by inconsistent watering. Maintain soil moisture at 60 to 70 percent field capacity. Apply calcium nitrate at 1 tablespoon per plant as a side-dressing.
Symptom: Wilting despite adequate moisture.
Solution: Root-knot nematodes (Meloidogyne species). Solarize empty planters by covering with clear plastic for six weeks during peak summer temperatures above 95 degrees Fahrenheit.
Symptom: Powdery white coating on leaf surfaces.
Solution: Powdery mildew (Erysiphe cichoracearum). Spray with 1 part milk to 9 parts water every five days. Milk proteins disrupt fungal cell membranes.
Symptom: Stunted growth with purple-tinged leaves.
Solution: Phosphorus immobilization in cold soil below 55 degrees Fahrenheit. Apply liquid fish emulsion (5-1-1 NPK) at half strength weekly until soil warms.
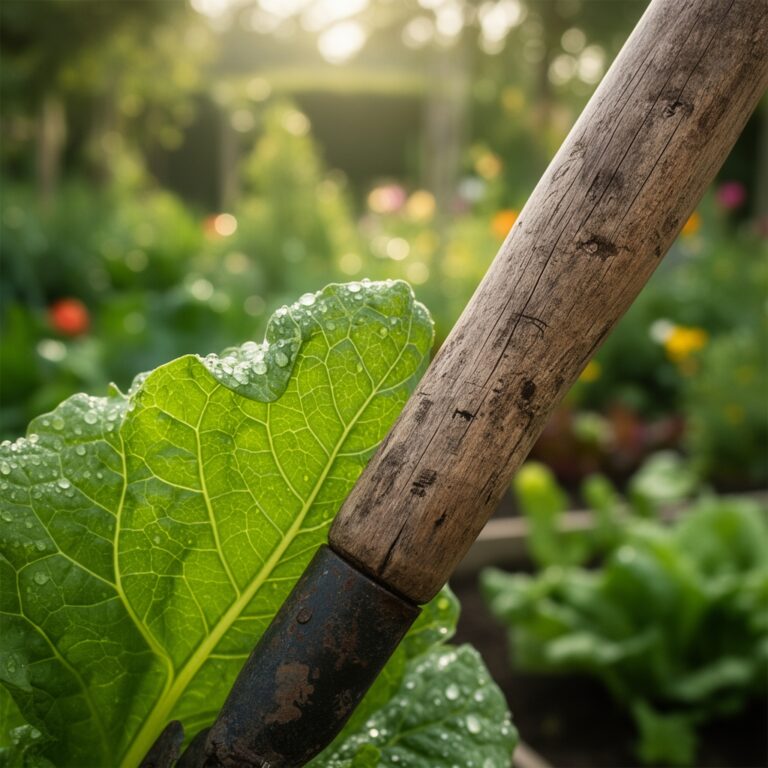
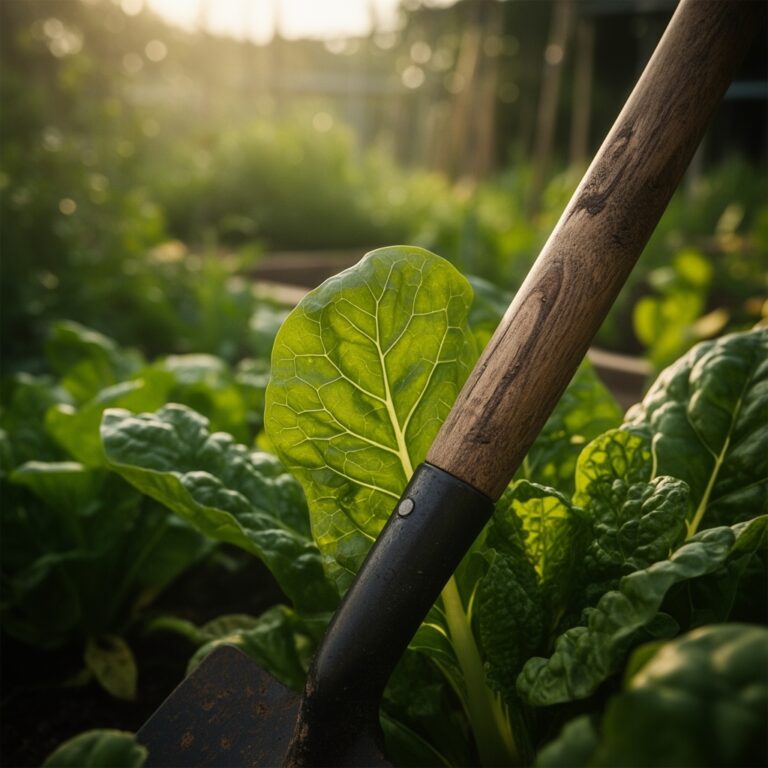
Maintenance
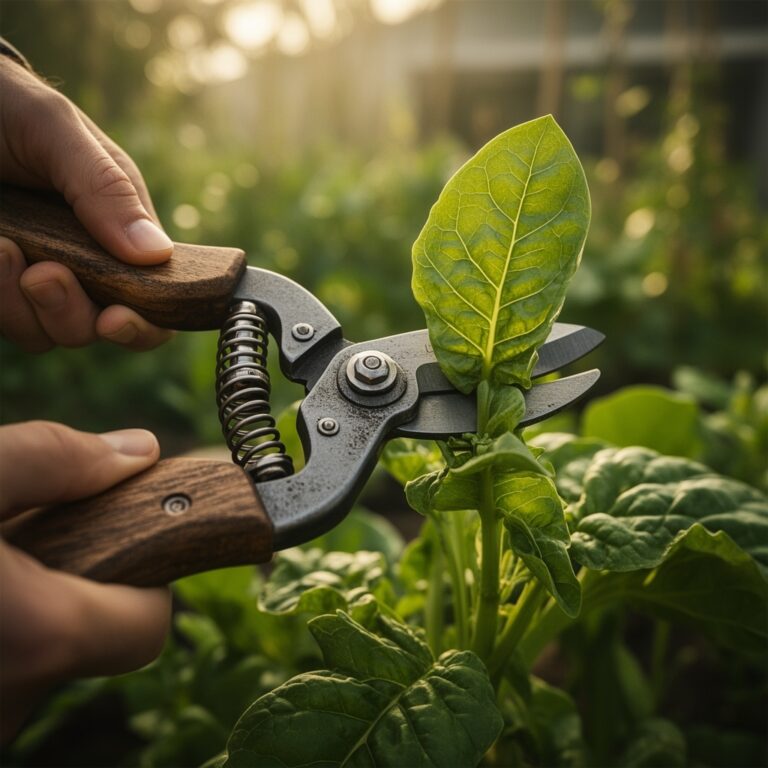
Water planters when the top 1 inch of substrate feels dry to the touch. Apply 1 to 1.5 inches of water per week, adjusted for rainfall and crop transpiration rates. Tomatoes require 1.5 inches; lettuce requires 1 inch. Fertilize every three weeks with a balanced 10-10-10 liquid fertilizer diluted to 50 percent label strength. Side-dress heavy feeders (squash, cucumbers) with additional compost at 1 inch depth midseason. Prune indeterminate tomatoes to a single leader, removing suckers at a 45-degree angle to minimize wound surface area and pathogen entry points. Rotate crop families annually to disrupt soil-borne disease cycles and prevent nutrient depletion specific to botanical families.
FAQ
How deep should a vegetable planter be?
Twelve inches accommodates 90 percent of vegetable root systems. Carrots and parsnips require 14 to 16 inches.
Can I use pine lumber?
Yes, but expect a four-to-five-year lifespan. Pine lacks the thujaplicin fungicides present in cedar heartwood.
Do I need to replace soil annually?
No. Amend with 1 inch of compost each spring and test pH every two years. Rebuild substrate every five to seven years.
What is the ideal planter orientation?
Position the long axis east-to-west. This maximizes southern solar exposure for photosynthetically active radiation during midday hours.
Can planters extend the growing season?
Yes. Elevated soil warms earlier in spring and retains heat longer in fall, adding 10 to 20 frost-free days per season.