8 Best Minimalist Plant Clips for Indoor Vining Support
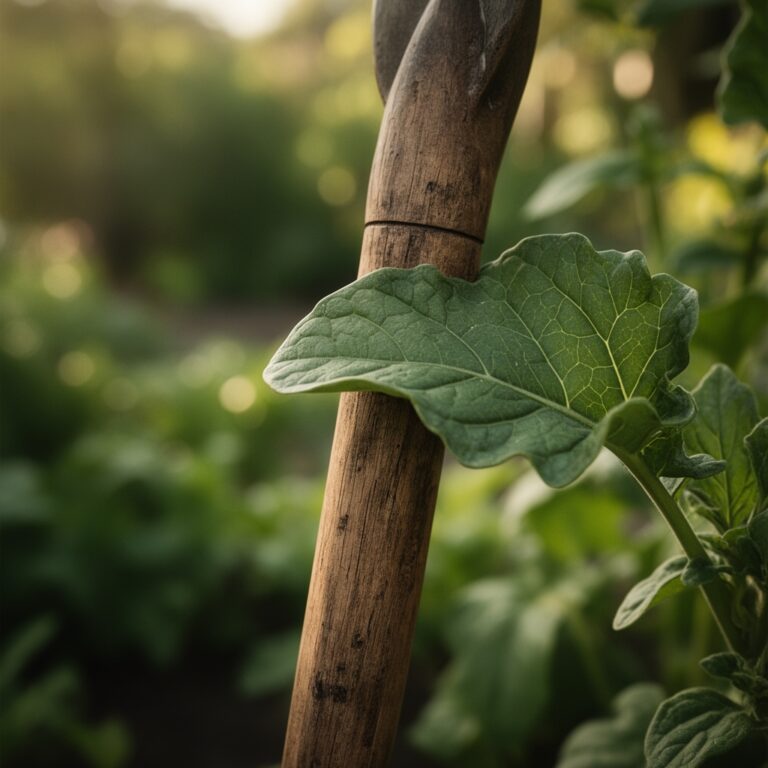
Indoor vines cascade across shelves and climb blank walls, but without structure they tangle into chaotic masses. Best plant clips transform unruly pothos, philodendron, and monstera into architectural installations, guiding aerial roots and petioles along precise trajectories. These minimalist supports disappear against stems while providing the tension necessary for vertical growth, mimicking the way epiphytic plants anchor to host trees in tropical canopies.
Materials
Clear Polycarbonate Clips (0.5-inch opening)
These clips suit stems between 0.25 and 0.5 inches in diameter. The UV-stabilized polymer resists yellowing under grow lights. No fertilizer interaction occurs. They work with moss poles, bamboo stakes, and trellis wire.
Stainless Steel Wire Clips (18-gauge)
Ideal for heavier vines like mature monstera. The metal conducts no electrical charge that would interfere with auxin distribution in stems. Pair with a balanced 10-10-10 liquid fertilizer every two weeks during active growth to support the increased structural demands.
Silicone-Coated Aluminum Clips
The silicone cushion prevents stem abrasion on fast-growing species. Use these with coir poles that have been inoculated with mycorrhizal fungi. The fungi colonize roots and improve nutrient uptake, particularly phosphorus. A 4-4-4 organic meal applied monthly supports this symbiosis.
Adhesive-Backed Velcro Strips (0.75-inch width)
These distribute pressure across a wider stem surface. The adhesive backing attaches to smooth surfaces without drilling. Apply foliar spray with micronutrients (iron, manganese, zinc) biweekly to support chlorophyll synthesis in clipped leaves that may receive altered light angles.
Rotating Swivel Clips
The 360-degree rotation accommodates phototropic movement. As stems grow toward light sources, the clip rotates rather than binding. Use in conjunction with stakes placed 2 inches from the pot rim to avoid root damage. Substrate pH between 5.5 and 6.5 optimizes cation exchange capacity in most aroids.
Magnetic Disc Clips (rare-earth magnets)
These work only with metal supports. The 10-pound pull strength secures thick stems. No soil contact occurs, eliminating pH concerns. Supplement with calcium and magnesium at 2:1 ratio to prevent deficiencies in rapidly climbing specimens.
Bamboo Loop Ties (natural fiber)
Biodegradable option for temporary support. Replace every 8 weeks as fibers degrade. The organic matter breakdown adds negligible nitrogen to soil. Maintain substrate EC (electrical conductivity) below 2.0 mS/cm to prevent salt accumulation.
3D-Printed PLA Clips (custom-fit)
Polylactic acid derived from corn starch. The matte finish reduces light reflection that can stress shade-adapted species. Design clips with drainage channels to prevent moisture accumulation against stems, which invites bacterial soft rot.
Timing
Install clips during active growth phases in USDA Hardiness Zones 10-12, or when indoor temperatures remain between 65-80°F. For temperate climates, begin training vines 4 weeks after the last frost date if plants summer outdoors. Spring installation (March-May in Northern Hemisphere) aligns with peak auxin production, when stems exhibit maximum flexibility.
Winter dormancy (November-February) reduces stem elasticity. Clips applied during this window may girdle stems as spring growth resumes. Wait until new leaves emerge and internodal spacing increases to 2-3 inches before clipping.
Phases

Sowing (Propagation Phase)
Root cuttings in water or sphagnum moss for 3-4 weeks until roots reach 2 inches. Transition to a substrate mix of 40% peat, 30% perlite, and 30% orchid bark. The bark improves aeration, critical for epiphytic root systems. No clipping occurs at this stage.
Pro-Tip: Dip cut ends in 0.1% IBA (indole-3-butyric acid) rooting hormone to accelerate adventitious root formation by 40%.
Transplanting (Establishment Phase)
Move rooted cuttings to 6-inch pots. Install the first clip 4 inches above soil line, attaching the main stem to a moss pole at a 75-degree angle. This angle encourages vertical growth while maintaining contact between aerial roots and the support surface. Apply starter fertilizer at half strength (5-10-5 NPK ratio) to avoid root burn.
Pro-Tip: Score the moss pole surface with a blade every 3 inches vertically. The grooves trap aerial roots and improve mechanical adhesion.
Establishing (Training Phase)
Add clips every 6-8 inches as the vine extends. Maintain consistent spacing to distribute weight and prevent sagging between attachment points. Once the plant reaches 24 inches, increase fertilizer to full strength. Monitor for etiolation (excessive internodal stretching), which indicates insufficient light. Increase PAR (photosynthetically active radiation) to 200-400 μmol/m²/s.
Pro-Tip: Prune lateral shoots at 45-degree angles, leaving 0.25-inch stubs. This directs energy into the main stem and prevents bushy, horizontal growth.
Troubleshooting
Symptom: Yellowing leaves below clips
Solution: Clips positioned too tightly restrict phloem transport of carbohydrates. Loosen by 2mm to restore flow. Check that clips do not compress more than 10% of stem diameter.
Symptom: Brown, crispy leaf edges
Solution: Low humidity (below 40%) stresses clipped plants. Raise ambient humidity to 50-60% with pebble trays or humidifiers. Increase watering frequency to every 5 days.
Symptom: Fungal growth at clip contact points
Solution: Excessive moisture trapped under clips. Remove clips, treat with 0.5% copper fungicide, and allow stems to dry for 48 hours. Reinstall clips rotated 90 degrees to expose previously covered tissue.
Symptom: Stem breakage at attachment sites
Solution: Brittle stems indicate calcium deficiency. Apply calcium nitrate foliar spray (1 tablespoon per gallon) weekly for 3 weeks. Reduce nitrogen if overall fertilizer EC exceeds 1.5 mS/cm.
Symptom: Spider mites on clipped stems
Solution: Restricted air circulation. Space clips 10 inches apart and prune overlapping foliage. Spray neem oil (2 tablespoons per gallon) at 7-day intervals for 3 applications.
Maintenance
Water when the top 2 inches of substrate feel dry, approximately every 7 days. Deliver 1 inch of water per session, allowing 20% to drain from the bottom. Adjust clips monthly as stems thicken, loosening before they constrict tissue. Rotate pots 90 degrees every 2 weeks to equalize light exposure and prevent one-sided growth.
Fertilize with 20-20-20 NPK at quarter strength weekly during spring and summer. Reduce to monthly applications in fall. Cease fertilization during winter when growth slows below 0.5 inches per week. Wipe clip surfaces with 70% isopropyl alcohol quarterly to remove algae and mineral deposits.
FAQ
How many clips per foot of vine?
Two clips per 12 inches maintains adequate support without over-constraining the stem. Increase to three clips for thick-stemmed species like Monstera deliciosa.
Can clips damage aerial roots?
No, if installed loosely. Allow 1-2mm of movement within the clip. Aerial roots grow around obstructions and are not harmed by contact.
What clip material works best for heavy vines?
Stainless steel wire clips withstand loads up to 5 pounds per attachment point. Polycarbonate clips fail above 2 pounds.
Should I remove clips after vines self-adhere?
Yes, once aerial roots fully penetrate support material (typically 8-12 weeks). Leaving clips long-term causes girdling as stems expand.
Do clips affect flowering in vining pothos?
Pothos rarely flower indoors regardless of support method. Clips do not inhibit reproductive maturity, which requires specific light and temperature cues absent in most homes.