7 Perfect Mix Steps to Prepare Raised Bed Vegetable Soil
The smell of fresh soil in spring announces opportunity. Learning how to prepare a garden for a raised bed vegetable garden begins with understanding that native earth rarely provides the drainage, fertility, and structure modern vegetables demand. A raised bed bypasses compaction, allows precise control over pH and nutrient ratios, and warms faster in early season. The seven-step framework below transforms raw components into a biologically active growing medium capable of supporting successive crops through multiple hardiness zones.
Materials
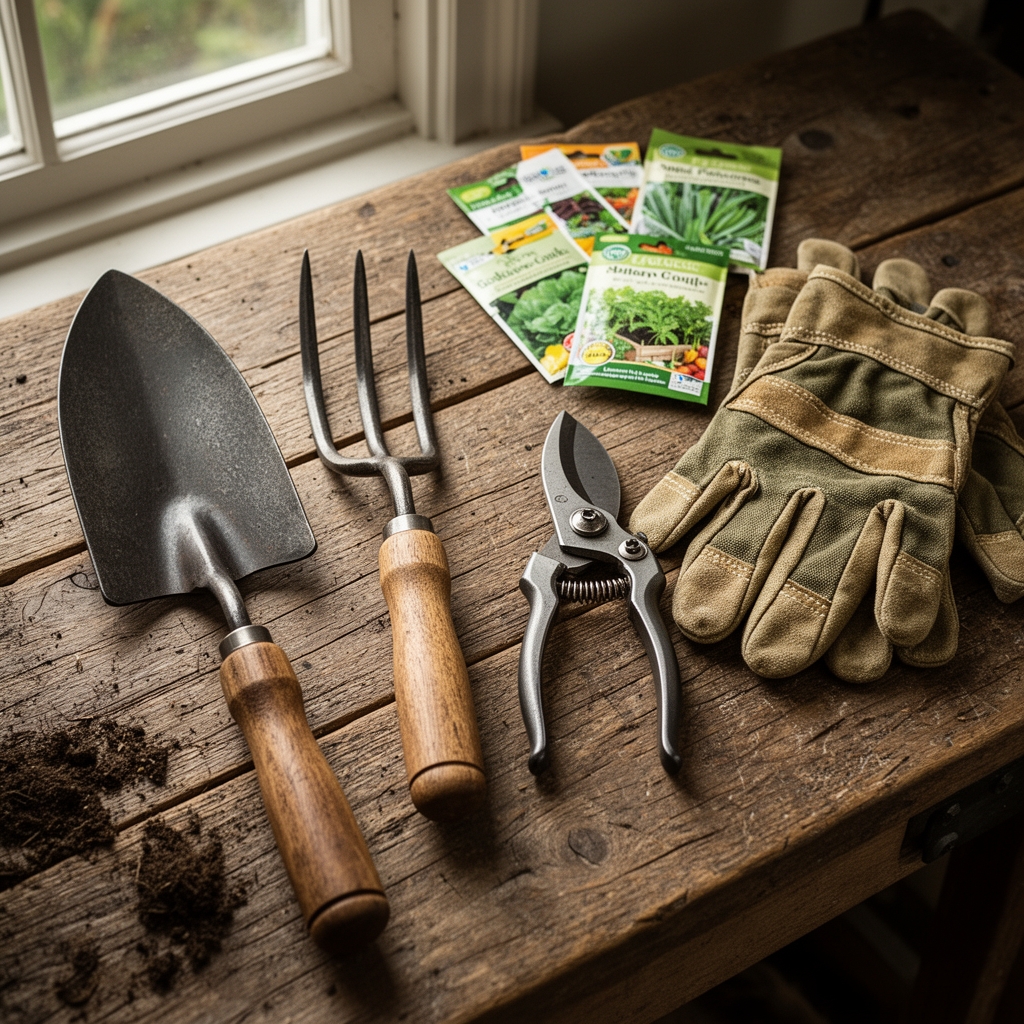
Source components based on their chemical and physical properties. Peat moss or coconut coir (pH 5.5–6.8) supplies water retention without weight. Compost aged six months minimum delivers stable organic matter with an approximate NPK ratio of 1-1-1. Perlite or coarse vermiculite (pH neutral) opens air pockets essential for root respiration. Add one part well-composted pine bark fines to improve cation exchange capacity.
For baseline nutrition, incorporate a balanced organic fertilizer rated 4-4-4 or 5-5-5 at the manufacturer's recommended rate, typically three to four pounds per 100 square feet. Bone meal (3-15-0) supports phosphorus demands during root establishment. Kelp meal (1-0-2) adds trace minerals including boron, zinc, and manganese often absent in synthetic blends. Dolomitic lime adjusts pH toward the 6.2–6.8 range most vegetables prefer, while elemental sulfur lowers pH if native materials skew alkaline.
Mycorrhizal fungi inoculant introduces symbiotic networks that extend effective root surface area by 10 to 100 times. Choose products listing Glomus intraradices or Rhizophagus irregularis at concentrations above 100 propagules per gram.
Timing
Execute soil preparation four to six weeks before the last expected spring frost date. Gardeners in USDA Hardiness Zones 3–5 should target mid-March construction to allow microbial colonization by May. Zones 6–7 benefit from late February starts. Zones 8–10 can prepare beds year-round but gain maximum advantage in October for cool-season brassicas and January for warm-season fruiting crops.
Moisture levels dictate mixing timing. Soil components blend uniformly when moisture content sits between 40 and 60 percent. Squeeze a handful; it should form a loose ball that crumbles under light pressure. Bone-dry materials create dust. Saturated mixes clump and inhibit aeration.
Phases

Step 1: Base Layer Construction
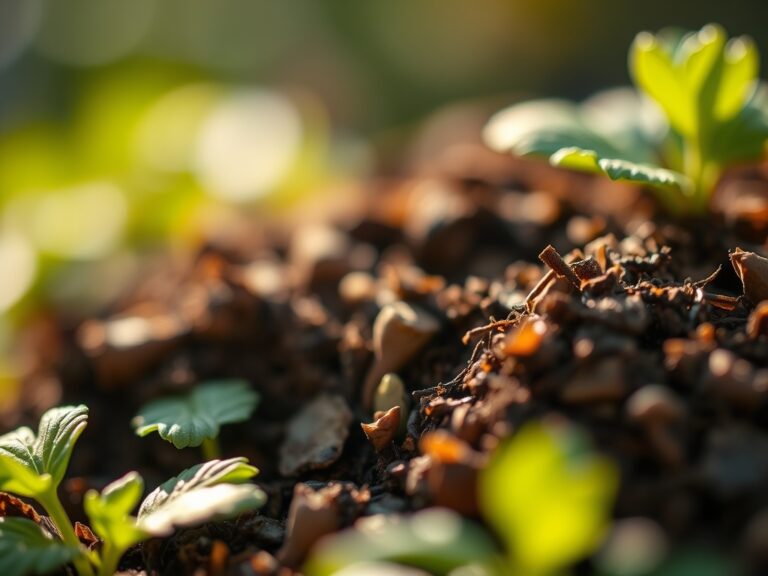
Spread two inches of coarse wood chips or straw across the bed bottom. This sacrificial layer slows nutrient leaching and provides slow-release carbon as it decomposes.
Step 2: Volumetric Blending
Combine equal parts by volume: compost, peat moss or coir, and aerated topsoil or coconut coir. Add one-quarter part perlite. Mix thoroughly in a wheelbarrow or directly in the raised frame using a garden fork. Turn the pile six times to distribute components evenly.
Pro-Tip: Inoculate during this phase. Sprinkle mycorrhizal powder directly onto root zones rather than broadcasting across the entire bed. Fungal hyphae colonize within 72 hours of root contact.
Step 3: Amendment Integration
Broadcast dry fertilizers, lime, and kelp meal across the blended base. Rake to a depth of four inches. Water lightly to initiate microbial activity without creating anaerobic pockets.
Step 4: Settling Period
Allow 10 to 14 days for initial decomposition. Soil volume will decrease by 10 to 15 percent as air pockets collapse and organic matter begins breakdown. Top-dress with additional compost to restore bed height.
Pro-Tip: During establishment, introduce calcium through gypsum (23 percent calcium sulfate) rather than additional lime if pH already sits above 6.5. Calcium strengthens cell walls and reduces blossom-end rot in tomatoes and peppers.
Step 5: Pre-Planting Moisture Charge
Irrigate to field capacity 48 hours before transplanting. Soil should glisten but not puddle. This saturation primes capillary action and ensures transplants encounter consistent moisture during root establishment.
Step 6: Transplanting Execution
Dig planting holes 20 percent larger than root balls. Position transplants so the crown sits level with surrounding soil. Backfill gently, eliminating air pockets that desiccate fine roots.
Pro-Tip: Apply dilute liquid kelp (1 tablespoon per gallon) as a transplant drench. Auxin and cytokinin analogs in kelp extracts reduce transplant shock and accelerate lateral root formation.
Step 7: Mulch Application
Spread two inches of straw, shredded leaves, or grass clippings around plants once soil temperature exceeds 60°F. Mulch moderates temperature swings, suppresses weeds, and feeds soil biology as it degrades.
Troubleshooting
Symptom: Yellowing lower leaves with green veins (interveinal chlorosis).
Solution: Indicates iron deficiency common in alkaline soils. Apply chelated iron at 1 ounce per 100 square feet and retest pH.
Symptom: Purple leaf undersides on tomatoes and brassicas.
Solution: Phosphorus lockout due to cold soil or pH below 6.0. Warm soil with black plastic mulch and side-dress with bone meal.
Symptom: Wilting despite adequate moisture; roots show brown lesions.
Solution: Pythium or Phytophthora root rot. Improve drainage by adding 20 percent coarse sand. Drench with biological fungicide containing Trichoderma harzianum.
Symptom: Stunted growth with dark green, brittle foliage.
Solution: Excess nitrogen from over-application of high-N fertilizers. Leach beds with deep irrigation and balance with rock phosphate.
Maintenance
Apply 1 inch of water per week measured with a rain gauge. Deep, infrequent irrigation encourages root growth to 12 inches. Drip lines or soaker hoses reduce foliar disease by keeping leaves dry.
Side-dress with compost at 0.5 inch depth every four weeks during active growth. For heavy feeders like tomatoes and squash, supplement with fish emulsion (5-1-1) at 2 tablespoons per gallon every 14 days.
Monitor cation exchange capacity annually through soil testing. Reapply dolomitic lime if pH drifts below 6.0. Incorporate 2 inches of compost each fall to replace organic matter consumed during the growing season.
FAQ
When should I start preparing raised bed soil?
Begin four to six weeks before your last spring frost date to allow microbial colonization and organic matter stabilization.
Can I use native soil in my raised bed mix?
Yes, if it drains well and is free of contaminants. Blend with equal parts compost and peat to improve structure.
How often do I need to replace raised bed soil?
Never fully replace. Add 2 inches of compost annually. The existing biology and structure remain productive indefinitely with proper amendment.
What NPK ratio works best for mixed vegetables?
A balanced 5-5-5 organic blend supports diverse crops. Adjust with targeted amendments based on plant family needs.
Do I need to till raised bed soil each season?
No. Surface cultivation to 2 inches prevents compaction without disrupting fungal networks and earthworm tunnels deeper in the profile.