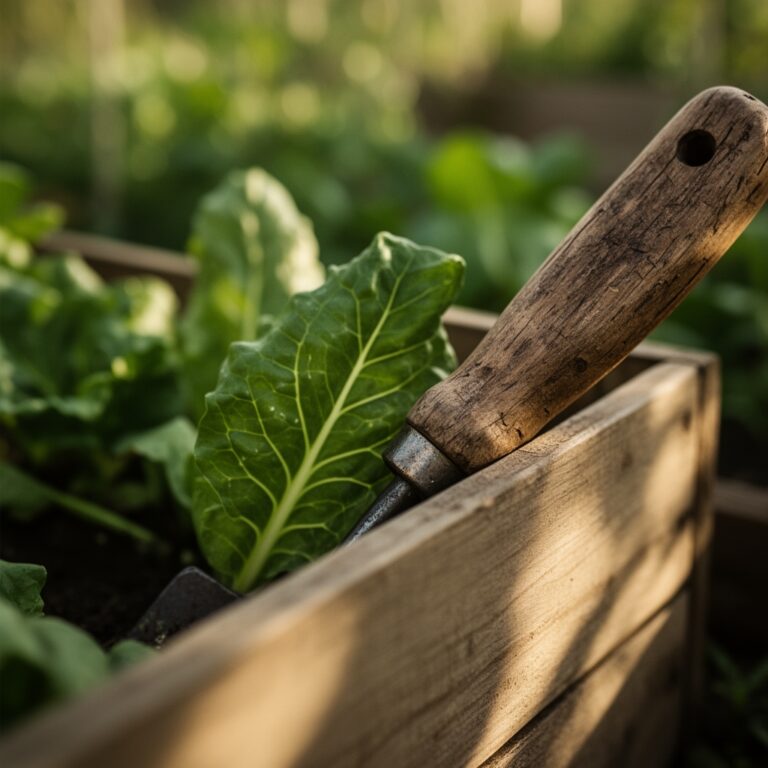
6 Zoning Steps to Prepare a Permaculture Vegetable Garden
Learning how to prepare a garden for a permaculture vegetable garden begins with observation and soil amendment. The scent of fresh compost mingles with crushed basalt as you lay the foundation for a self-regulating ecosystem. Unlike conventional row-cropping, permaculture design demands that you map microclimates, catalog existing flora, and build soil biology before a single seed touches earth. The process transforms raw ground into a layered food forest where nitrogen-fixing legumes shelter brassicas and deep-rooted comfrey mines subsoil minerals. This preparation phase determines whether your garden will require constant inputs or become a closed-loop system within three growing seasons.
Materials
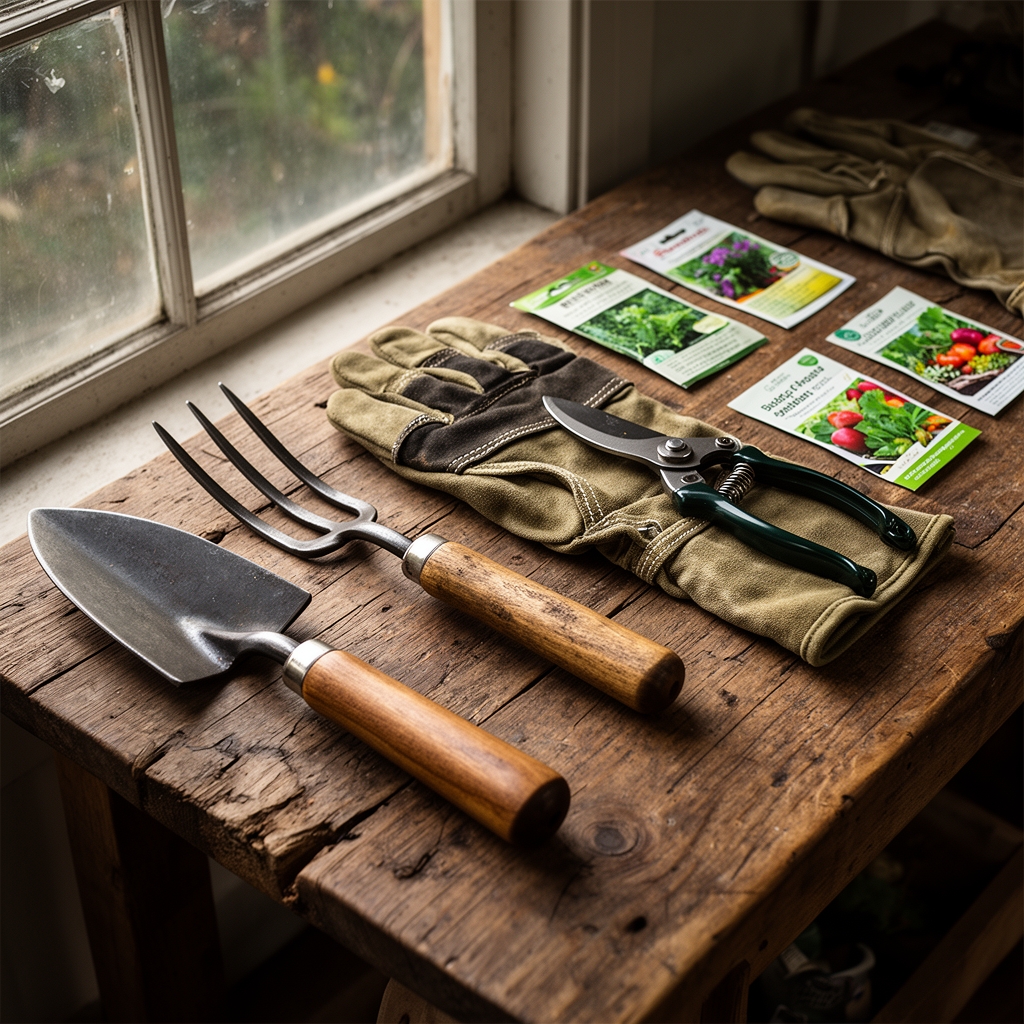
Assemble materials based on your baseline soil test. A complete NPK analysis plus cation exchange capacity (CEC) measurement guides amendment selection.
pH Adjusters:
- Dolomitic limestone (raises pH, adds calcium and magnesium) for soils below 6.2
- Elemental sulfur (lowers pH) for soils above 7.0, applied at 1 lb per 100 sq ft to drop pH by 0.5 units
Balanced Organic Amendments:
- Aged compost (1-1-1), applied 2-3 inches deep
- Alfalfa meal (3-1-2), broadcast at 5 lbs per 100 sq ft
- Kelp meal (1-0.2-2), rich in trace minerals and auxins, at 2 lbs per 100 sq ft
- Feather meal (12-0-0) for nitrogen-hungry brassicas and leafy greens
Mineral Amendments:
- Glacial rock dust (0-0-0.1), 10 lbs per 100 sq ft, adds 67 trace elements
- Greensand (0-0-3), improves CEC in sandy soils
- Gypsum (calcium sulfate), corrects sodium imbalances without altering pH
Biological Inoculants:
- Mycorrhizal fungi spores (Glomus intraradices), 1 tsp per transplant hole
- Effective microorganism (EM-1) solution, diluted 1:500 for soil drench
- Worm castings (1-0-0), applied as 1/4-inch top dressing
Mulch Layers:
- Cardboard or newspaper (carbon source)
- Straw or hay, 4-6 inches deep (avoid seed heads)
- Arborist wood chips, 2-3 inches for pathways only
Timing
Permaculture garden preparation follows a 6-12 month timeline before active planting. Begin site work in late summer for spring planting.
Zones 3-5: Start soil building by August 15. First hard frost arrives between September 25 and October 15. Sheet mulching must decompose under snow cover. Spring soil work resumes when ground temperature reaches 50°F at 4-inch depth, typically mid-April to early May.
Zones 6-7: Initiate preparation by September 1. Frost dates span October 15 to November 15. Fall-planted cover crops (winter rye, hairy vetch) establish roots before dormancy. Resume activity after last spring frost, March 15 to April 15.
Zones 8-10: Begin any time from September through November. Mild winters allow continuous soil-building activity. Mycorrhizal colonization proceeds year-round when soil temperature exceeds 40°F.
Plant guilds in successional waves. Cool-season brassicas and alliums enter the ground 4-6 weeks before last frost. Warm-season solanums and cucurbits wait until soil reaches 60°F, typically 2 weeks after frost-free date.
Phases
Zone 1: Observation and Mapping
Walk the site daily for two weeks. Document sun angles from 9 AM to 4 PM. Mark existing perennials, water flow during rain events, and prevailing wind direction. Identify nurse plants (established shrubs that offer windbreak or dappled shade). Measure slope with an A-frame level. Slopes exceeding 5 degrees require contour swales to prevent erosion and retain moisture.
Pro-Tip: Photograph the site at solar noon on the spring equinox and fall equinox. These images reveal true seasonal sun exposure, preventing shade-related crop failure.
Zone 2: Soil Assessment and Amendment
Extract soil cores from three depths: 0-6 inches (topsoil), 6-12 inches (root zone), and 12-18 inches (subsoil). Submit samples to a lab offering Mehlich-3 extraction for accurate nutrient availability. Record pH, NPK values, organic matter percentage, and CEC.
Spread amendments according to test results. Incorporate materials to 8-inch depth using a broadfork, not a rototiller. Rototilling destroys soil structure and severs fungal hyphae. Broadforking preserves aggregates while improving oxygen penetration. Water deeply after amendment. Apply EM-1 solution at 1 gallon per 100 sq ft to accelerate microbial colonization.
Pro-Tip: Inoculate amendment layers with actively aerated compost tea (AACT). Brew for 24 hours at 65-75°F with 2 cups compost, 2 tablespoons unsulfured molasses, and 1 tablespoon kelp meal per 5 gallons. Apply within 4 hours of brewing.
Zone 3: Sheet Mulching and Guild Planning
Lay cardboard directly on mowed vegetation. Overlap edges by 6 inches. Wet thoroughly until cardboard darkens. Add 2 inches of compost, then 4 inches of straw. This lasagna method suppresses weeds while feeding decomposers.
Design polyculture guilds around anchor plants. Tomatoes pair with basil (pest confusion via volatile oils) and borage (attracts pollinators, accumulates potassium). Corn supports climbing beans (nitrogen fixation), while squash shades roots and deters raccoons with spiny stems.
Pro-Tip: Plant dynamic accumulators (comfrey, yarrow, dandelion) at guild edges. Chop leaves monthly as nutrient-rich mulch. Comfrey roots mine phosphorus from 10 feet deep, cycling it to topsoil.
Zone 4: Water Harvesting Infrastructure
Install swales on contour at 20-foot intervals on slopes. Swales are level-bottomed ditches with berms on the downhill side. They capture runoff, allowing infiltration into the root zone. Dig swales 18 inches deep and 24 inches wide. Mound excavated soil on the downhill side to create a 12-inch berm. Plant the berm with nitrogen-fixers (clover, vetch, lupine).
Position rain barrels or IBC totes at downspouts. Calculate catchment: 1 inch of rain on 1,000 sq ft of roof yields 623 gallons. Install overflow pipes directing surplus to swales.
Pro-Tip: Bury ollas (unglazed clay pots) between plants. Fill daily. Water seeps through porous walls directly to roots, reducing evaporation by 70% compared to surface watering.
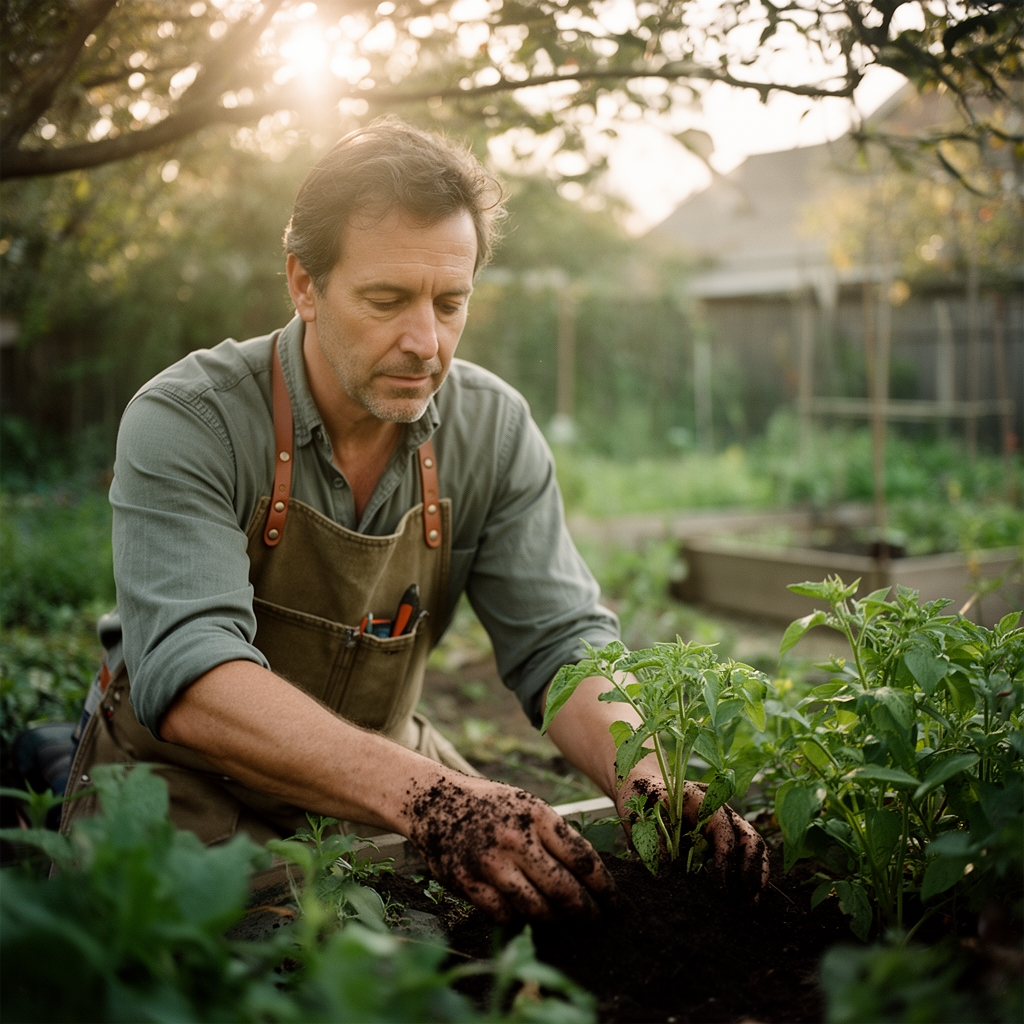
Zone 5: Planting and Establishment
Transplant seedlings in late afternoon to minimize transplant shock. Dig holes twice the root ball width. Add 1 teaspoon mycorrhizal inoculant to each hole. Inoculant must contact roots directly. Set plants at the same depth as in containers, except tomatoes (bury stem to first true leaves for adventitious rooting).
Water transplants with diluted fish emulsion (2-4-1) at half strength. Apply 1 cup per plant. Mulch immediately with 2 inches of compost, keeping material 2 inches away from stems to prevent crown rot.
Direct-seed root crops (carrots, beets, radishes) and legumes (peas, beans). Soak legume seeds in water with Rhizobium inoculant for 30 minutes before planting. This bacterium forms nodules that fix atmospheric nitrogen at a rate of 0.5 lbs per 100 sq ft per season.
Pro-Tip: Succession plant lettuce and radishes every 10 days for continuous harvest. Radishes mature in 25 days, breaking soil crust for slower-germinating carrots when interplanted.
Zone 6: Living Mulch and Perennial Integration
Undersow annual beds with low-growing perennial clover (Trifolium repens). Clover fixes 100-150 lbs of nitrogen per acre annually while suppressing weeds. Mow clover to 2 inches monthly, leaving clippings as green mulch.
Integrate perennial vegetables (asparagus, rhubarb, artichokes) at bed edges. These occupy space for 10-20 years. Plant asparagus crowns 8 inches deep in trenches filled with compost and rock phosphate (0-3-0). Space crowns 18 inches apart. Mulch trenches with 6 inches of straw.
Establish perennial herbs (thyme, oregano, sage) along borders. Their aromatic oils deter aphids and cabbage moths. Prune woody herbs at 45-degree angles in early spring to stimulate lateral branching. This technique increases leaf production by 40% compared to heading cuts.
Pro-Tip: Plant comfrey at 3-foot spacing in rows bordering annual beds. Harvest leaves 4-5 times per season. Wilt leaves for 24 hours, then apply as 2-inch mulch. Each plant yields 4-5 lbs of potassium-rich material annually.
Troubleshooting
Symptom: Yellowing lower leaves with green veins (interveinal chlorosis).
Solution: Indicates iron deficiency in alkaline soils. Lower pH with elemental sulfur at 2 lbs per 100 sq ft. Apply chelated iron (Fe-EDDHA) as foliar spray at 1 tablespoon per gallon. Spray early morning when stomata open.
Symptom: Blossom end rot on tomatoes and peppers (sunken, leathery black spots on fruit base).
Solution: Calcium deficiency caused by inconsistent watering, not soil calcium levels. Maintain even moisture with drip irrigation or ollas. Apply 1 inch of water per week. Mulch heavily to buffer soil moisture fluctuations.
Symptom: Stunted growth with purple-tinged leaves.
Solution: Phosphorus deficiency common in cold soils below 55°F. Warm soil with clear plastic mulch for 2 weeks before planting. Side-dress with bone meal (3-15-0) at 3 lbs per 100 sq ft. Inoculate with mycorrhizal fungi to improve phosphorus uptake by 30%.
Symptom: Wilting plants with no visible pests or disease.
Solution: Root damage from excess nitrogen driving vegetative growth without corresponding root development. Cease nitrogen inputs. Drench soil with compost tea to restore microbial balance. Prune 30% of leaf area to reduce transpiration load.
Symptom: Holes in leaves with slime trails.
Solution: Slug damage. Hand-pick at night with headlamp. Establish slug barriers with diatomaceous earth reapplied after rain. Encourage ground beetles by providing habitat (flat stones, log piles). One beetle consumes 50 slugs per season.
Symptom: Powdery white coating on squash and cucumber leaves.
Solution: Powdery mildew (Podosphaera xanthii). Improve air circulation by spacing plants 36 inches apart. Spray with 1 tablespoon baking soda plus 1 teaspoon insecticidal soap per gallon of water. Apply weekly in early morning. Resistant varieties include 'Dunja' cucumber and 'Thunderstruck' zucchini.
Maintenance
Water deeply once weekly rather than daily shallow irrigation. Deliver 1 inch of water per application, measured with a rain gauge. Deep watering encourages roots to explore 12-18 inches deep, accessing moisture reserves and nutrients.
Apply compost top-dressing at 1/4 inch every 4-6 weeks during active growth. Side-dress heavy feeders (tomatoes, corn, brassicas) with additional alfalfa meal at 2 tablespoons per plant at flowering.
Monitor insect populations weekly. Permaculture tolerates 5-10% crop damage as food for beneficial insects. Predatory wasps, lacewings, and hoverflies require pest prey to complete lifecycles. Threshold for intervention: more than 20% leaf damage or visible yield loss.
Prune indeterminate tomatoes to single leader by removing suckers (shoots emerging from leaf axils) when 2 inches long. This concentrates auxin distribution to main stem, increasing fruit size by 15-20%. Determinate varieties require no pruning.
Chop-and-drop nitrogen-fixing cover crops (clover, vetch, field peas) when flower buds appear but before seed set. This timing captures maximum nitrogen before translocation to seeds. Biomass decomposes in 2-3 weeks, releasing 3-4 lbs of nitrogen per 100 sq ft.
Test soil pH and NPK annually in fall after harvest. Reapply amendments based on results, targeting pH 6.5-7.0 for most vegetables. Brassicas prefer 6.8-7.2, while blueberries and potatoes thrive at 5.0-5.5.
FAQ
How long does it take to prepare a garden for permaculture vegetables?
Sheet mulching and initial soil building require 6-12 months. Accelerated methods using actively aerated compost tea and aggressive mulching can reduce preparation to 3-4 months, but soil biology develops more slowly.
Can I convert an existing vegetable garden to permaculture design?
Yes. Transition by adding perennial edges (herbs, berries, nitrogen-fixers) while maintaining annual beds in the center. Gradually increase plant diversity, introduce living mulches, and replace tillage with broadforking over 2-3 seasons.
What is the minimum garden size for permaculture zoning?
Permaculture principles scale to any size. A 4×8-foot bed can incorporate guilds (tomato-basil-marigold), vertical layers (pole beans on corn), and ground covers (clover). Zones refer to intensity of management, not physical area.
How do I maintain fertility without purchased fertilizers?
Establish on-site nitrogen sources through legume integration. Plant 30% of garden space to nitrogen-fixers (beans, peas, clover, vetch). Add comfrey and yarrow as mineral accumulators. Import initial amendments, but design for self-sufficiency within 3 years as soil biology and organic matter increase.
Should I till the ground before starting?
No. Tilling destroys fungal networks that take years to rebuild. Use sheet mulching to smother existing vegetation. For compacted soil, broadfork to 12-inch depth without inverting layers. This preserves soil structure and microbial stratification while improving aeration and drainage.