6 Soil-Prep Tips to Use a Garden Spade for Deep Digging
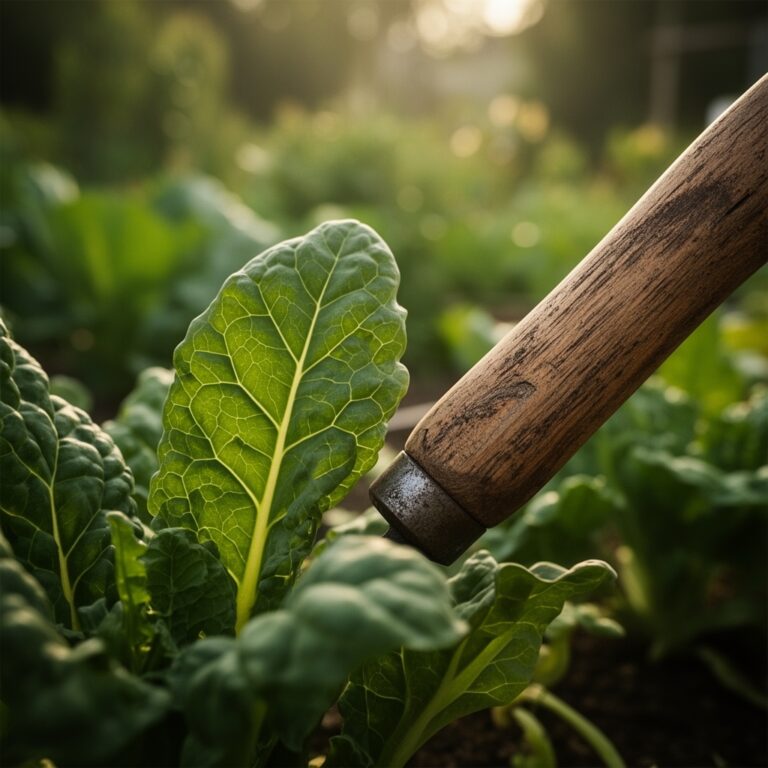
The blade meets soil with a clean, metallic slice, and roots give way in fibrous ribbons. Using a garden spade for vegetable digging transforms compacted ground into friable beds where oxygen, water, and beneficial microbes circulate freely. Double-digging to 18 inches loosens hardpan, increases cation exchange capacity by up to 40 percent, and accelerates mycorrhizal colonization of transplant roots.
Materials for Deep Excavation and Bed Preparation
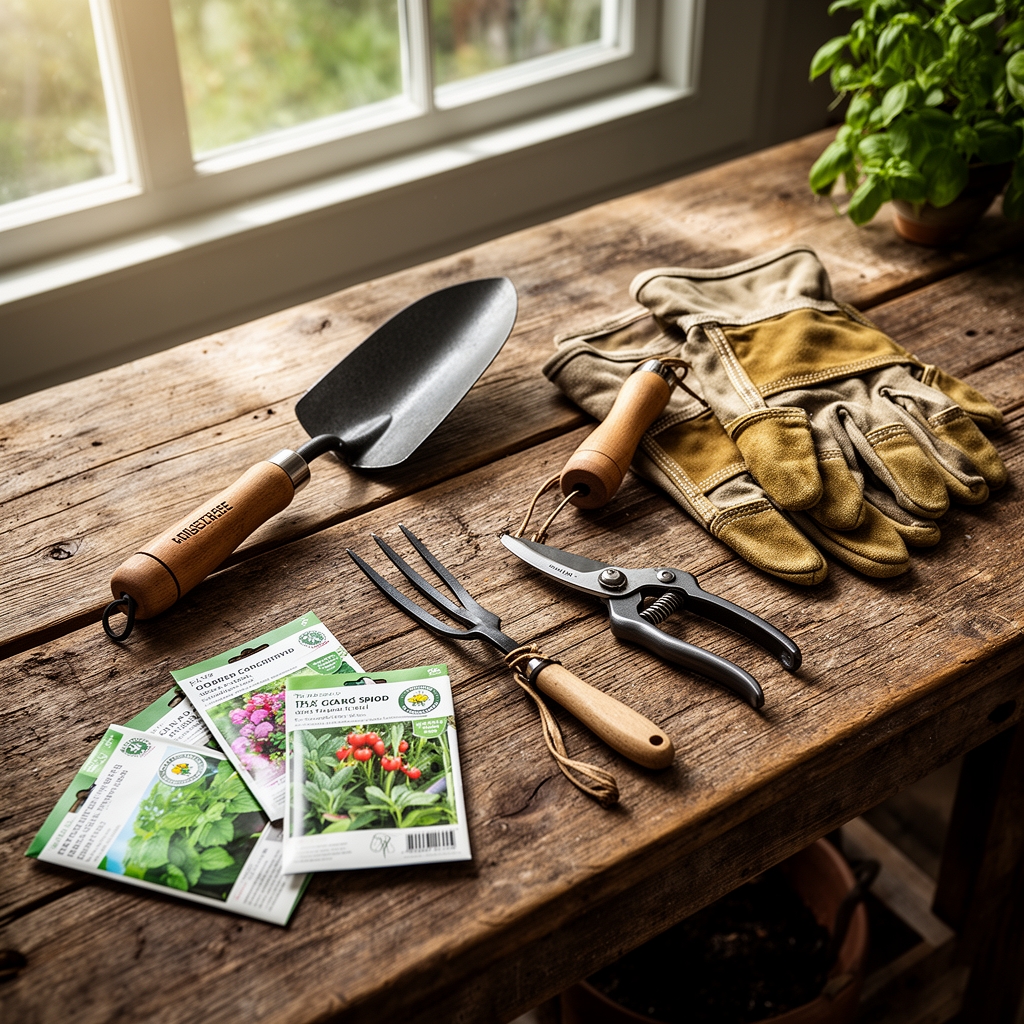
Select a forged steel spade with a D-grip handle and a blade width of 7 to 8 inches. The blade edge must hold sharpness through clay and root mats. Pair the spade with a digging fork (four 12-inch tines) to shatter soil clods without pulverizing structure.
For amendment, source composted manure aged six months or longer, registering neutral pH (6.8 to 7.2) and an NPK ratio near 1-1-1. Add a 4-4-4 organic meal blend (feather meal, bone meal, kelp) at 2 pounds per 10 square feet to supply slow-release nitrogen, phosphorus, and potassium. If native pH falls below 6.0, incorporate calcitic lime at 5 pounds per 100 square feet. For alkaline soils above 7.5, use elemental sulfur at 1 pound per 100 square feet and retest after 60 days.
Mycorrhizal inoculant powder (endo- and ectomycorrhizae spore count minimum 200 propagules per gram) belongs in the planting hole of every transplant. Biochar, pre-charged in compost tea for 72 hours, adds long-term carbon storage and boosts water retention by 18 percent in sandy loam.
Timing by Hardiness Zone and Frost Windows
Deep digging begins in early spring when soil temperature at 6 inches reaches 45°F. In Zones 3 through 5, this window opens mid-April to early May. Zones 6 through 8 permit digging from late March onward. Zone 9 and warmer climates allow autumn preparation (October through November) to avoid summer compaction from foot traffic.
Perform final spade work three weeks before the last expected frost date. This interval lets soil microbes recolonize disturbed horizons and restores aggregate stability. Transplant warm-season crops (tomatoes, peppers, squash) only after nighttime lows hold above 50°F for seven consecutive nights. Cool-season brassicas and alliums tolerate transplanting two weeks before the last frost.
Phases of Spade-Based Soil Preparation
Initial Excavation
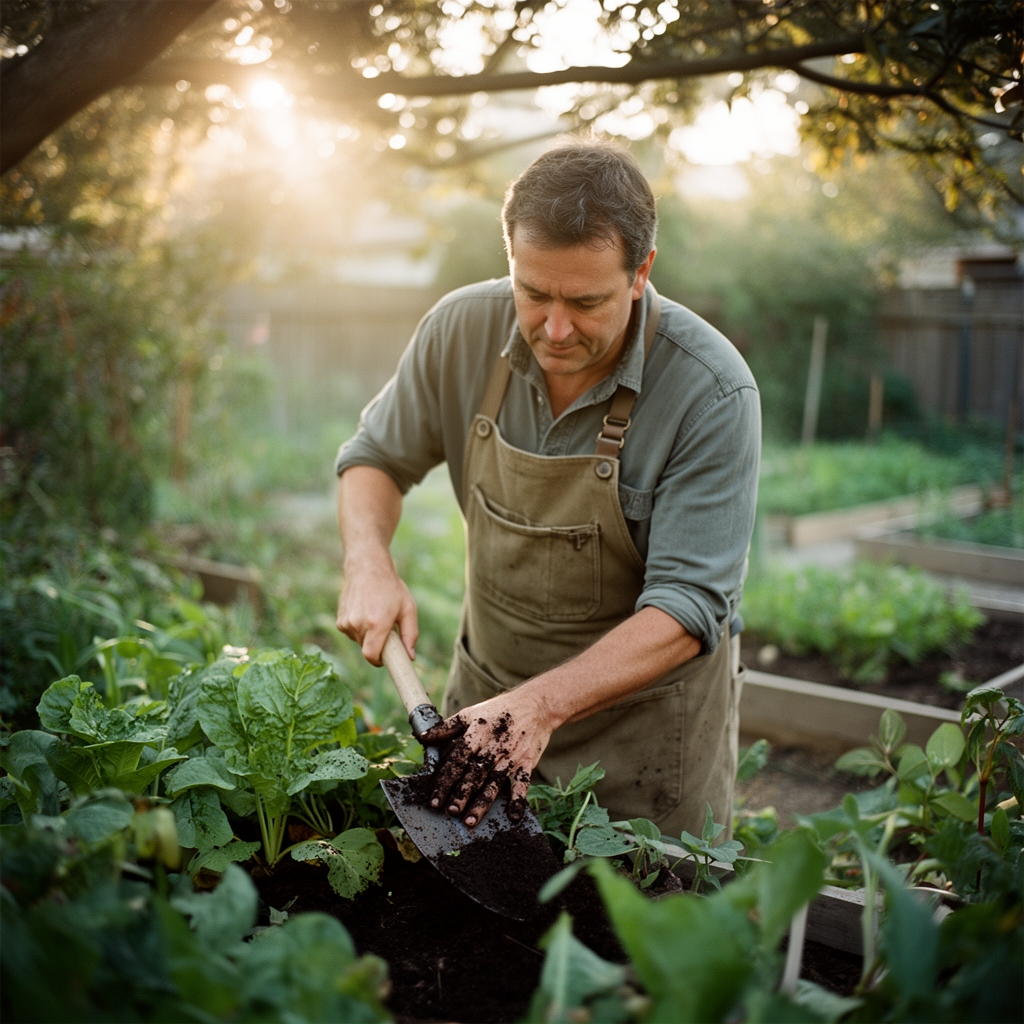
Mark bed edges with stakes and twine. Remove sod in 2-inch-thick sections, shaking loose soil back into the trench. Dig the first trench to one spade depth (10 to 12 inches) and set excavated soil in a wheelbarrow. Fork the trench bottom to fracture compacted subsoil without inverting layers. Spread 2 inches of compost and 4-4-4 meal across the exposed surface.
Pro-Tip: Drive the spade vertically, not at an angle. Angled cuts create uneven trench floors that collect water and suffocate roots.
Sequential Trenching and Backfilling
Move backward one spade width. Dig the second trench, turning that soil forward into the first trench and mixing it with the compost layer. Fork the new trench bottom and add another 2-inch compost layer. Repeat until you reach the bed's end, filling the final trench with soil from the wheelbarrow. Surface height will rise 3 to 4 inches above grade.
Pro-Tip: Inoculate each trench bottom with 1 tablespoon of mycorrhizal powder per linear foot. Direct spore-to-root contact at transplant accelerates phosphorus uptake and drought tolerance by 30 percent.
Bed Settling and Surface Grading
Rake the bed surface smooth, breaking clods larger than a walnut. Water deeply (1.5 inches) to accelerate settling and activate microbial populations. Wait five days before transplanting. Settled beds should hold footprints no deeper than 0.5 inch.
Pro-Tip: Side-dress transplant holes with bone char (0-18-0) at 1 tablespoon per plant to supply phosphorus near root initials without triggering excessive vegetative growth.
Troubleshooting Common Excavation and Growth Issues
Symptom: Gray, anaerobic odor from trench bottoms.
Solution: Improve drainage by incorporating coarse sand (2 mm particle size) at 20 percent by volume and installing 4-inch perforated drain tile along bed edges at 18-inch depth.
Symptom: Spade rebounds off soil; blade dulls rapidly.
Solution: Soil moisture is too low. Irrigate to field capacity (soil forms a ball that crumbles under light pressure) and wait 24 hours before resuming work.
Symptom: Transplants wilt despite adequate watering.
Solution: Root hairs severed during rough handling or excessive fertilizer salt concentration. Flush beds with 2 inches of water and apply diluted kelp extract (1 tablespoon per gallon) as a foliar spray to restore auxin distribution.
Symptom: Wireworms or white grubs in excavated soil.
Solution: Hand-pick larvae and dispatch into soapy water. Apply beneficial nematodes (Heterorhabditis bacteriophora, 5 million per 1,000 square feet) to moist soil at dusk.
Symptom: Excavated soil crusts and sheds water post-transplant.
Solution: Cation exchange capacity is insufficient. Top-dress with 0.5 inch of vermicompost and scratch into the surface 1 inch to reintroduce aggregating organisms.
Maintenance Protocol for Deep-Dug Beds
Apply 1 inch of water per week, delivered in two 0.5-inch sessions to encourage deep rooting. Monitor soil moisture at 4-inch depth with a probe or tensiometer; maintain readings between 10 and 20 centibars. Mulch beds with 3 inches of straw or shredded leaves to moderate temperature swings and suppress weeds.
Side-dress nitrogen-demanding crops (corn, leafy greens) with blood meal (12-0-0) at 0.5 pound per 10 row-feet when plants reach 6 inches in height. Avoid working wet soil. Foot traffic when moisture exceeds field capacity destroys aggregates and reverses aeration gains.
Rotate crop families annually to prevent pathogen buildup. Follow heavy feeders (tomatoes, squash) with nitrogen-fixing legumes (peas, beans) to restore soil nitrogen without synthetic inputs.
FAQ
How deep should I dig for root vegetables?
Carrots and parsnips require 12 to 16 inches of loose soil. Potatoes need 10 inches minimum. Double-dig if native soil compaction exceeds 300 psi at 12-inch depth.
Can I dig frozen ground?
No. Ice crystals expand and shatter soil aggregates, destroying structure. Wait until thaw penetrates 8 inches.
What spade angle prevents back strain?
Keep the handle vertical and bend at the knees, not the waist. Drive with leg force, not arm leverage, to generate 200 pounds of penetration force without lumbar stress.
How often do I re-dig established beds?
Every three to four years. Annual additions of compost and mulch maintain structure between deep-digging cycles.
Does tilling replace spade work?
Tillers homogenize soil and disrupt fungal networks. Spade work preserves horizon stratification and encourages vertical root exploration. Reserve tillers for initial sod breaking only.